When I was looking for information on making slippers out of felted wool, I couldn’t find any tutorials about how to make them by needle felting the wool.
Everything was about wet felting, but I decided to try it anyway. So, is it possible to make needle felted slippers, and how do you do it?
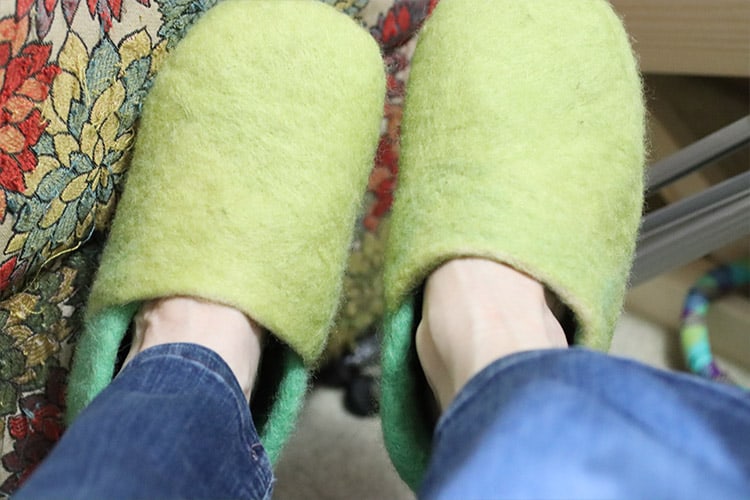
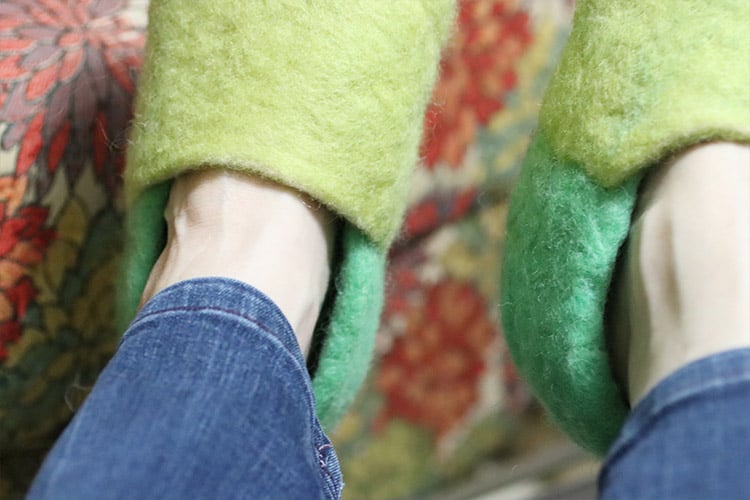
To make needle felted slippers, you’ll need to start by making a pattern to follow. The slippers will be made with felted soles and uppers, and a leather sole will be sewn on for durability after the slipper is done. The pattern can be taken from any that are available online, or by making one to fit your own feet. The pieces will be created individually, then attached together using needle felting or sewing techniques.
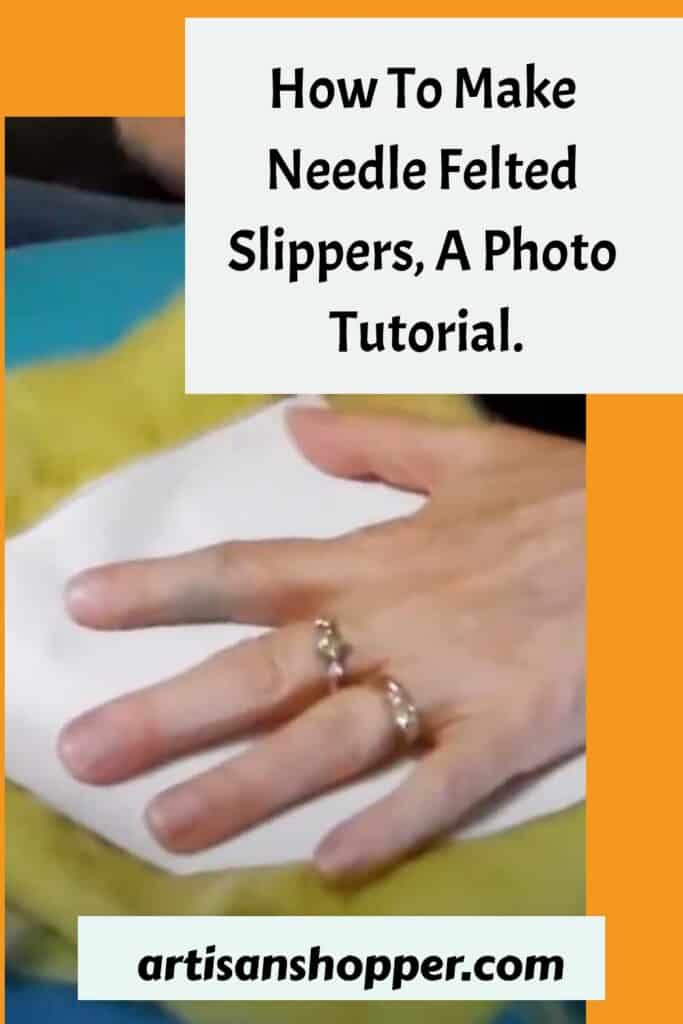
Table of Contents
- Supplies needed
- Step 1- Draft the pattern.
- Step 2- Make the individual pieces.
- Step 3: Attach the pieces together, trimming the sole to fit your foot if necessary.
- Step 4: Continue needle felting the slipper to adjust the shape
- Step 5: If necessary, shrink the slippers to fit.
- Step 6: Trim the slippers with sharp scissors if you want to adjust the opening shape.
- Step 7: Sew on leather soles or another type of non-skid soles to increase durability.
Please note: Some of the links on this page are affiliate links, which will give me a small commission at no cost to you if you buy something when you use them.
Supplies needed
- About 120-130 grams wool roving for a pair of women’s US size 8 slippers.
- Felting needle, preferably with multiple needles.
- Paper to make the patterns.
- Padded surface or mat to use for a felting surface.
- Small piece of foam padding to use to put inside the toe of the slipper while felting it.
- Leather or rubber non-skid soles.
- Sewing needle and scissors.
- Strong thread or embroidery floss to sew the soles onto the slippers.

Step 1- Draft the pattern.
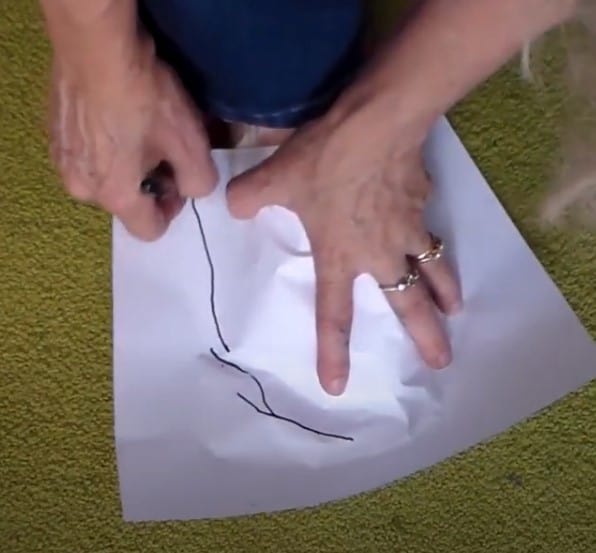
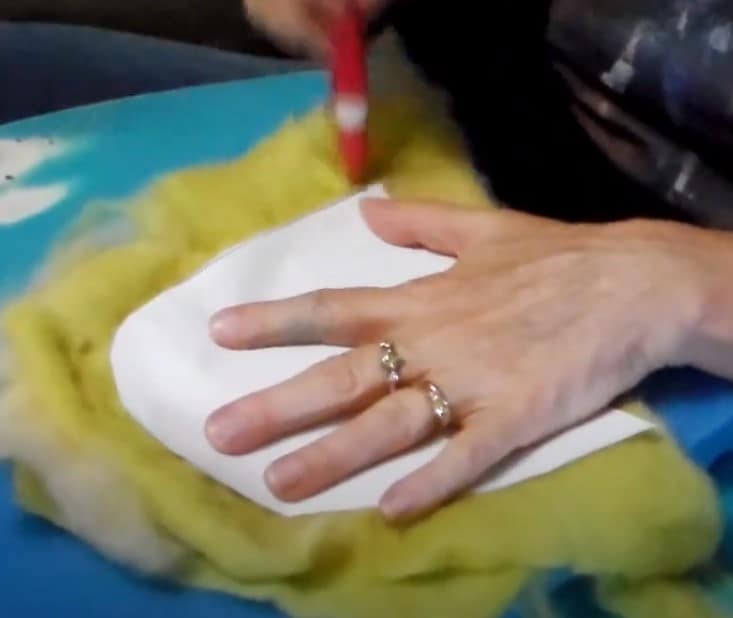
To make the pattern, take some paper and trace your foot, leaving about half an inch around your foot.
Taking another piece of paper, place it over the top of your foot and mark the edge where it touches the edge of the sole pattern.
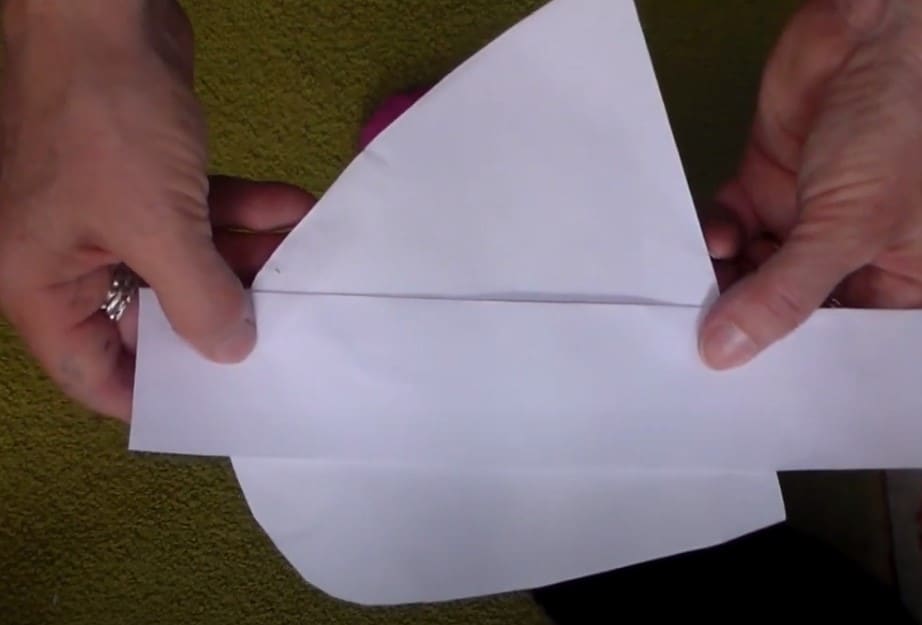
With a third piece of paper, cut a strip that’s about 3″ tall, and 10-11″ long.
These are the three main pieces of the slipper, and if they end up being too large or too small, you’ll be able to adjust them later.
The good thing about needle felting is that you can alter the shape as you go by adding more wool or cutting pieces off.
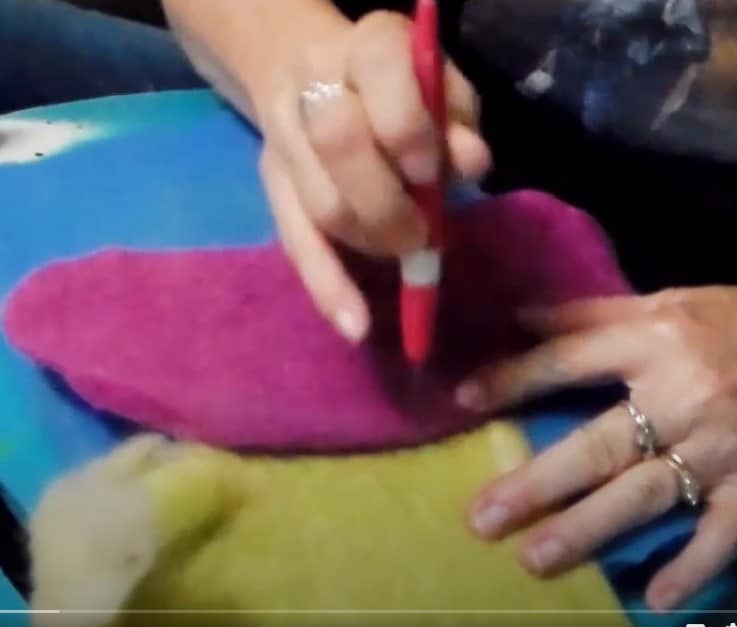
Step 2- Make the individual pieces.
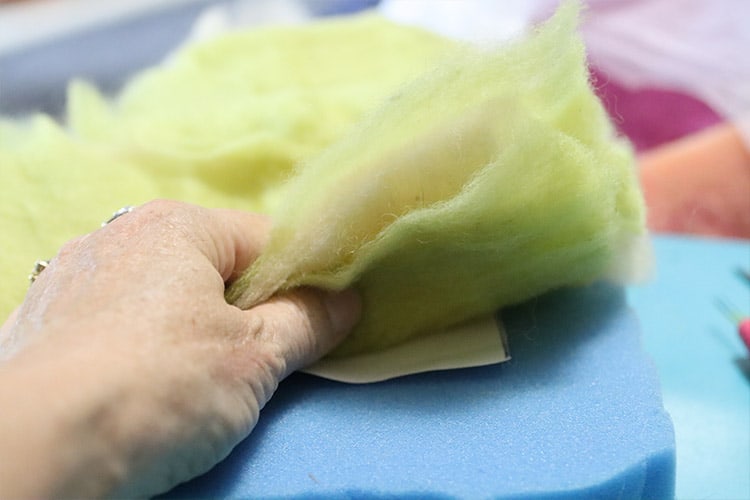
Using about 4-5 layers of wool roving for each piece, needle felt the wool to create pieces of felt that are slightly larger than the pattern pieces.
Make sure that the felted upper sections are the shape of the patterns, but you can leave loose wool on the edges. You’ll use those edges to attach the upper parts of the slipper to the sole later.
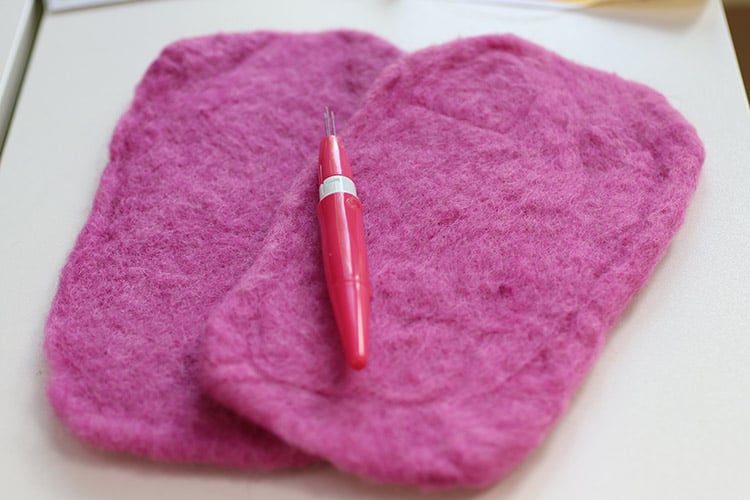
For the sole, make it the same shape or a little larger than the pattern that you traced. If you make it a little larger, you can cut it to size later.
Take time to needle felt the pieces thoroughly so that they feel firm and are really well-formed. If they feel too soft, or have thin areas, add some more wool and needle felt that area until it feels strong enough to use for slipper fabric!
This is a judgment call on your part, but if you’re not sure if the fabric is going to be strong enough, keep working at it until it’s tighter.
Step 3: Attach the pieces together, trimming the sole to fit your foot if necessary.
At this point, make sure that the sole isn’t too big around your foot. The size of the sole is going to determine whether the slipper fits or is too big. If you trim the sole to actually be just slightly larger than your foot, the outer parts will make the slipper a little bigger and it will fit fine.
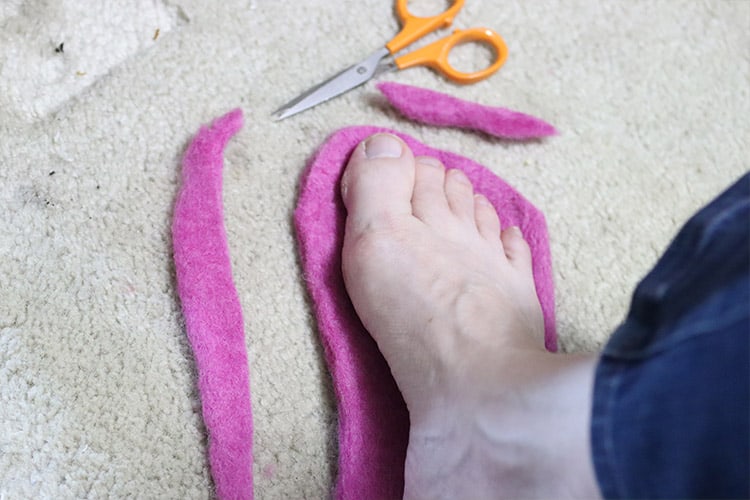
Place your foot on the sole and trim any areas that are too far away from your foot. If the sole is about 1/4″ larger than your foot as you stand on it, it should be fine, but if you prefer you can make it larger.
The more space there is around your foot, the bigger the slipper will be. Don’t make it too big or the slipper will be too loose.
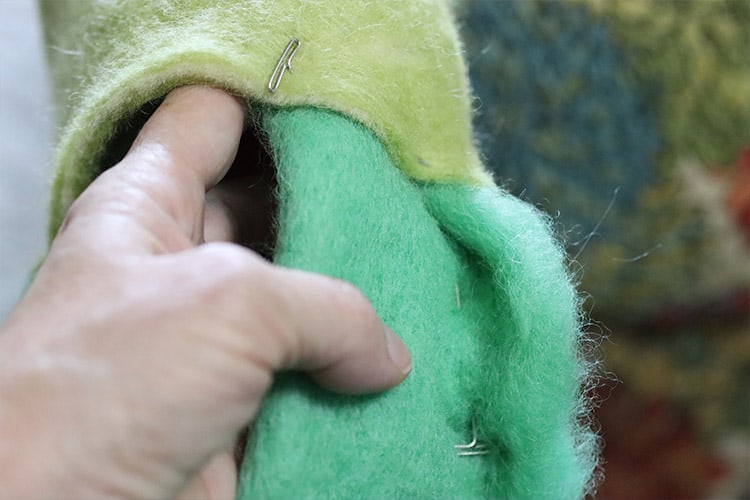
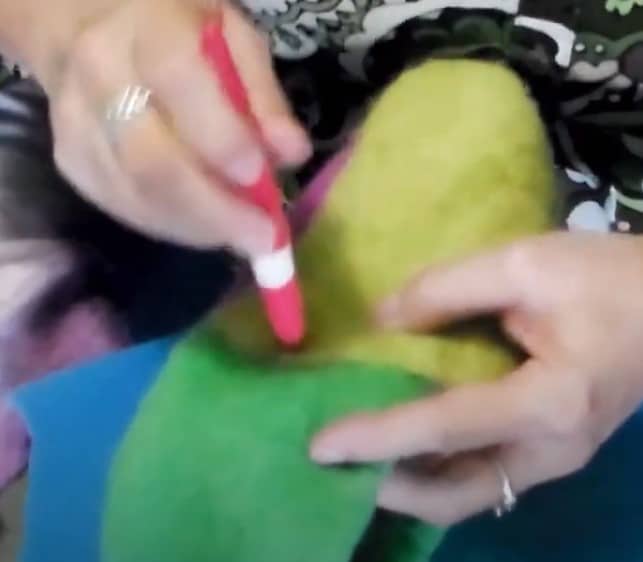
You’ll start attaching the upper sections to the sole by felting the edges of the uppers to the BOTTOM of the sole. By wrapping the wool around the sole you’ll create a stronger bond that will resist separating.
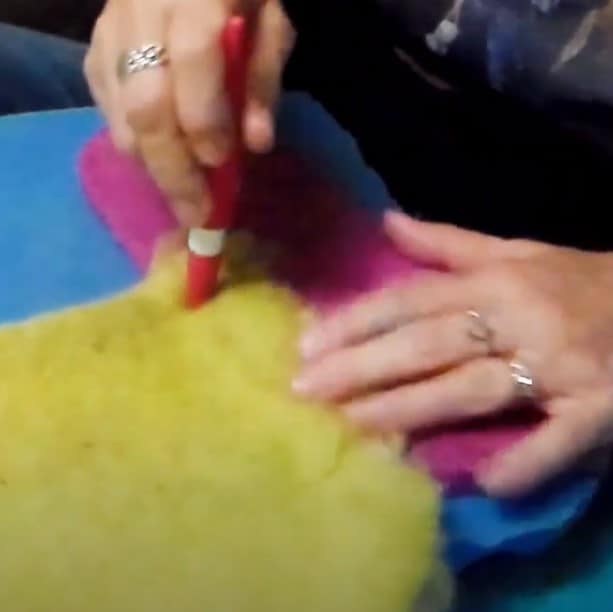
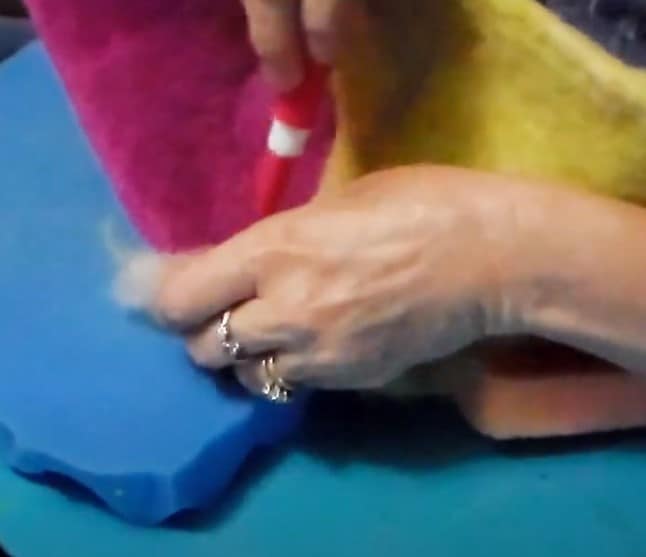
Take one of the soles and attach the front part of the upper section to one edge by wrapping the edge of the upper around the sole and needle felting it onto the bottom of the sole.
When you finish attaching one side, put your foot on the sole and place the upper over it to see where it should attach on the other side to fit your foot.
Pin the upper to the sole to mark where they should go together, then attach the other side of the upper section to the sole.
An alternate method would be to cut the upper sections to the correct shapes, then sew them onto the sole using a whipstitch or a sewing machine. This won’t give you the rounded look that needle felting the pieces together will.
Another option would be to use a single-piece pattern that you can find online to create the pieces, then assemble according to those instructions.
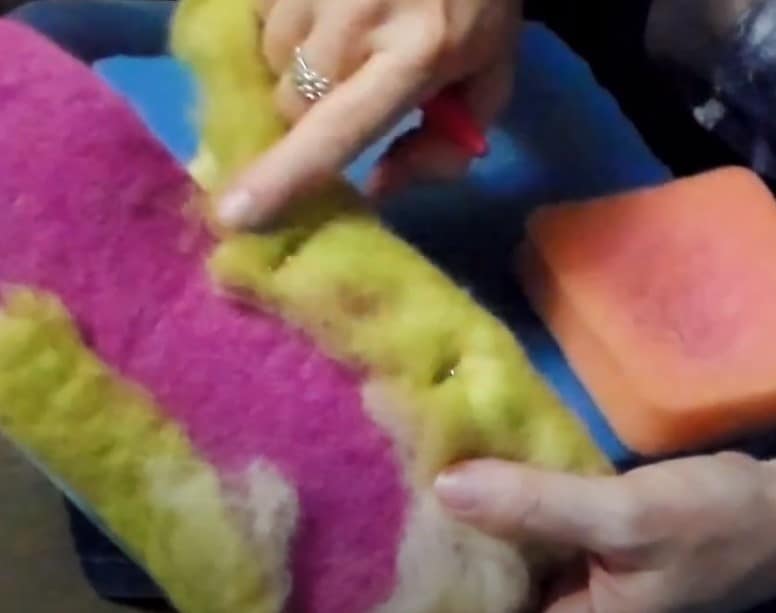
With your foot in the slipper, check to see if the sole is too long. Trim off any extra length if necessary, then pin the back section to the sole so that it fits around your foot.
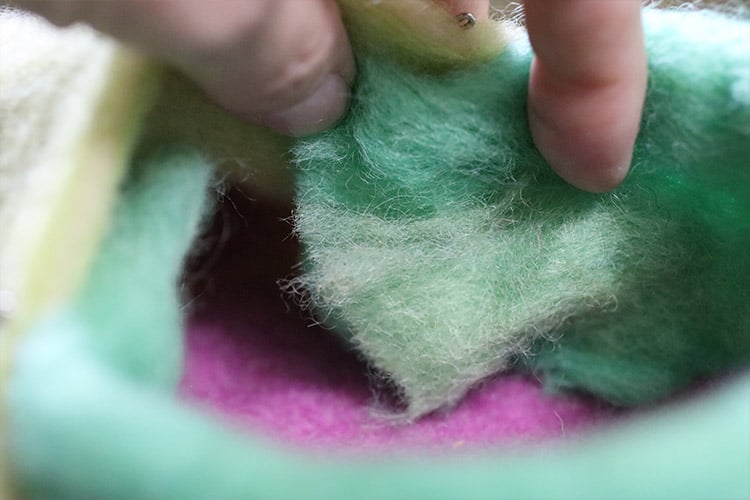
Put the back section edges inside the front section, and trim it so that there’s about an inch and a half of felt inside the front upper. Pin the two sections together on the sides so that it fits your foot.
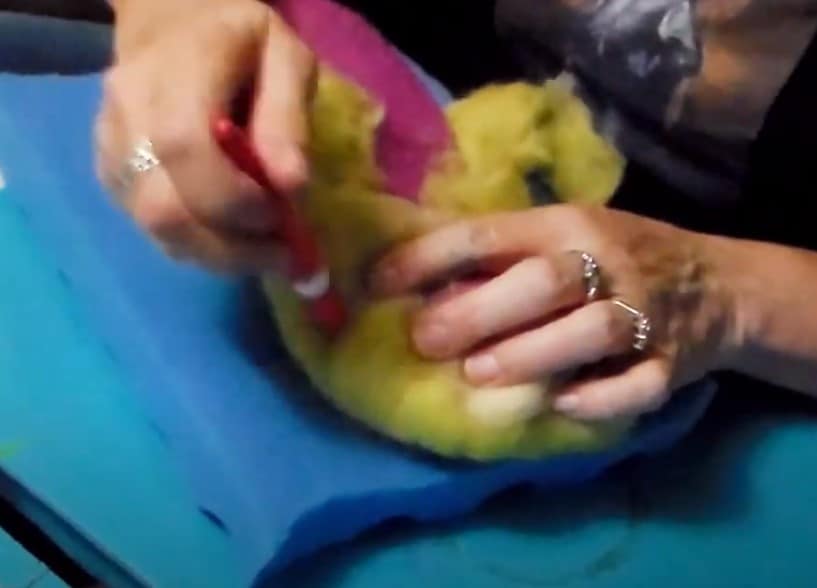
You’ll have to cut a slit in the spot where the back part goes into the front part, and put the end of the back into the front part of the upper.
Needle felt that piece to the inside of the upper, and needle felt the back part to the underside of the sole.
You might have to add additional wool to that connection spot near the sole where all three pieces come together to strengthen it.
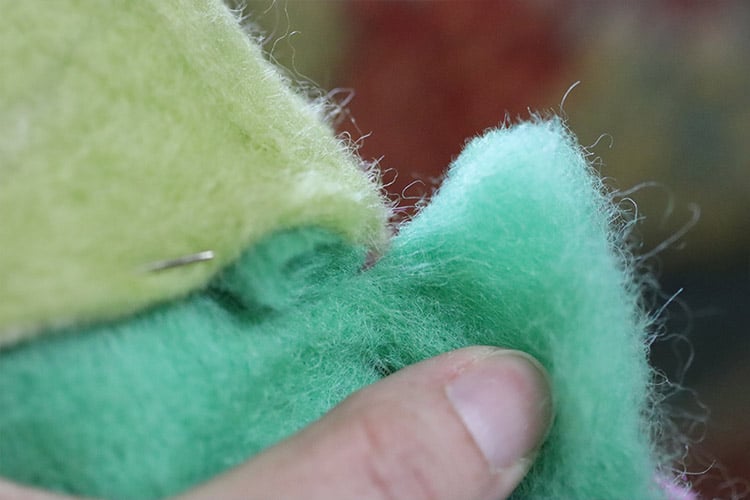
Attach the pieces together by needle felting them from the outside and the inside of the slipper. It will be easier to do it from the outside, but doing it from both directions will give you the best attachment.

When working on the shaped slipper, put some of the foam padding inside it so that you can really poke the needle in and keep the shape of the slipper. If you’re working from the inside out, pay attention to the edges of the sole and try to attach it to the upper sections. Smooth out the seam as much as possible to create the best connection between the pieces.
Step 4: Continue needle felting the slipper to adjust the shape
Continue adjusting the shape of the slipper and improving the connection between the pieces by working on the seams and needling any areas that seem to be misshapen until they look right.
If there are any sections that look thinner than others, add some more felt to them and needle felt them into place until the surface of the fabric is smooth and the extra pieces don’t have edges that can be pulled off.
As you continue using the needle on the slippers, the felt will compress a little bit, but the final size is going to be determined more by the size of the sole than anything else. If the sole is too big the slipper will be too loose, so you might need to take drastic measures and wash or boil the slippers!
Step 5: If necessary, shrink the slippers to fit.
If the slippers are too big, you might need to shrink them a little bit. The safest way to do this is to get them wet, then put them in the dryer for short increments of time until they fit.
THIS CAN BE DANGEROUS! If you do this, make sure that you keep a close eye on them, and take them out of the dryer every 10 minutes to check to see if they’re the right size. Don’t walk away and forget them because you’ll end up with teeny slippers.
When the slippers are the right size, take them out of the dryer and let them cool off. Stick your foot into them to get them into shape, then let them air dry.
Step 6: Trim the slippers with sharp scissors if you want to adjust the opening shape.
Put your foot into the slippers and check the fit. If you want the opening to be larger, trim off some using a pair of sharp scissors. You should do this bit by bit so that you don’t cut off too much.
You could mark on the slippers where you want to cut them, but make the marks closer to the edge than where you’ll be cutting so that you can cut the ink marks off.
Step 7: Sew on leather soles or another type of non-skid soles to increase durability.
Using the original sole pattern, cut a piece of leather or other non-skid material in that shape. Hold it up to the slipper and trim the leather to fit onto the sole of the slipper.
Use an upholstery needle and strong thread or cotton embroidery floss to sew the leather sole onto the bottom of the slipper. If the wool felt feels too loose at this point, you should needle felt it some more to make sure that it’s actually felted enough.