Needle felting is a fun craft that really isn’t difficult, and is a good way for adults to relax and create some cute home decor items. I tried a kit to make felted acorns and although it was meant to be used with wet felting, I did a needle felted version too.
This kit is available on Etsy from Artisan Shopper member Vaida Petreikis , and it includes acorn caps, string, and wool. It didn’t come with instructions so I looked up how to do wet felting to make the balls on youtube, and it looked pretty easy.
However, I decided to get a felting needle and try needle felting some before getting into the wet felting version. Either will work, the idea is just to make a little felt ball that can be inserted into the acorn cap.
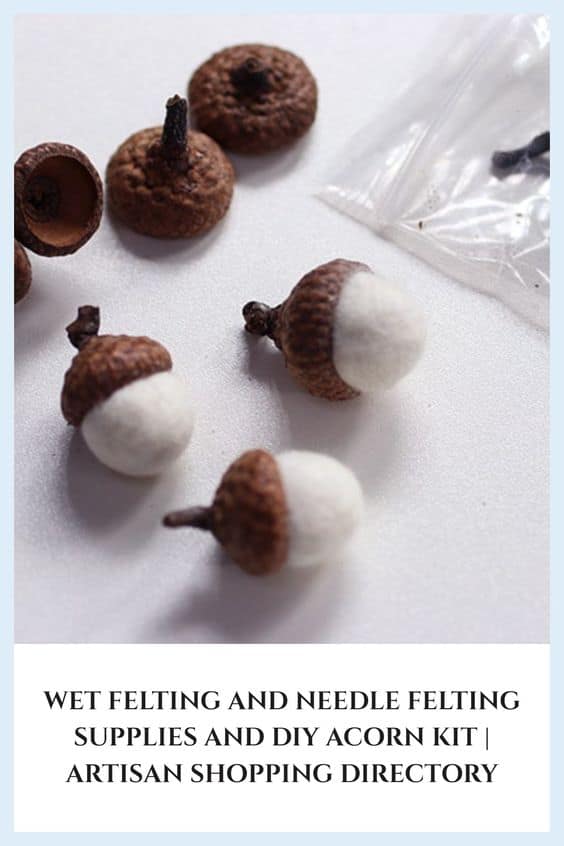
Table of Contents
- What supplies do you need to start needle felting?
- The DIY needle-felted acorn kit
- What supplies do you need to start wet felting?
- The DIY wet felted acorn kit
Please note: Some of the links on this page are affiliate links, which will give me a small commission at no cost to you if you buy something when you use them.
What supplies do you need to start needle felting?
To begin a needle felting project, you need some wool roving, which is carded wool that’s ready to be spun or made into felt. You will also need a felting needle, which is a long needle that has jagged sides and is inserted into the wool repeatedly in order to bind the fibers together. To protect your fingers you may want to use some finger guards, and to protect the work surface you’ll need a foam pad or another surface to rest the felted project on as you insert the needle into the wool.
I didn’t have any finger guards, so I was careful and went slowly, but I still managed to poke my finger a few times. BE REALLY CAREFUL because it REALLY HURTS when you do that.
Because of the risk of stabbing yourself, I wouldn’t recommend needle felting for young children. Older children can do it with proper finger protection, but there will be injuries at some point.
I used a little foam pad that was meant for thinning gumpaste flower petals as the backing to poke the needle into, but you could use any kind of upholstery foam, or an actual needle felting pad that’s meant for the purpose!
Needle felting is a simple craft to do, but it will definitely be better if you take precautions to avoid stabbing yourself or the table you’re working on.
The type of wool that you need for needle felting is preferably wool roving, but I’ve seen a lot of people who use wool yarn that they’ve roughed up, and even raw wool that hasn’t been carded.
Any natural wool fiber will work fine, but roving is the preferred type for beginners since it’s easy to handle and work with.
The DIY needle-felted acorn kit
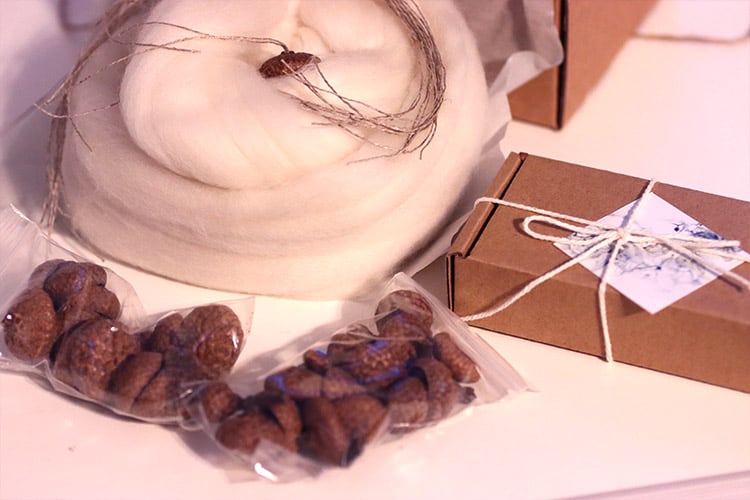
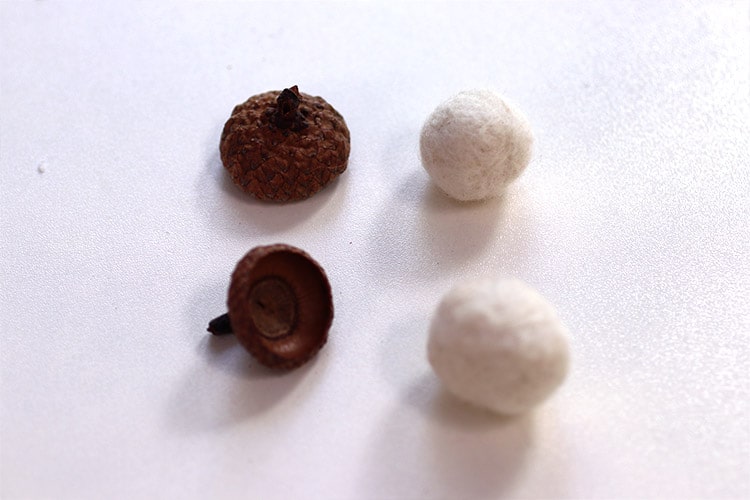
For my DIY felted acorns, I had chosen the natural color wool, and it was beautiful when I opened the box! I wasn’t sure about how much wool to use because it will start larger and end up being compressed after you work on it for a while.
I used a piece that was a few inches long and a couple of inches wide to start with, but I probably could have used a little less. You can always add more to the ball to make it larger if need be.
I wound the wool into a small ball and used the felting needle to attach the ends together, then took about 15 minutes to poke the ball into shape (carefully.)
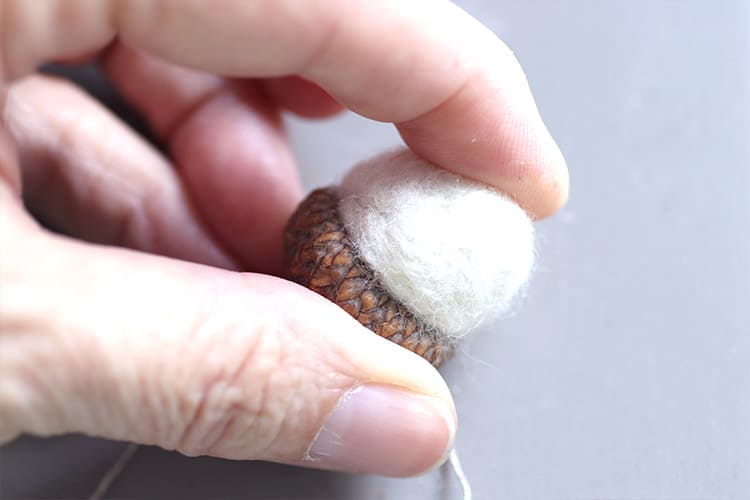
I had some of the acorn caps to use as a guide to how big the finished ball should be so that I could keep poking the wool to compress it until it was the right size.
As the ball got smaller, it also became firmer. When I was working on it I would squeeze it occasionally to see if it felt too soft, and when it did I kept working on that area to make it firmer.
When the ball was consistently firm all over I made sure that it would fit inside the acorn cap, and then I assembled the acorns.
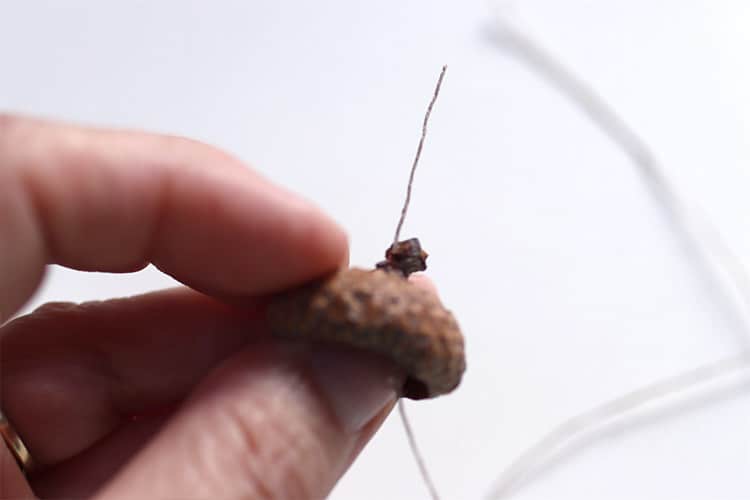

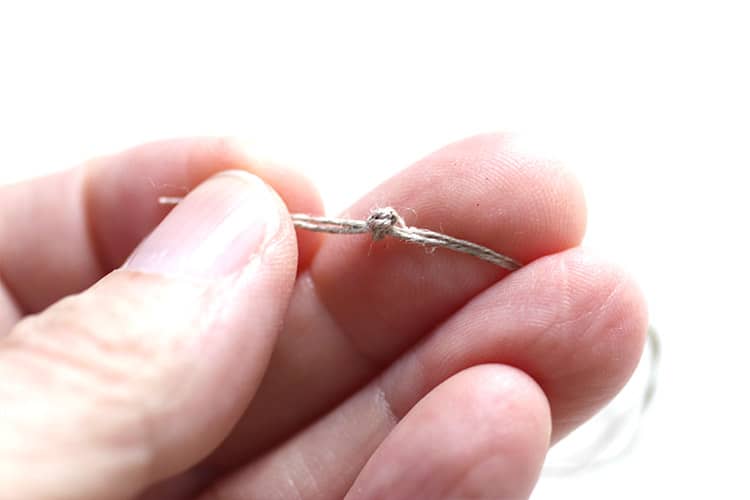
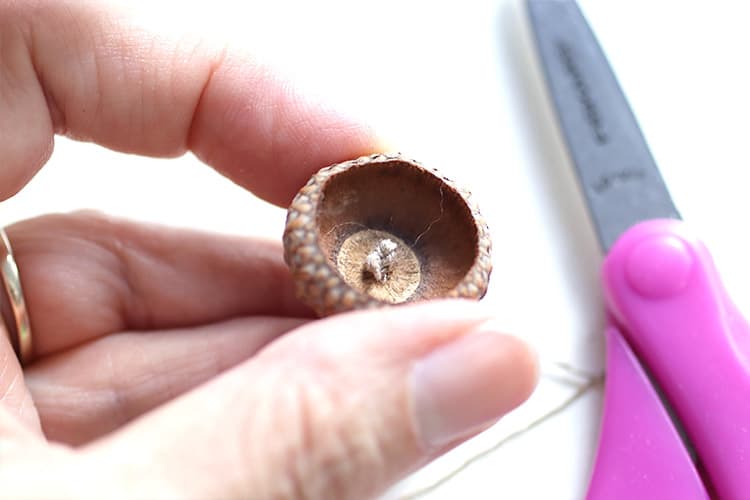
The kit comes with strings to make a hanger, and each acorn cap has a little hole in it. I strung the string through the holes to make a loop, then I tied a knot and cut the ends of the string to hide the knot inside the cap.
Then using hot glue, I attached the wool ball to the inside of the acorn cap. If you don’t have hot glue you could use regular glue and just leave it to dry thoroughly, but hot glue will work quickly.


After putting the hot glue in the acorn cap, I pressed the wool ball into the cap and attached them together.
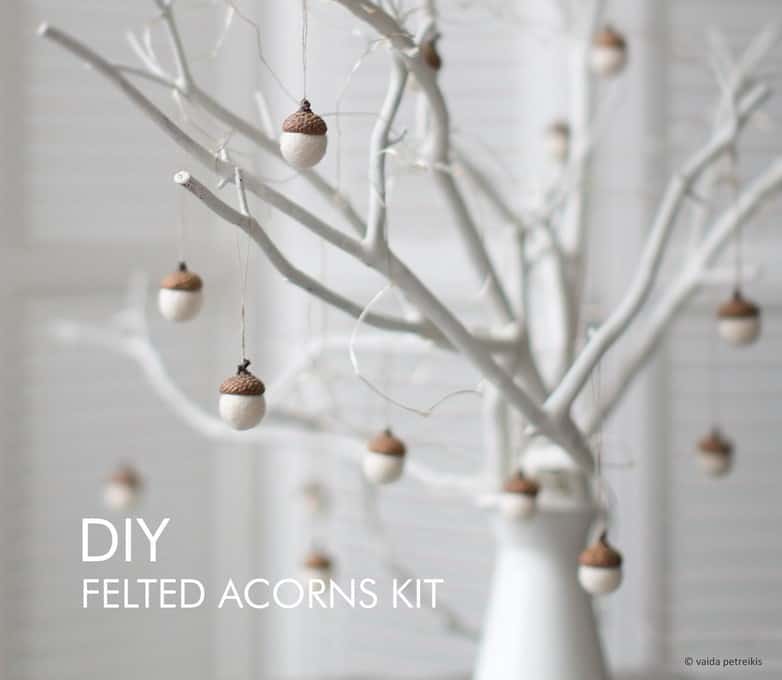
The hot glue will dry very quickly, and you’ll have a little acorn ornament to hang up.
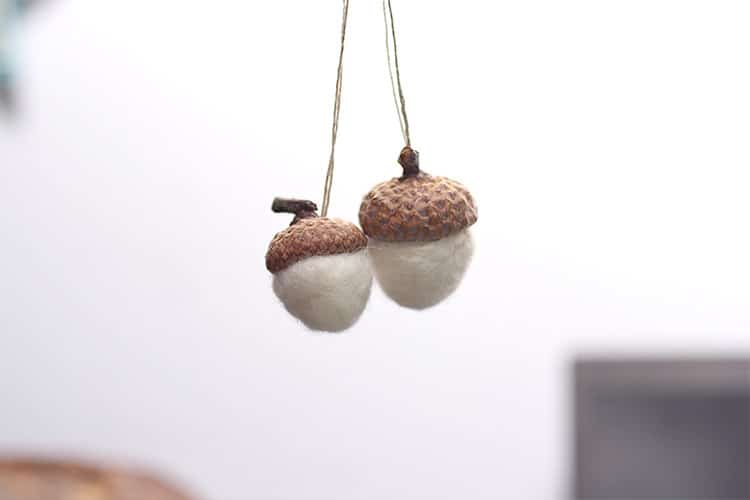
The finished acorns are really cute, and they were very easy and quick to make. After hanging them up I moved on to the next version, which was the wet felting acorns.
What supplies do you need to start wet felting?
To begin a wet felting project, you’ll need wool roving, hot water, cold water, soap (preferably a low-foaming type,) and a method for creating friction. For small projects this can be as simple as using your hands to rub the wool together, or you can use bubble wrap or a bamboo mat to make larger pieces of wool felt. Wet felting involves creating a mat made from layers of wool and making the layers bind together using heat, moisture and friction. It doesn’t require any tools like needles, so it’s a safe craft for children to do with adult supervision.
The DIY wet felted acorn kit
The wet felted version of the acorns would be something that kids could do because it involves no needles! I would still recommend supervision due to the water involved, though, you know how it ends up when kids play in water.
I started with a dishcloth on the counter, the acorn kit, and a cup of hot water with a little dish soap, plus some plain cold water.
Don’t use too much soap because it will be really foamy, or use Castile soap that doesn’t foam as much. I tried it without soap and it didn’t work as well, so the soap does make the fibers stick together better.
I pulled some of the wool off of the roving and rolled it into a ball shape as best I could, then poured some hot water with the soap in it over the ball.
That made it bind together enough to start rolling it into a ball in my hands, but it had some folds in it and it needed a trim to get rid of a long tail that developed.
When it got to a point where it was obvious that I wasn’t going to be able to fix the little dents in it, I took a little more roving and wrapped it around the ball to smooth it out.
I poured more water on it and rolled it some more, and dipped it in the cold water to rinse out some of the soap. I kept rolling it, pouring more hot water on it, then dipping in the cold water until it was round.
I was squeezing the water out as I rolled it at that point, and when it kept the shape and didn’t feel like it was going to get smaller, I put it down to let it dry.
I did two more like that, and I ended up figuring out that this was the easiest way to make a felted wool ball:
- Form the ball using the roving.
- Pour some hot, soapy water on it and gently roll it to make sure it’s evenly wet.
- Roll the ball in your hands, maintaining the round shape.
- Gently pull out any folds that develop and continue rolling, applying pressure to the ball.
- When the ball is formed and firm enough to hold its shape, rinse it under hot running water and then continue rolling it.
- Squeeze the ball to get rid of excess water, and keep rolling the ball until it’s firm and won’t get smaller.
- Place the ball on a towel to dry.
Doing the rolling like this and rinsing the ball under hot running water was the fastest way to make the balls, but even the “longer” way didn’t take very long at all.
These were small, but they only took about 6 or 7 minutes to make one. It would obviously take longer to make a larger or a multicolored ball that had layers of different roving on it, but this was a fast craft that has quick results.
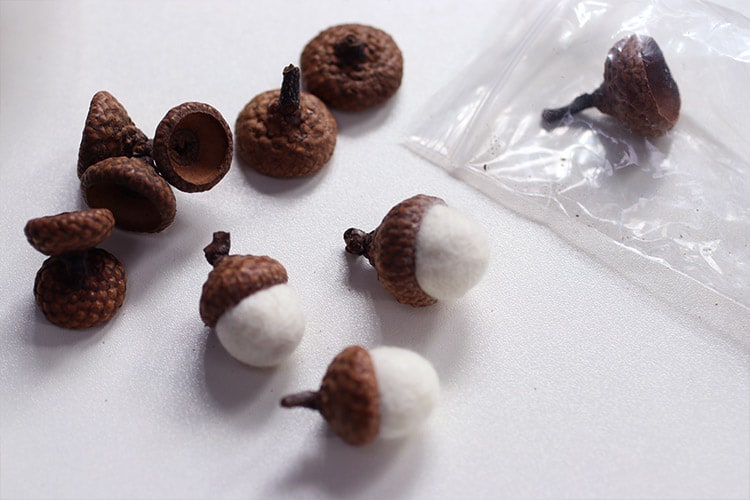
After the ball dried, I found acorn caps that fit them and finished them by attaching them with the hot glue. I would suggest having the acorn caps nearby while you’re making the balls to check on the sizes, because if you make the balls too big or too small they won’t fit inside the caps!
I found some caps that were smaller to fit the little wet felted ones, because I made those smaller than the needle felted acorns.
The difference between the needle felted acorns and the wet felted ones were that the needle felting was a little softer and the surface wasn’t as smooth. The wet felting acorns were firmer, and the surface of the acorns were a little smoother.
I think the water made the wool smooth out and lie a little flatter because it was basically being flattened out by my hands as I rolled the acorns in them.
I have to say that I love making felt…I’ve always liked sewing and textiles, so this was an interesting craft to do for the first time.
I’ll be posting some more articles about felting soon, since I’m still in the process of messing around with a couple of other projects.
