A punching trough is a tool that helps you line up your book signatures for bookbinding.
I’ve heard people refer to it as a punching cradle, a pricking cradle, and a bookbinding cradle.
But no matter what people call them, they’re a handy way to put pages together evenly when you’re hand binding a book or a journal.
I asked Cindy, owner of The Scrapologist, to give us some information about junk journals, and she offered this solution for making your own punching cradle for binding a mixed media art journal or junk journal together.
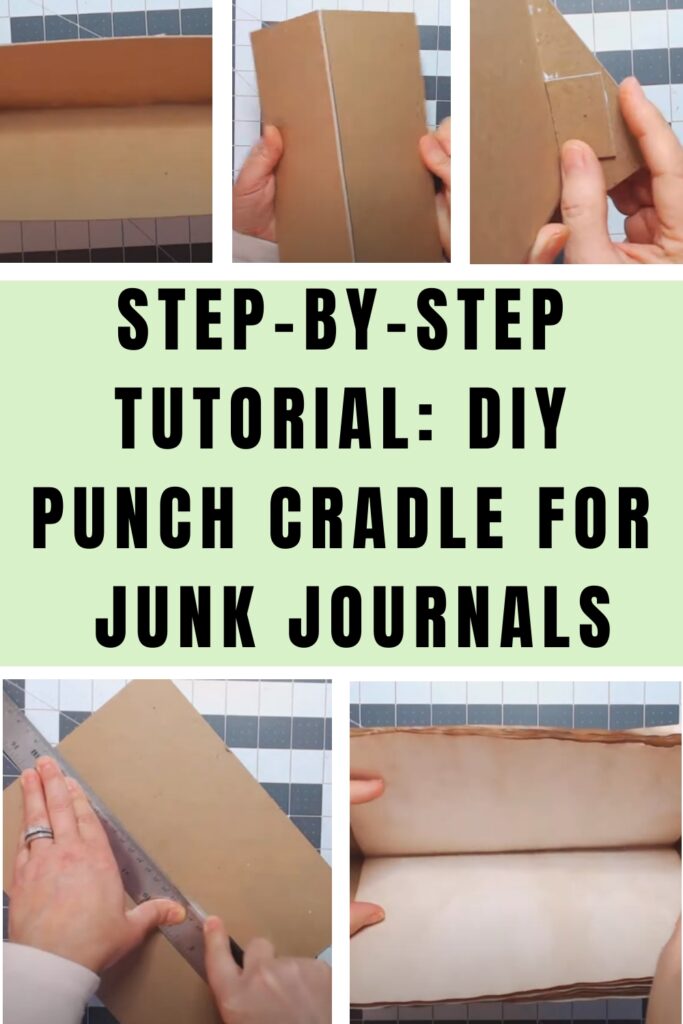
Table of Contents
- What is a punching cradle or trough?
- Materials needed to make the punching trough:
- How to make a punching trough or cradle.
Some of the links in this article are affiliate links that will pay a small commission if they’re used to purchase something. To see the entire affiliate policy click here.
What is a punching cradle or trough?
If you’re a junk journaler or someone who loves making handmade books and mixed media art journals like myself, you’ll know the struggle of accurately lining up your text blocks or signatures when you’re trying to punch your holes!
A punching trough, or bookbinding cradle, can be a game-changer in this regard, but they can be quite expensive to buy online.
A punching cradle holds the pages in a fixed position so that you can punch the holes in the fold of the page evenly.
When you’re stitching the pages together, the signatures will be easier to attach together evenly when the holes have been created with an awl and a punching trough instead of you trying to do it freehand on a flat surface.
Even though a premade punching cradle can be expensive, the good news is that you can easily make your own DIY version using chipboard!
Here are the simple steps of creating your very own punching trough, which will make your bookbinding projects so much easier.
Materials needed to make the punching trough:
- (1) piece of heavyweight chipboard or binders board cut down to 8 inches by 10 inches
- (4) square pieces of chipboard, each measuring 4 inches by 4 inches
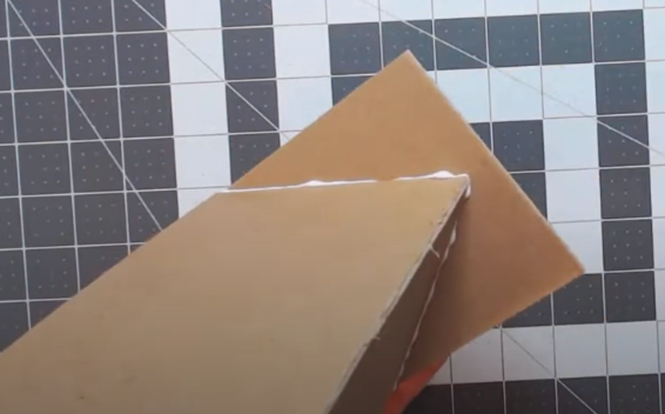
- (4) small chipboard pieces, each measuring 1 inch by 0.5 inches
- An X-Acto knife or similar cutting tool
- A metal ruler (to use with the X-Acto knife)
- Glue (I use Aleene’s Tacky Glue)
- A piece of cord or string
How to make a punching trough or cradle.
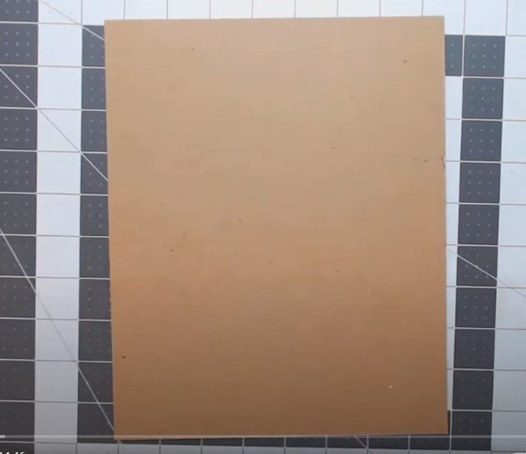
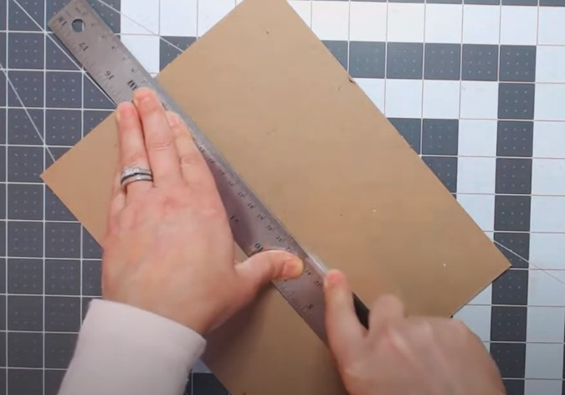
Step 1: Cut the Main Piece.
Begin by cutting your chipboard to 8 by 10 inches. This will be the main piece of your punching trough.
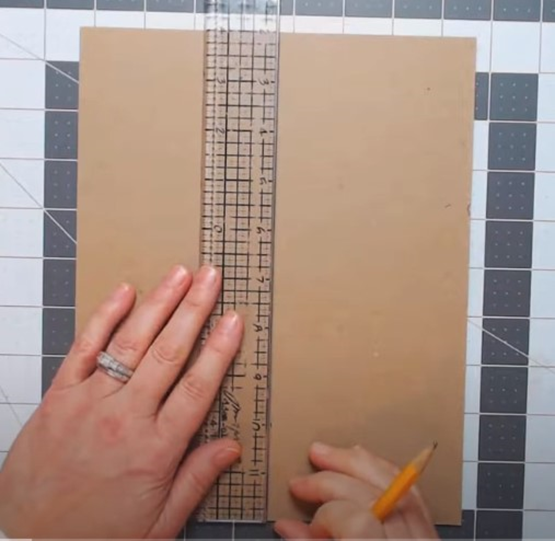
Step 2: Find the Center.
Turn your chipboard to portrait orientation. Locate the center of your chipboard lengthwise and draw a line down the middle.
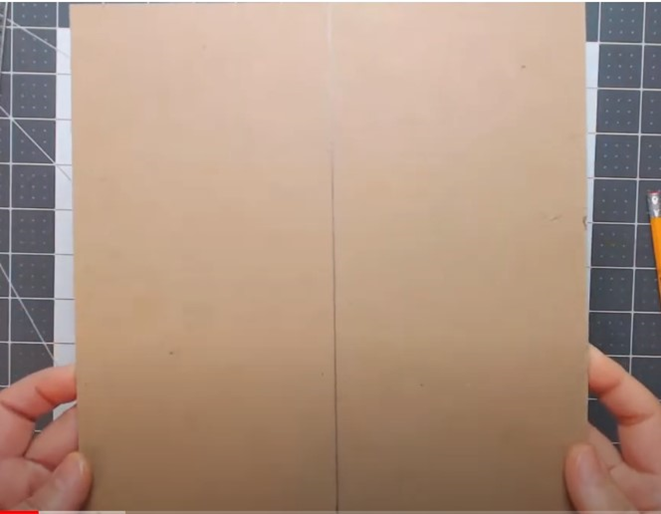
Step 3: Score and Fold
Using your X-Acto knife and metal ruler, make several cuts along the center line, cutting only until the board bends easily. Be careful not to cut all the way through.
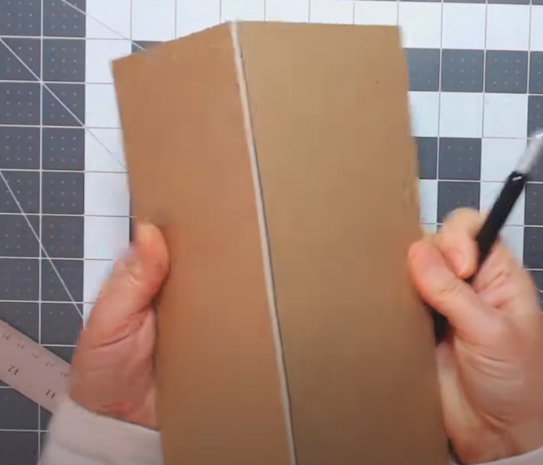
Once you can gently bend the board, you know it’s ready. This scored edge will be the bottom of your trough.
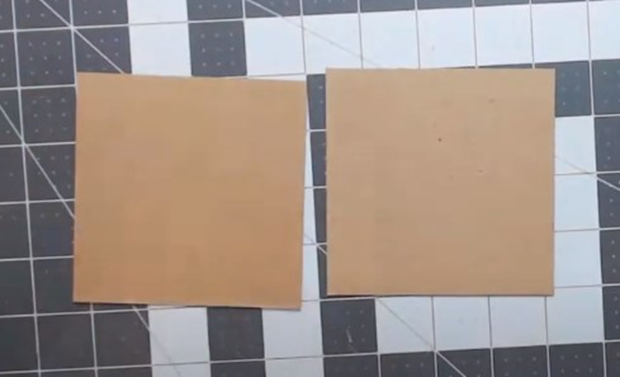
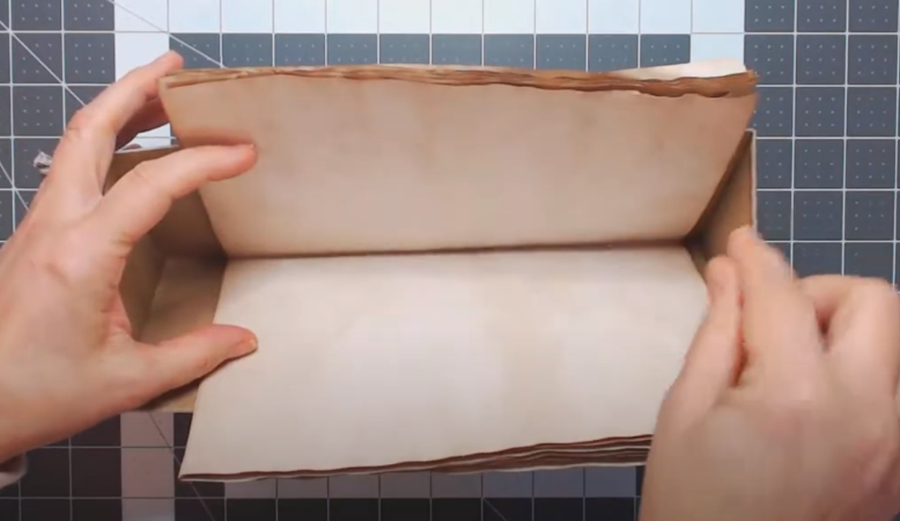
Step 4: Attach the 4” x 4” Side Pieces
Apply glue to one edge of your trough piece and adhere one of the 4” square pieces to it.
Repeat the process for the other side.
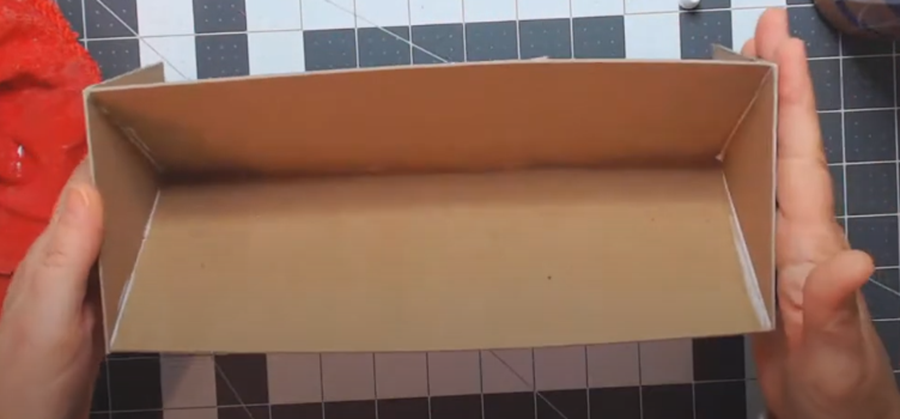
These square pieces act as the sides of your punching trough, making it more stable.
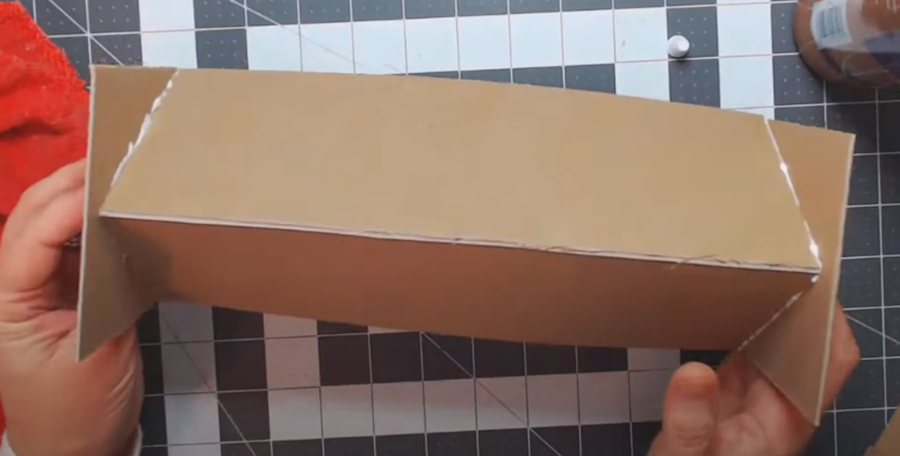
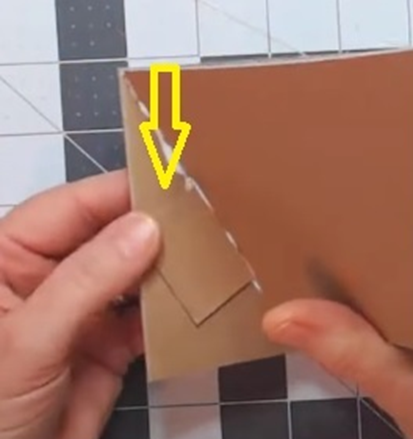
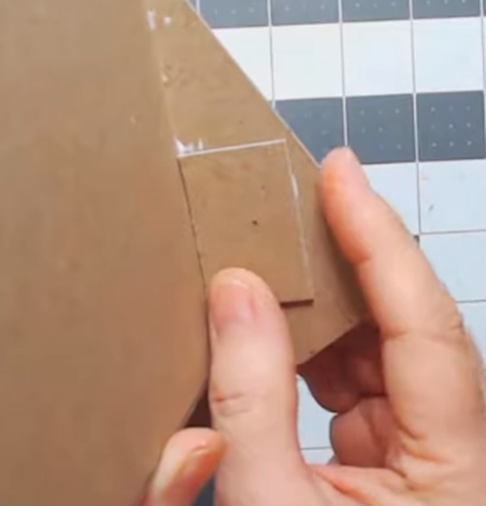
Step 5: Add Support Braces
Now, attach the four smaller chipboard pieces to each corner of the square side pieces.
These braces will help reinforce the sides of the trough and prevent it from opening up when you punch your signatures.
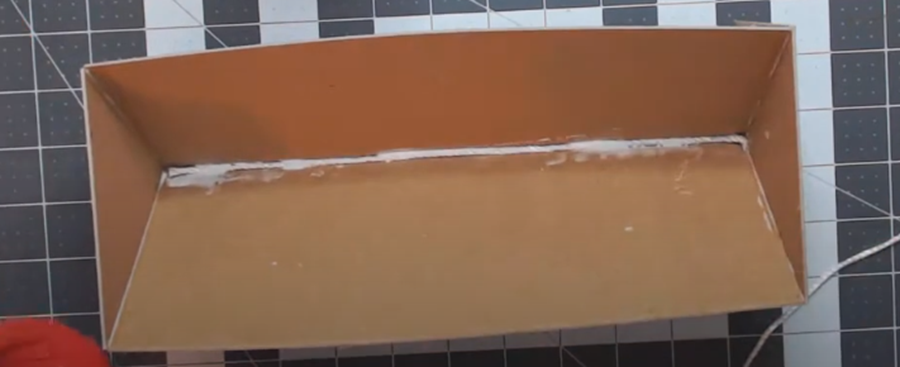
Step 6: Secure the Cord
Glue a piece of cord or thick string into the fold at the bottom of your trough. This will give your awl something to punch into, making your trough more durable.
Step 7: Let it Dry
Allow your punching trough to dry completely. If possible, apply some weight to keep the pieces snugly together while the glue cures. And there you have it! Your very own DIY punching trough is ready to use.
Simply place your signatures inside, align them properly, and punch away with your awl.
This tool will make your bookbinding projects a breeze, and you’ll love how easy it is to keep everything organized and precise.

Cindy, The Scrapologist™ has over 40 years’ experience designing and selling custom mini albums, handmade books, as well as other paper products such as junk journals and ephemera. She is absolutely passionate about encouraging you to get your photos off your phones and into albums so they can be preserved for generations to come!