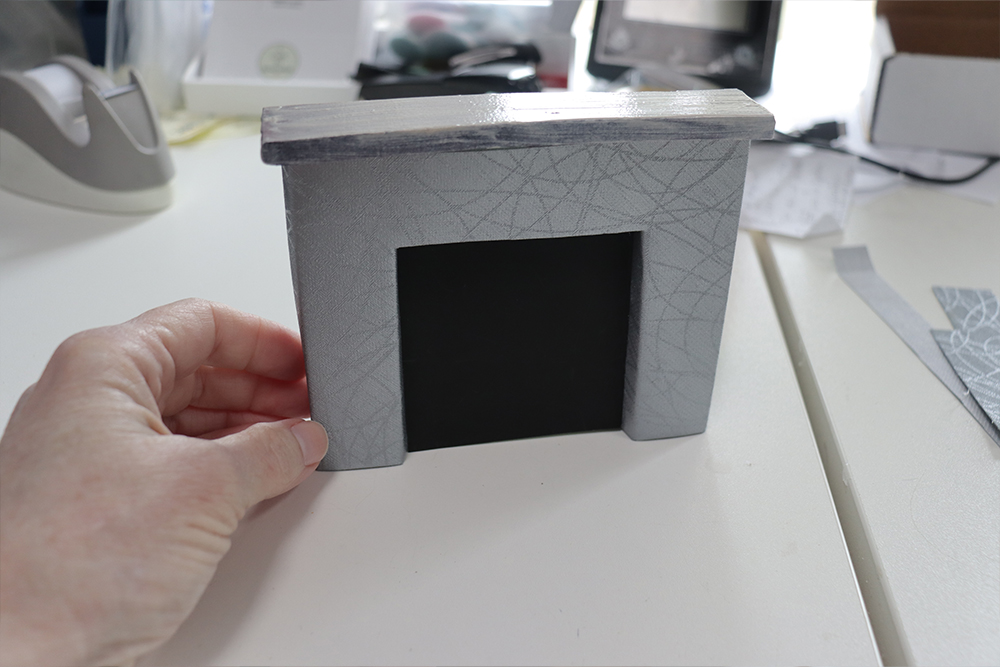
I decided to make a bunch of little dollhouse fireplaces and mantels to test out different decorating styles and mantel decorations.
The one that I did today ended up being pretty modern, which is interesting because that’s not my decorating style at all (not that I have one,) but it did go in that direction.
Now, before I get started, let me say that this is for FUN. I’m not an experienced dollhouse maker, and I’m using whatever I can find that appeals to me at the moment!
So yeah, I’m probably not doing this “right,” But I want to encourage people to just try things out and have fun with it, because why not? Don’t get so wrapped up in worrying about doing something “right” that you don’t have fun doing it!
Some of the links in this article are affiliate links that will pay a small commission if they’re used to purchase something. To see the entire affiliate policy click here.
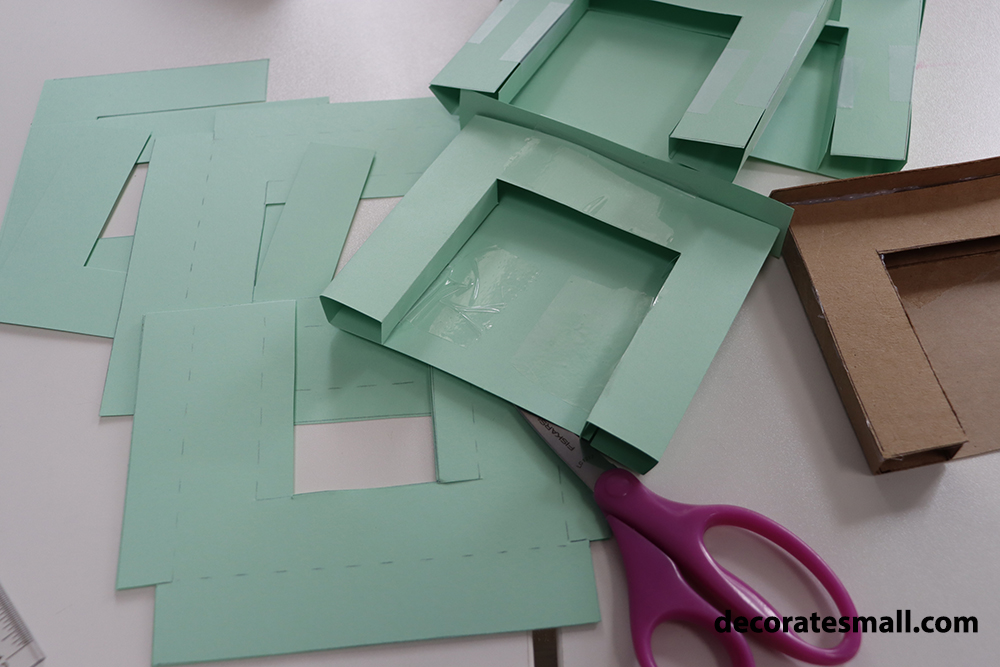
First, I printed out some templates directly onto cardstock so that I could just cut them out and use those to assemble them.
I still have the cardboard one that I made when I designed the template, but using the cardstock let me cut them out without having to trace anything, and I was feeling lazy.
I used tape to put them together since I was planning on covering up the surfaces completely.
I poked around in my materials stash and found some vinyl wallpaper with a paper backing. I folded one line in it to get it started, and fit it around the edge of the left side of the fireplace shape.
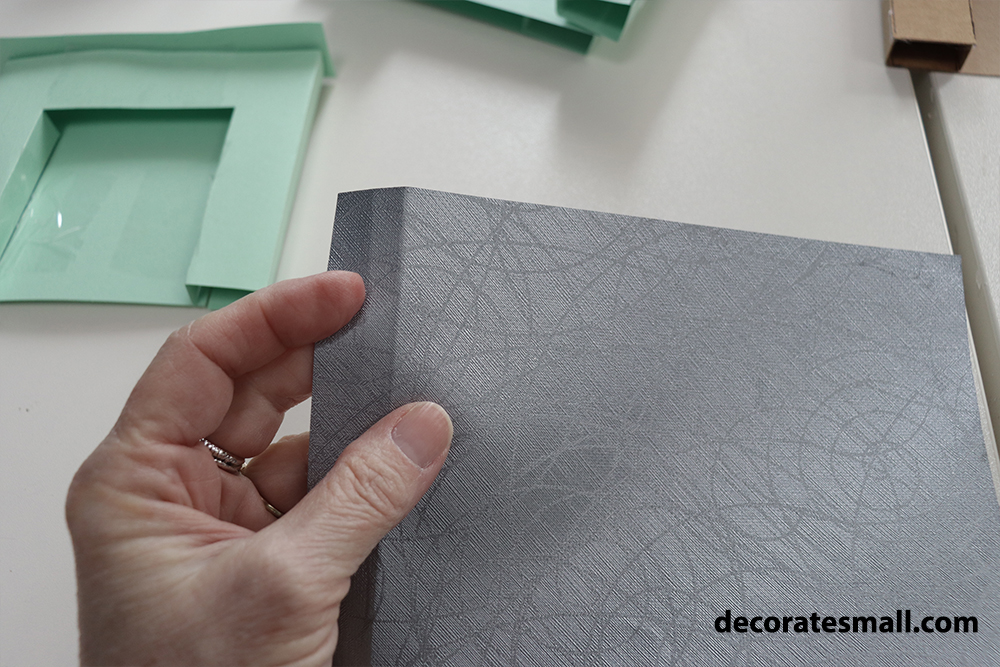
I wrapped the wallpaper around and measured where the other side of the fireplace would hit the folded edge, and I folded the other side.
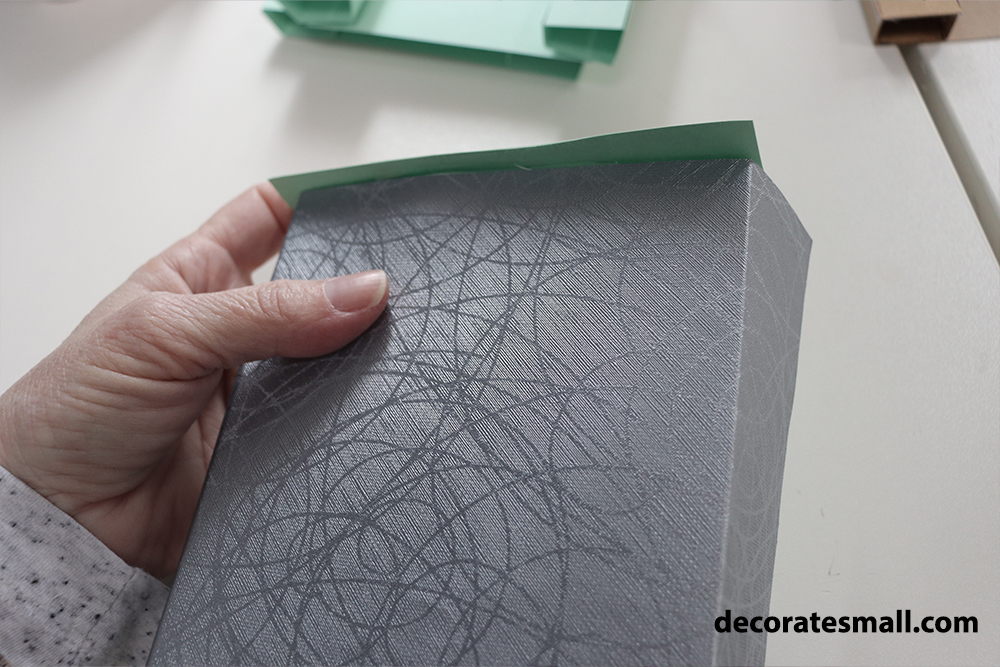
I trimmed the wallpaper so that it would match the edges of the fireplace in the back.
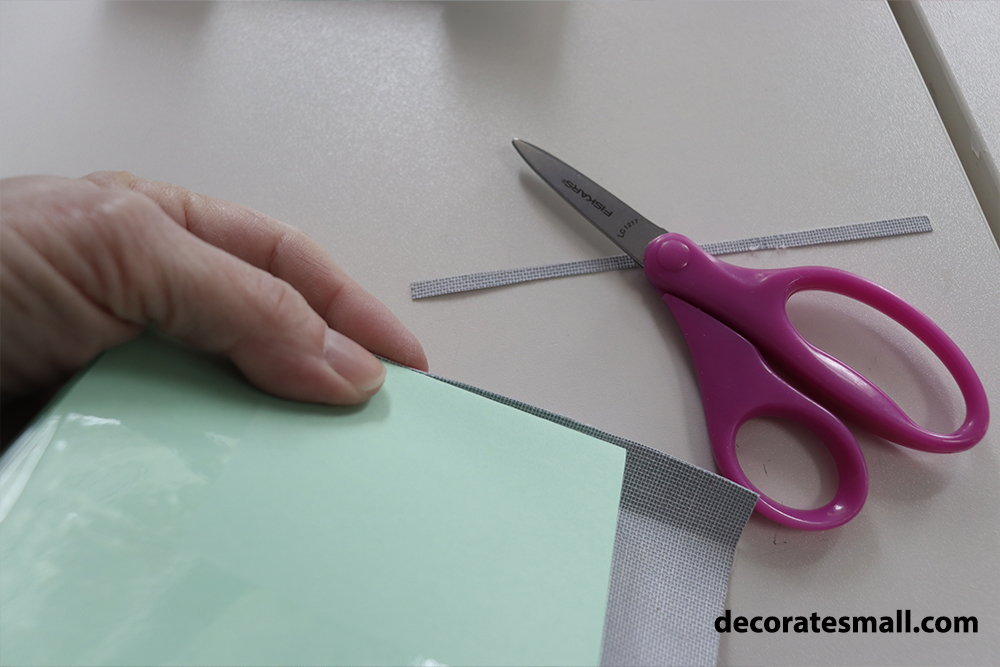
Since the wallpaper was vinyl, it didn’t want to stick to the cardstock very well, plus I had decided to use rubber cement because I couldn’t find my glue, and that didn’t want to cooperate either.
I pressed it onto the cardstock and taped it into place to hold it as it dried, and that did work.
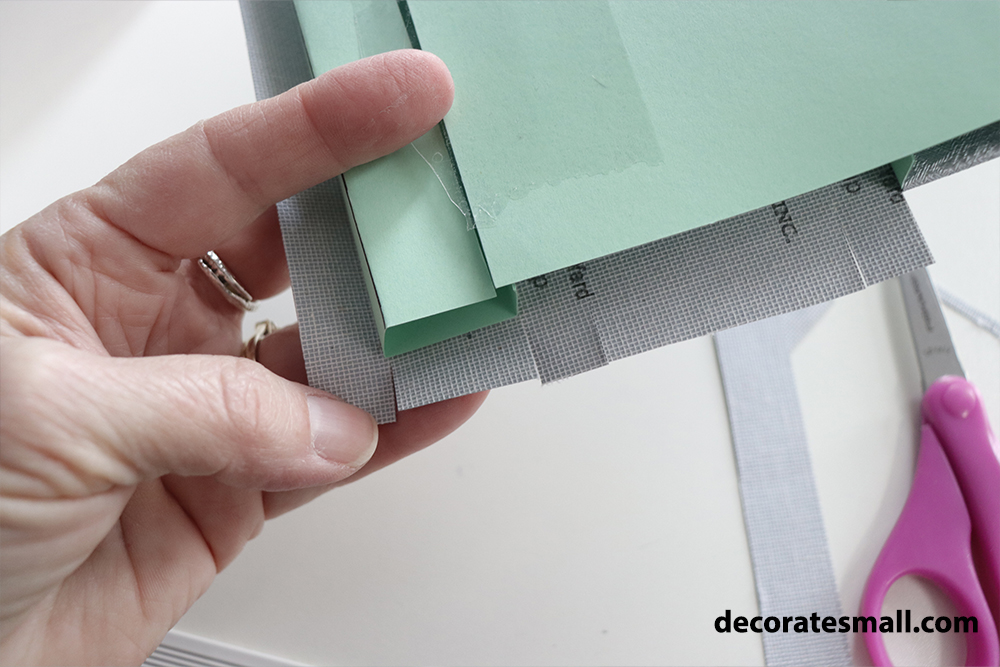
I also decided to cut some tabs on the bottom edge, and fold those up into the legs of the fireplace sides.
To see the full directory of all of our verified members, click here.
What that did was give the wallpaper something to grab onto, which helped the outside covering to stay in place. I taped those tabs onto the inside of the legs to hold them in place.
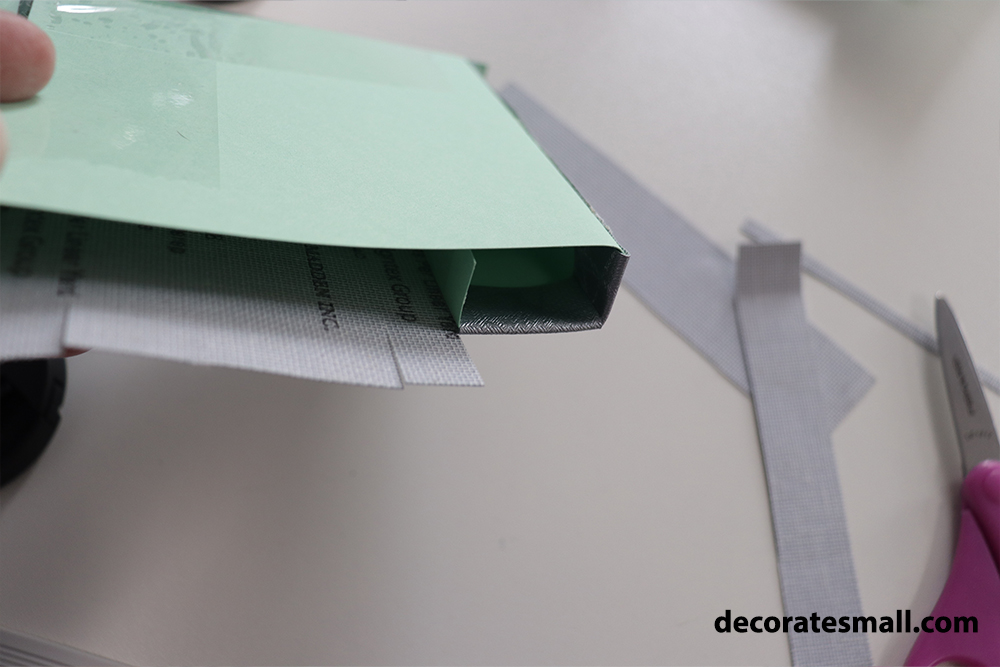
I cut the middle section out, leaving enough wallpaper to fold into the center.
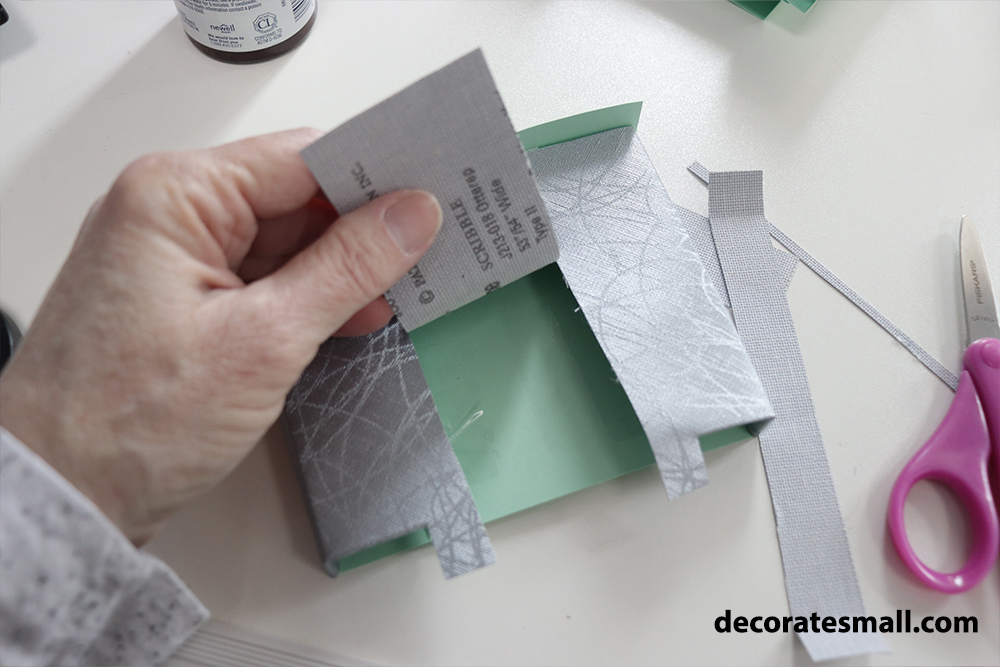
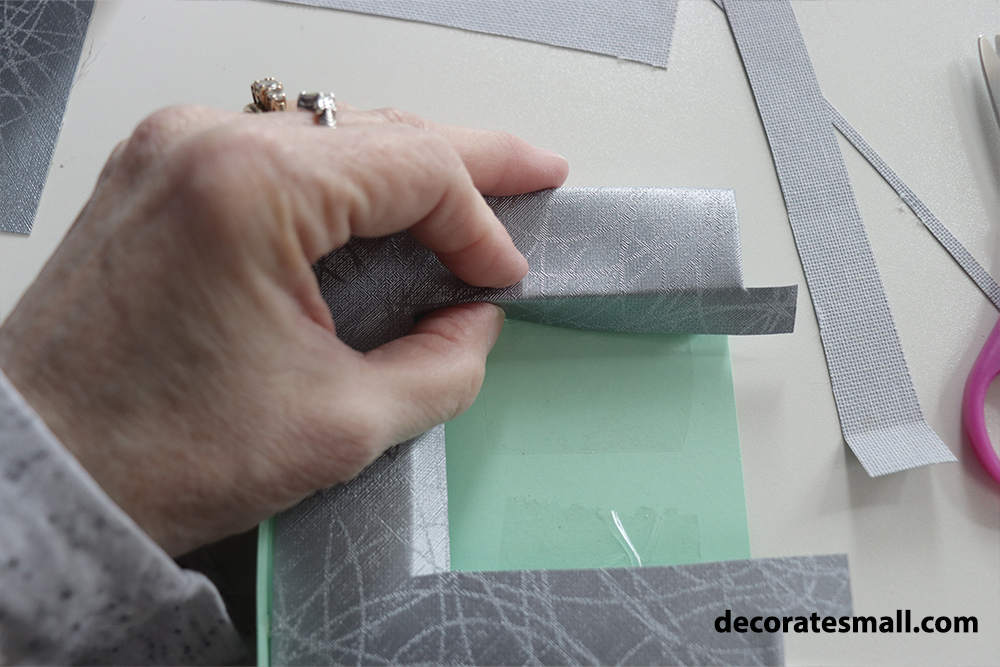
I folded the extra wallpaper in toward the center to cover up the cardstock on the inner edge.
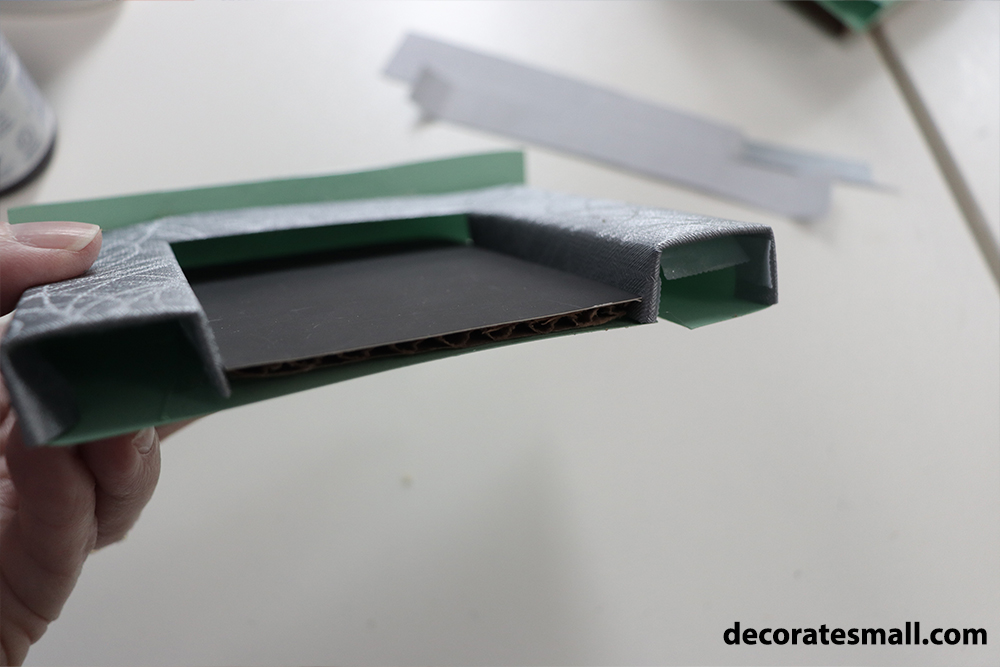
The folded wallpaper didn’t want to stick to the inside edges, so I put a piece of cardboard into the opening to press against the two legs and to keep them in place.
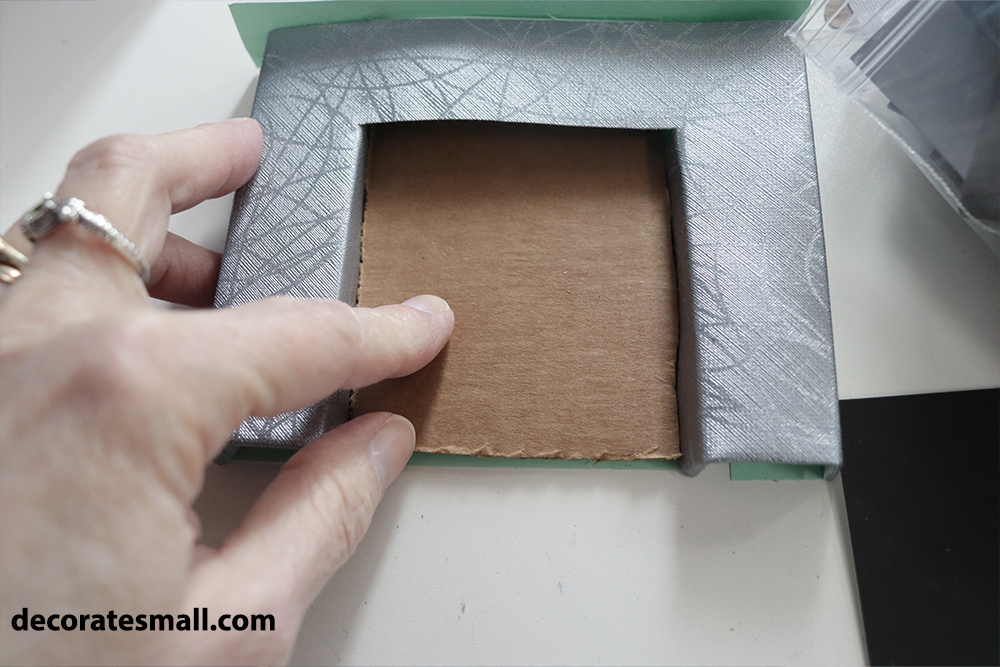
I covered the cardboard with a piece of black cardstock and glued that into place.
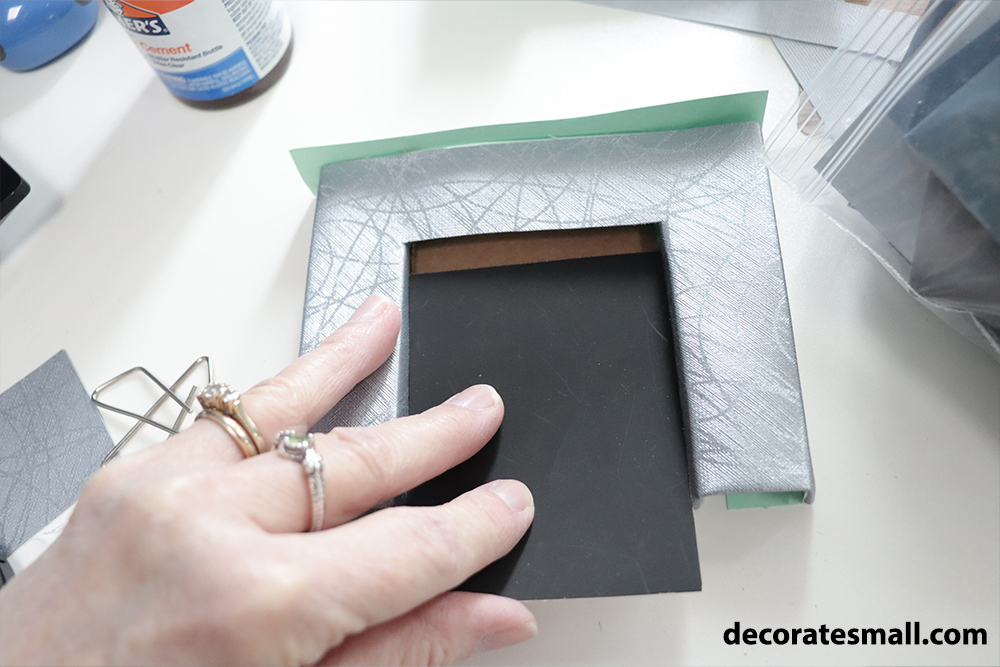
This is how thick the insert ended up being, and this shows why it was able to hold the wallpaper in place.
I decided that I wanted to put a thicker mantel on the fireplace, so I cut off the cardstock one.
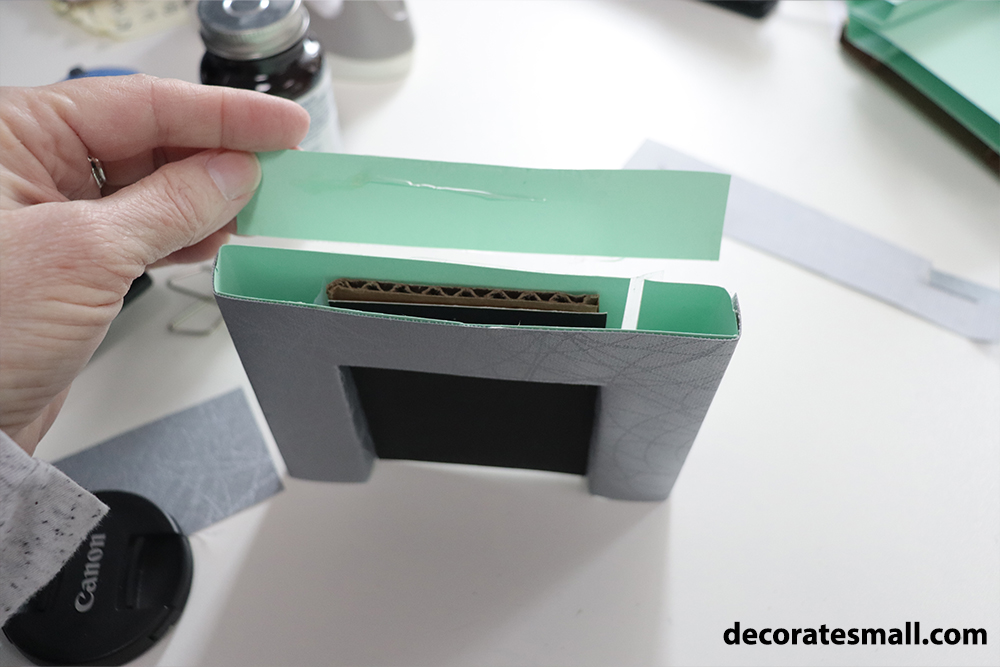
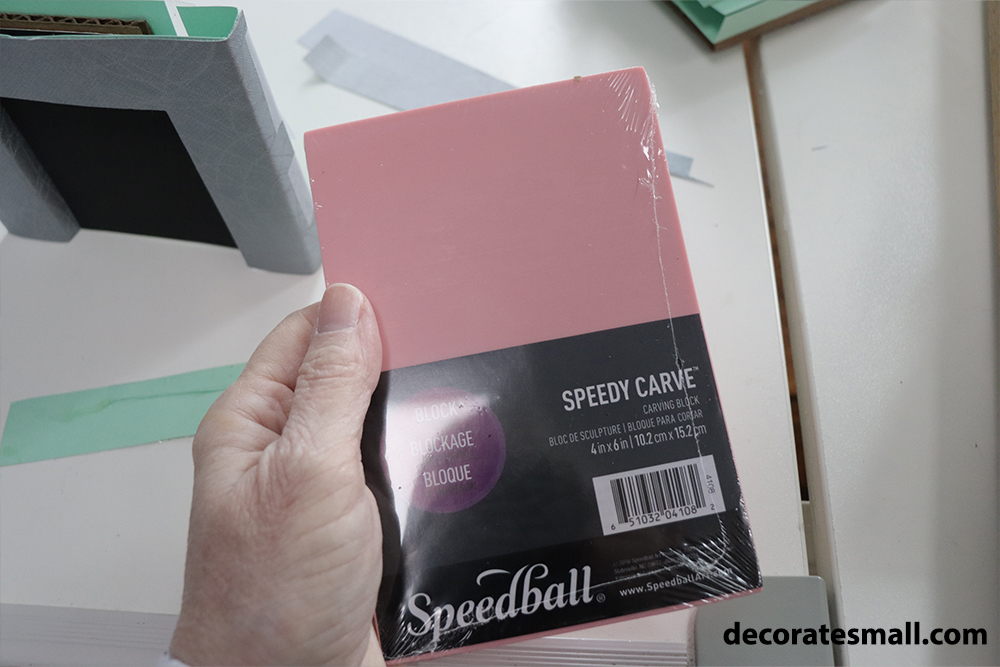
I poked around until I found this linoleum print cutting thing that I’d bought a while back when I was feeling ambitious about doing some linoleum carving (I think I did one, then stopped.)
It was thick enough, and since you can cut it with a knife I was able to cut a piece off that was the same shape as the mantel template.
Putting this on the fireplace, I was able to see that it was the right size after I trimmed it a little using a craft knife.
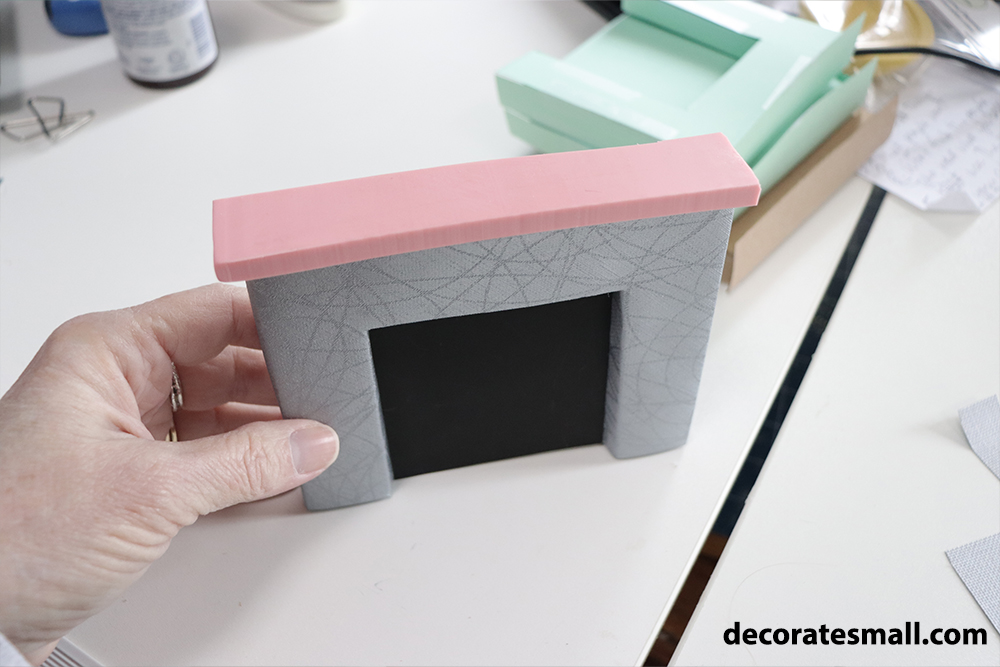
Since you can write on the cutting thing, I used some silver and black sharpies to cover the surface.
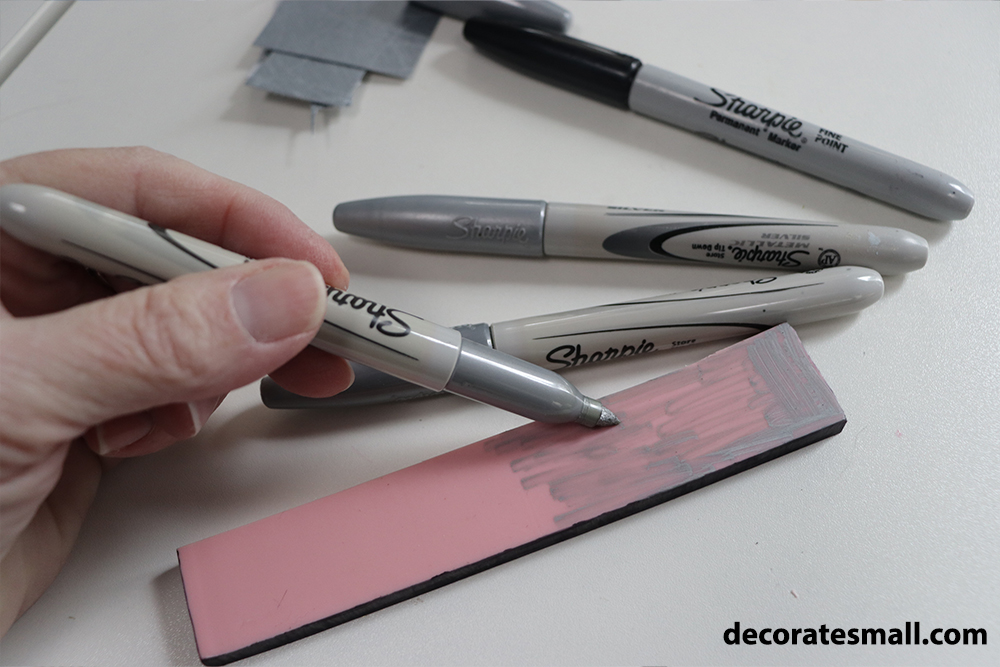
The black one worked really well, but the silver one didn’t want to give the same coverage, so I painted another coat of paint on using craft paint.
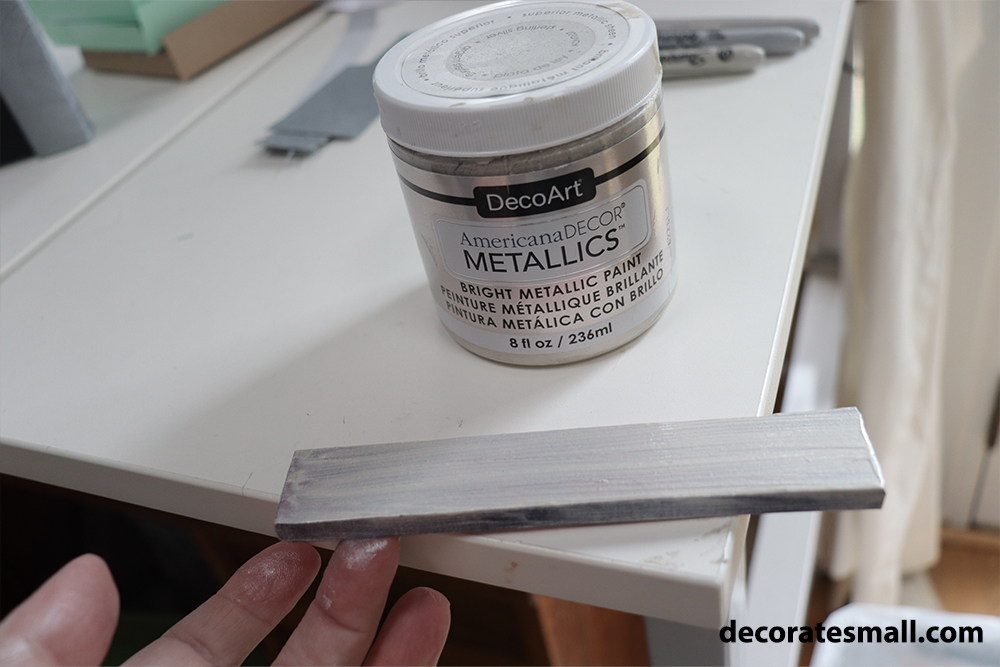
Here’s the finished fireplace and mantel, minus one more coat of paint when the first one dries.
Once I do that second coat, I’ll start on another mantel in a different style.
