This easy hack for making dollhouse furniture cushions dawned on me because I’m pretty impatient and lazy when it comes to remodeling things.
I’m also not too concerned about things being permanent, because I like the idea of reworking a dollhouse room down the road if I want to, so I don’t need to do things the “right” way.
If you’re super concerned with doing everything “right,” this might not be your cup of tea.
But if you like the idea of trying new things out and just want to have fun with your dollhouse renovation, this might be a good furniture hack that you can use to remodel your dollhouse furniture.
Some of the links in this article are affiliate links that will pay a small commission if they’re used to purchase something. To see the entire affiliate policy click here.
Remodeling dollhouse furniture.
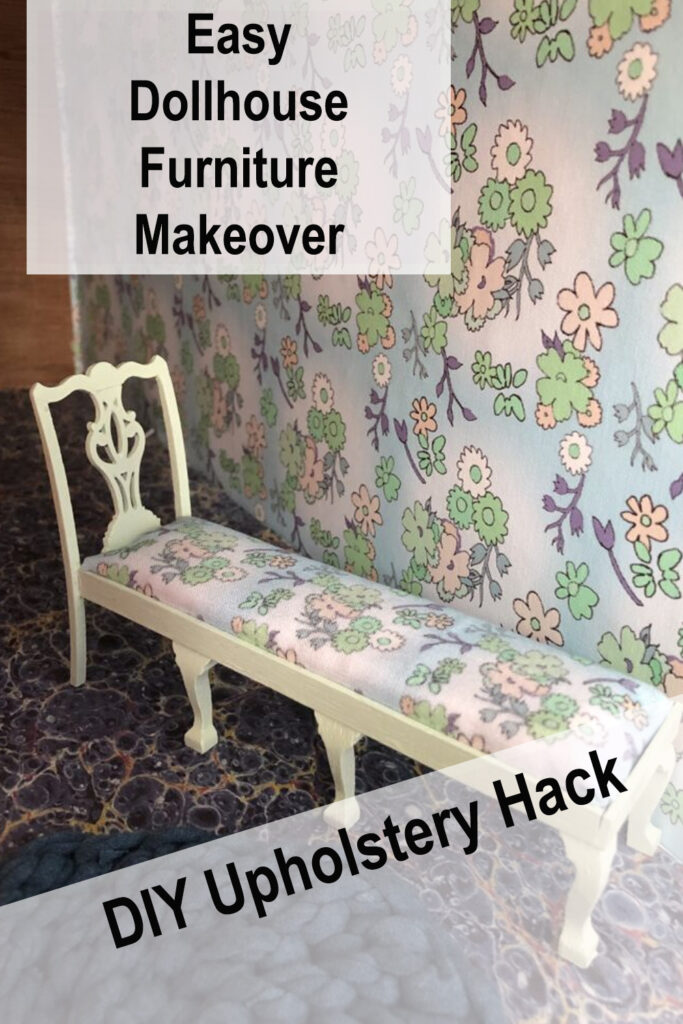
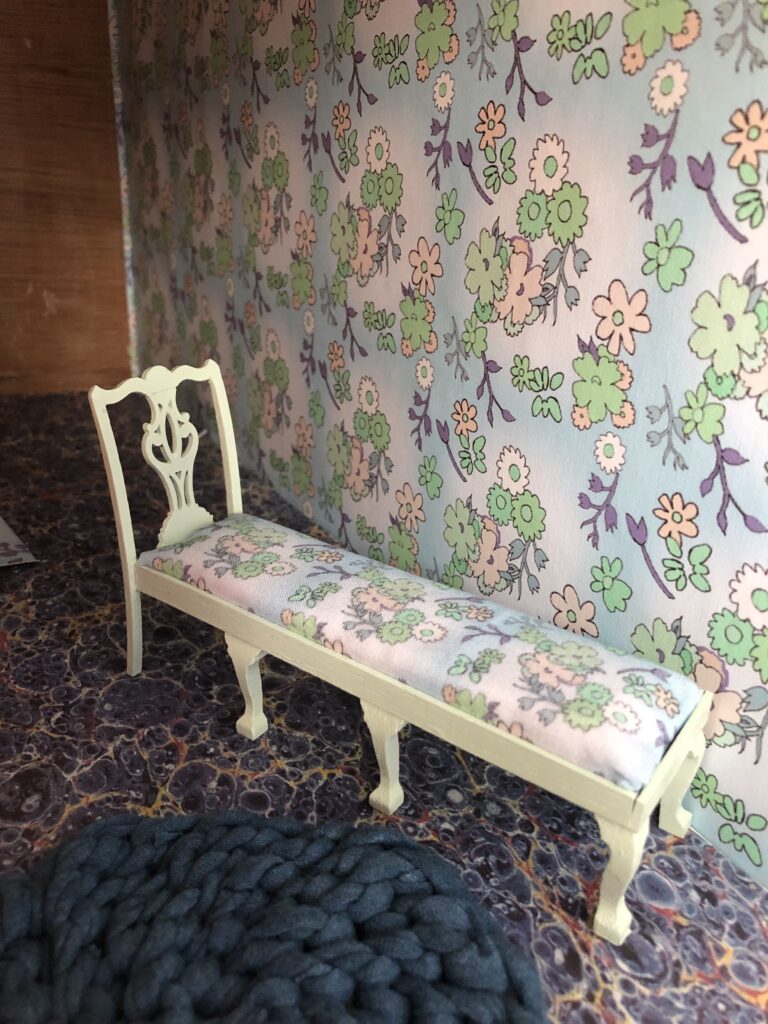
I got a bunch of dollhouse furniture and kits recently, and I decided to make over one little bench with some custom fabric and paint.
This was pretty simple, because I realized that the cushion wasn’t attached to the bench seat, and I could just lift it off.
It was made with a long piece of cardboard, a little cushion padding, and it was covered with a piece of fabric.
This is pretty much how a real chair would be upholstered, and I’ve done some of that (full-sized) in the past.
You can usually take the seat of the chair off and recover it, then screw the seat back onto the chair frame.
With that method, you usually either staple or nail the fabric onto the seat, but in this case the cushion had the fabric glued onto it.
I could have attached the fabric onto the cardboard seat with more glue, but I didn’t want to wait, so I used staples instead.
Reupholstering the seat on the dollhouse furniture.
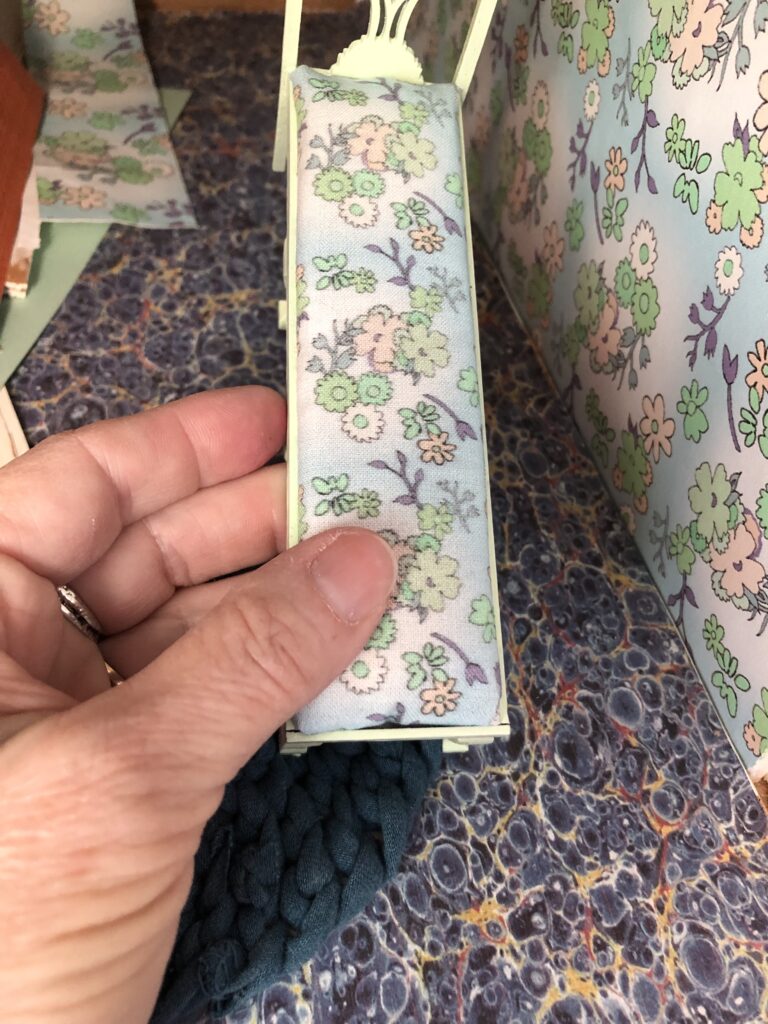
I measured the fabric and cut around the existing cushion, leaving about 1″ on all sides.
This was fabric that I designed based on some vintage quilting fabrics, and I bought some to use in some dollhouse projects. (You can find my Spoonflower shop with fabrics and wallpaper here .)
.)
I’ve since scaled down the pattern on this one a little because I thought the print was still a little too big, but it works for this bench because the seat is so long.
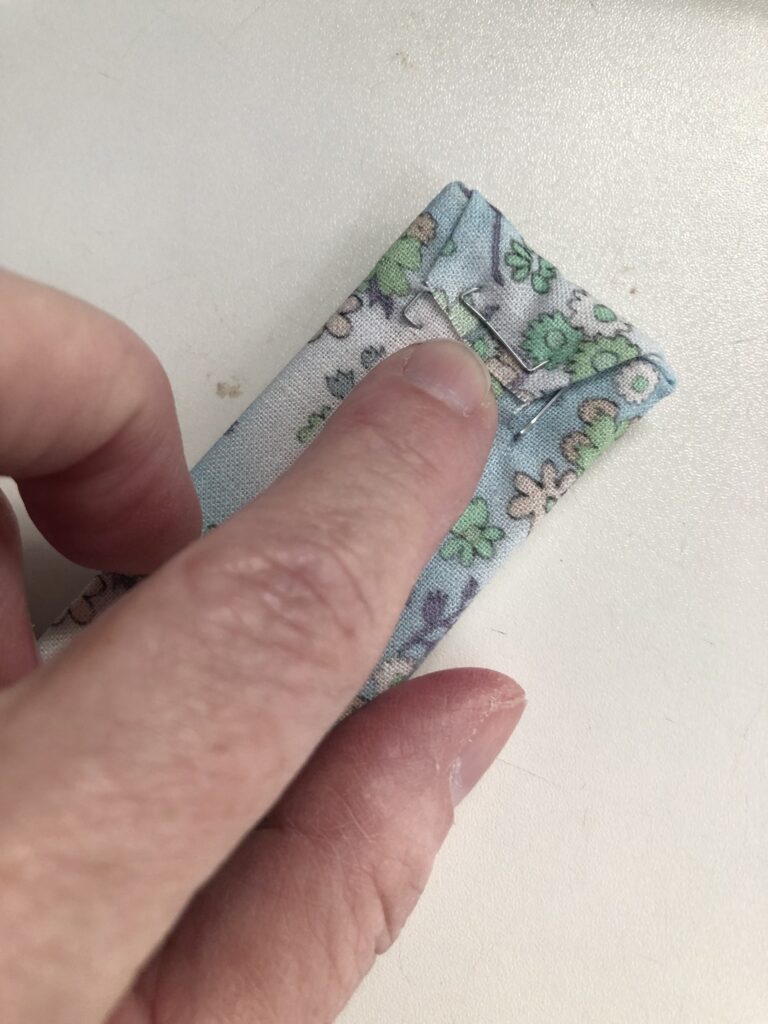
I wrapped the fabric around the cardboard that was attached to the original fabric, then I used a regular stapler to staple through the fabric to attach it to the board.
This is a miniature version of using a staple gun for a real chair cushion, and the staples might bend and not go through the cardboard every time.
If the staples bend but go into the cardboard enough to hold it in place that’s fine, but you might have to remove any that don’t go in enough to hold on.
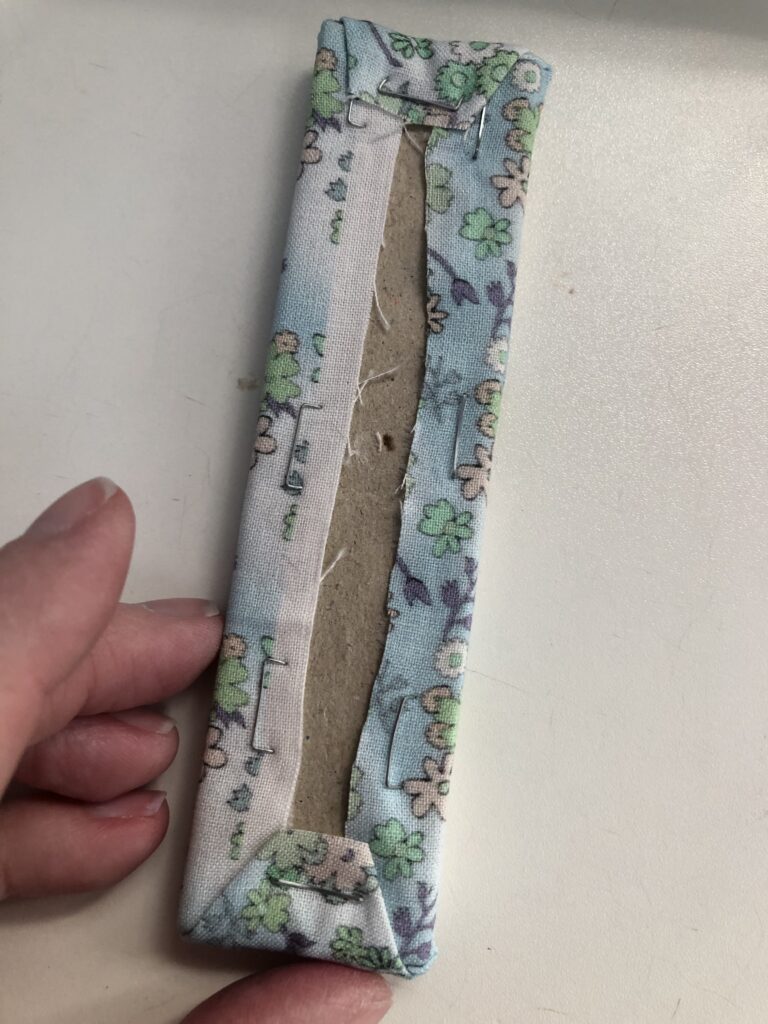
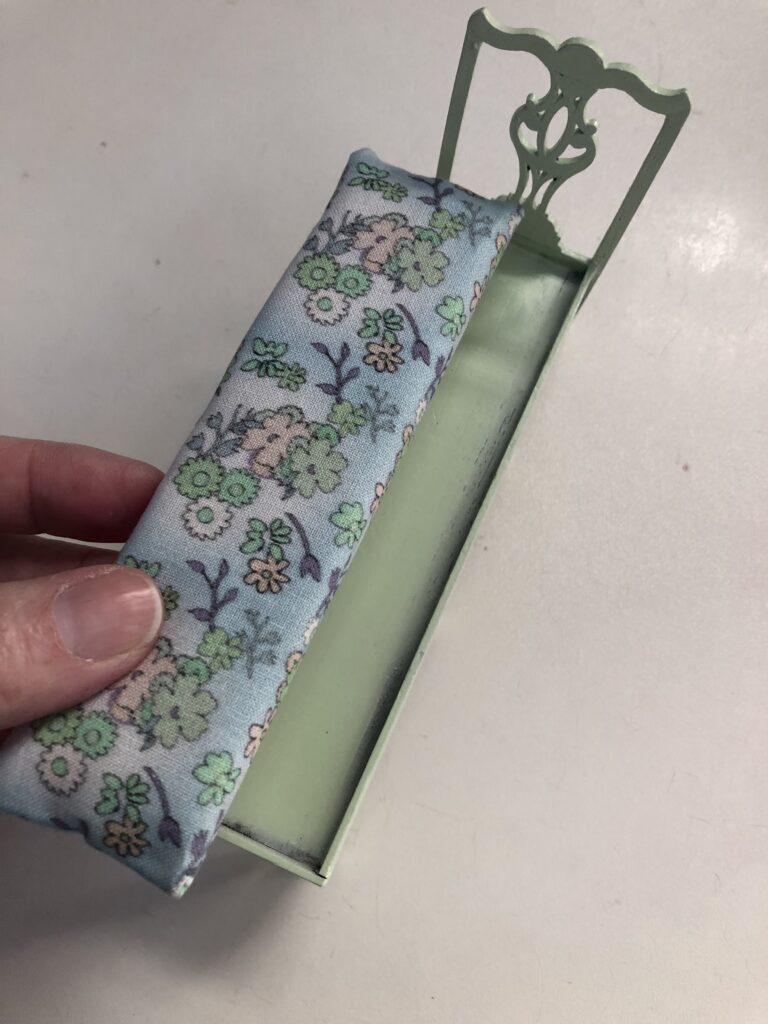
I tested the finished cushion in the seat of the bench, and it was a little too long because the fabric fattened it up too much.
I opened up the fabric on one end and cut off about 1/8″ of the cardboard to shorten it, then refastened the fabric.
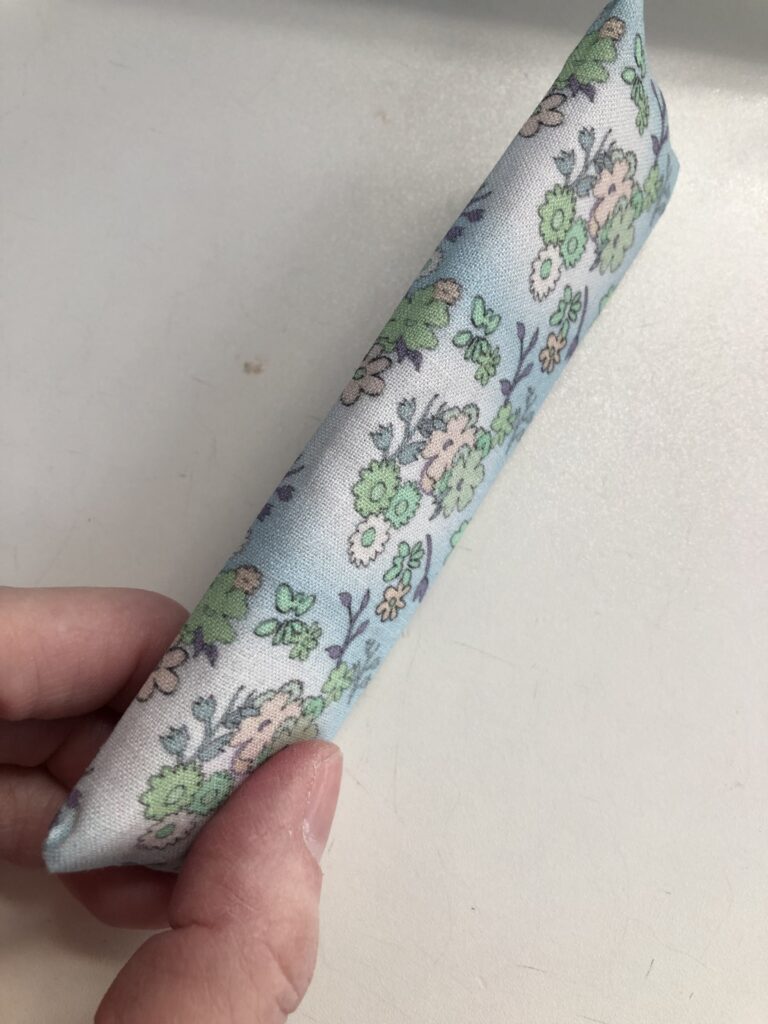
After I adjusted the length of the cardboard base, the cushion fit into the seat of the bench with no problems.
This was a pretty fast process, since I didn’t have to wait for any glue to dry on the cushion itself.
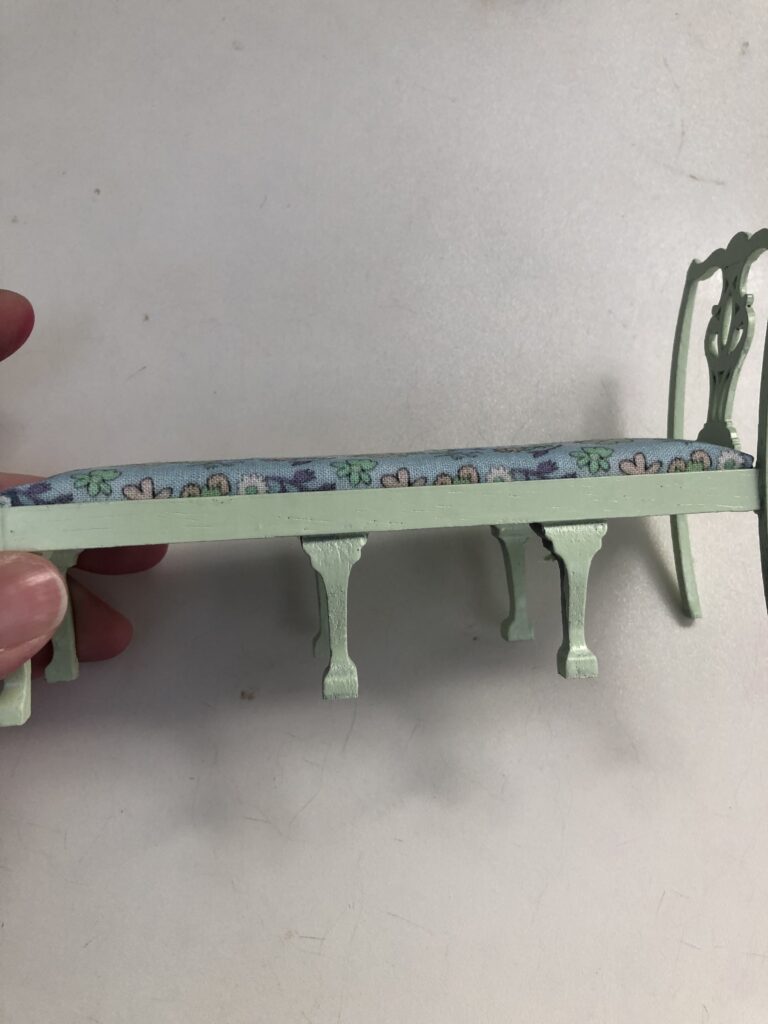
I’ll probably make a little cushion to put on the back of the bench, since this is a Chippendale style kit and the fabric doesn’t really go with that style.
On the other hand, that’s what makes it fun, so it might be a while before I get around to doing that!

