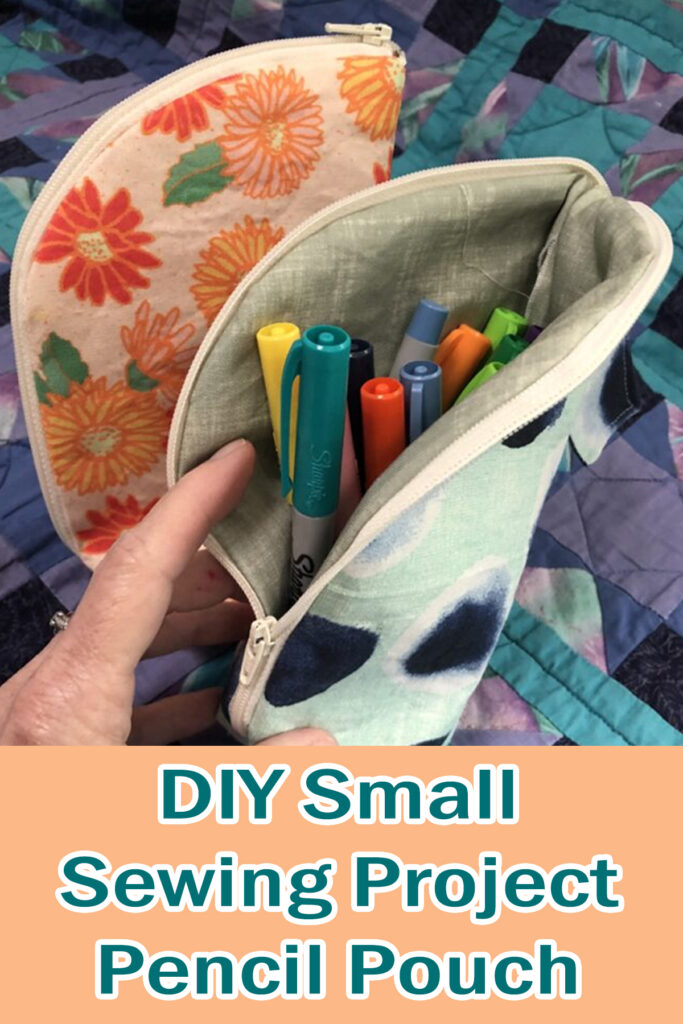
For this project I used a pencil case pattern from Evie Sews Pattern Shop on Etsy. It was pretty easy to make, and it can be made with a total of about one fat quarter of fabric or fabric scraps.
It was rated as a “confident beginner” difficulty, and I think that’s pretty accurate, but there were a couple of places that could be tricky. I would suggest that you don’t backstitch anything in case you need to undo something that you sewed wrong so that you can fix your mistake!
Some of the links in this article are affiliate links that will pay a small commission if they’re used to purchase something. To see the entire affiliate policy click here.
Materials to make the pouch.
The pencil pouches need about one fat quarter of fabric total, including both outer and lining. I used two different fabrics for the outer side and the inner lining.
You’ll also need a 12″-14″ zipper, and fusible interfacing.
Thread, pins or clips, and a zipper foot will round out the rest of the supplies.
Making the pencil pouch
After buying the pattern from Evie Sews on Etsy, print it out and cut out the pieces that you’ll need to make the bag. It also comes with instructions that you can print out to follow along with, or download as a PDF to use on your tablet or computer.
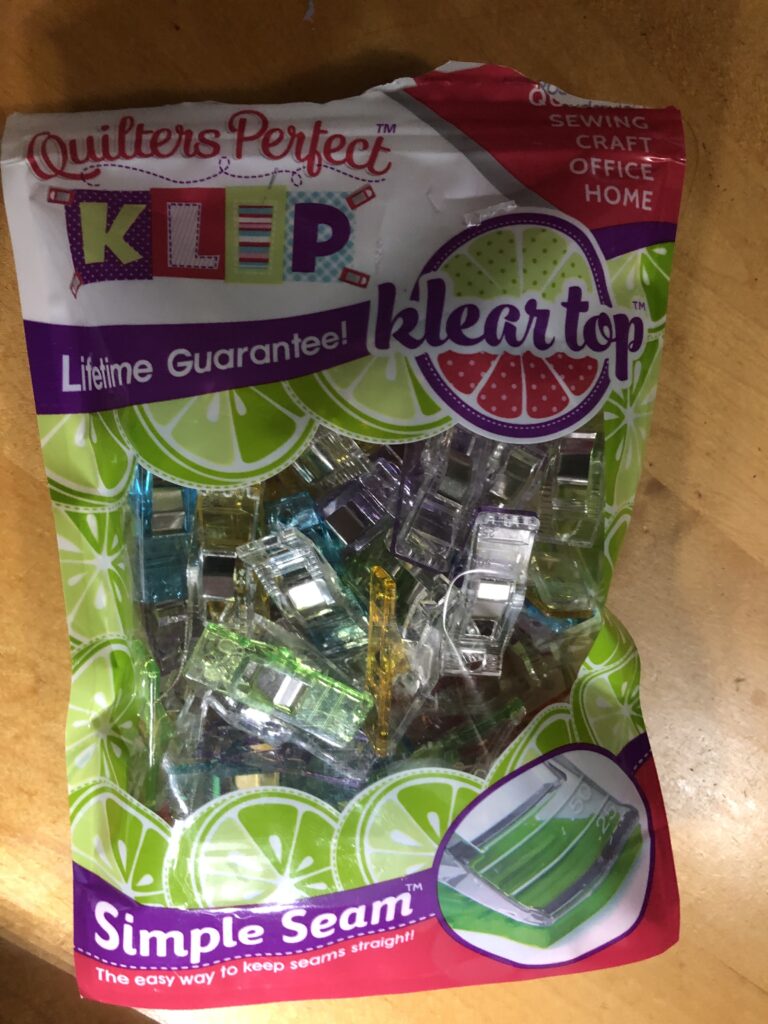
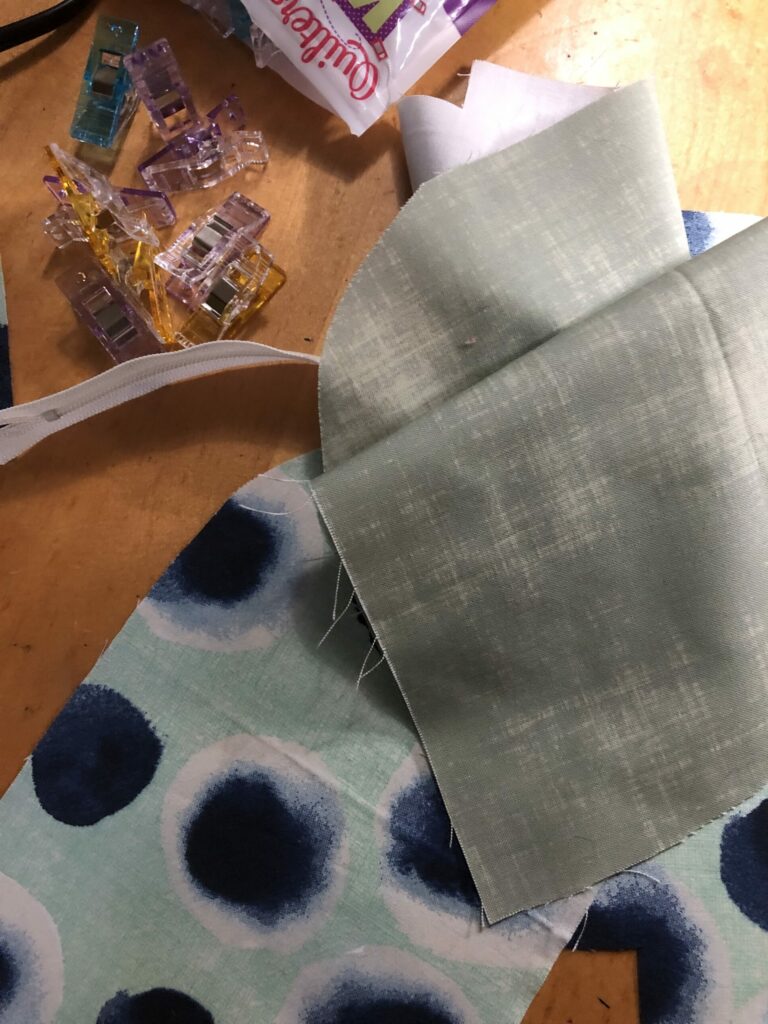
I used these sewing clips instead of pins, and they made it easy to attach the pieces together. You can find them on Etsy here: Sewing clips
With pins, you have to stop to pull them out, and half the time they’re facing the wrong way. The clips were easy to handle
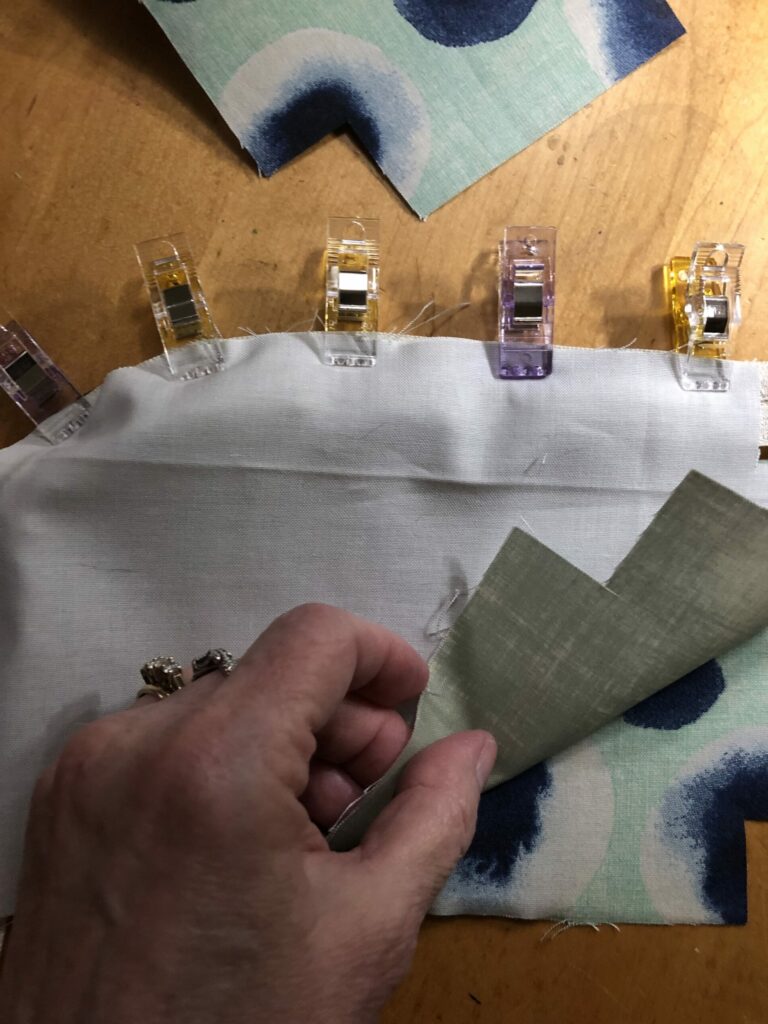
This is a lined pencil pouch, so it’s a two-step process to get the zipper attached on each side witht he lining and outer fabric sewn together.
It wasn’t hard to do this part as long as you have a zipper foot to sew a narrow seam around the section that the zipper is attached to.
For an article about machine quilting, click here.
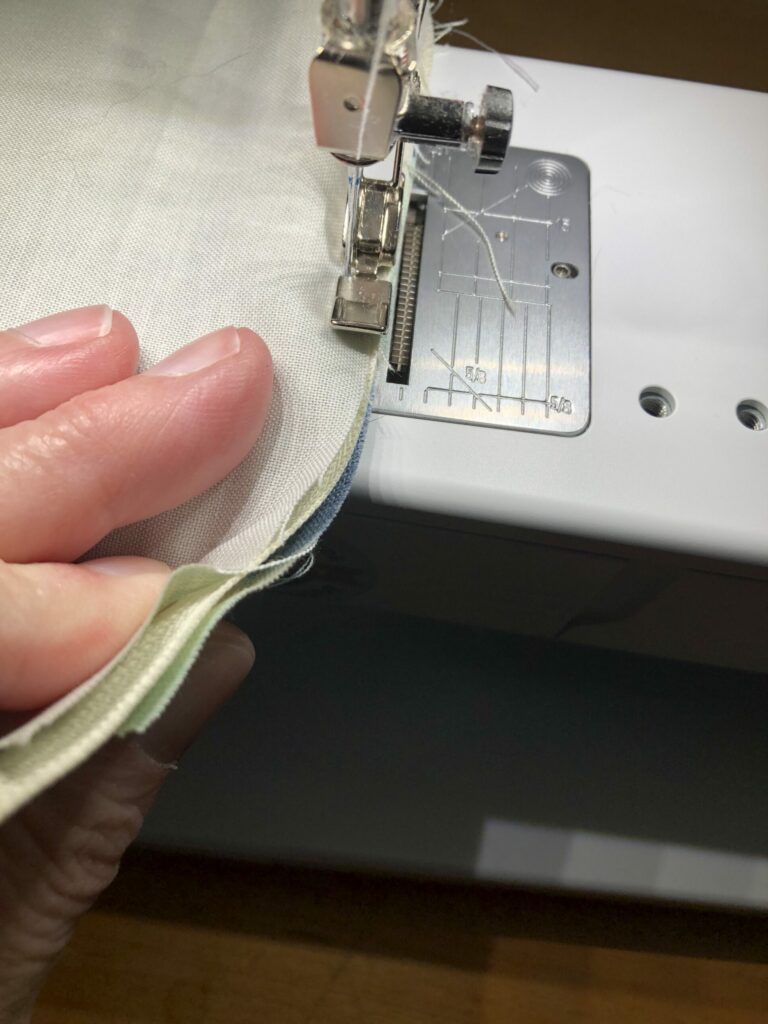
The zipper foot is narrow and will sew next to the zipper without pushing it out of place. You can find a lot of different zipper feet on Etsy,  but make sure that you’re getting one that will fit your machine since they all have different ways to attach to different machines.
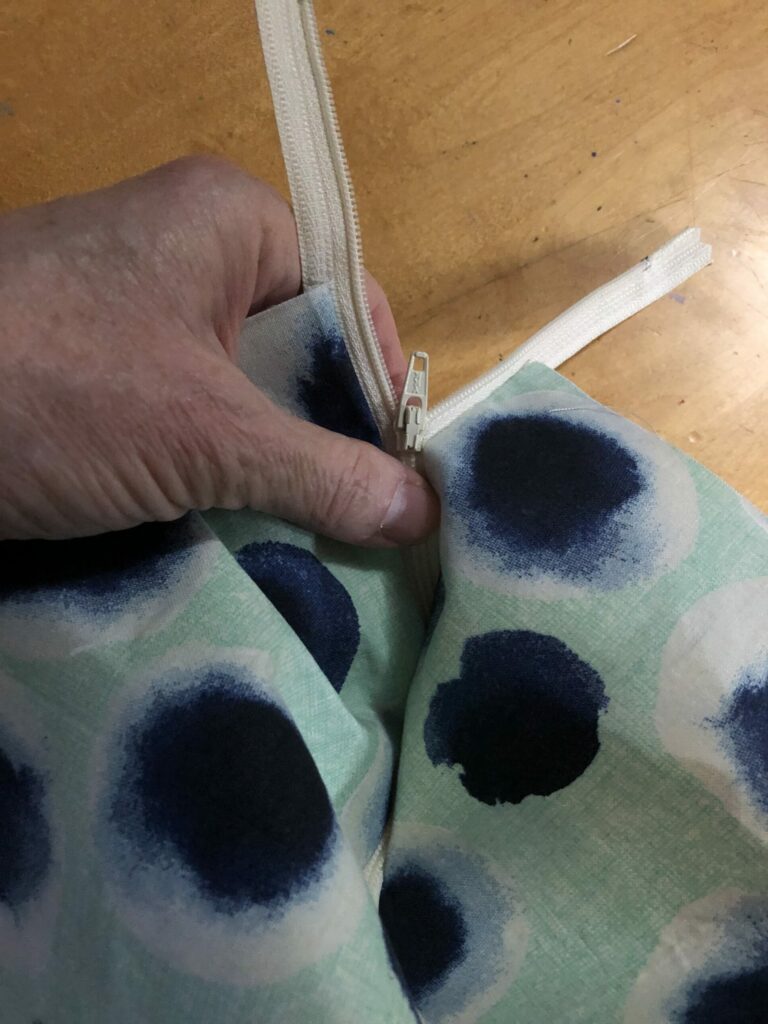
The zipper will be attached to both sides of the pouch when you’re done setting it in, and the lining will also be attached.
The trickiest part of the pattern!
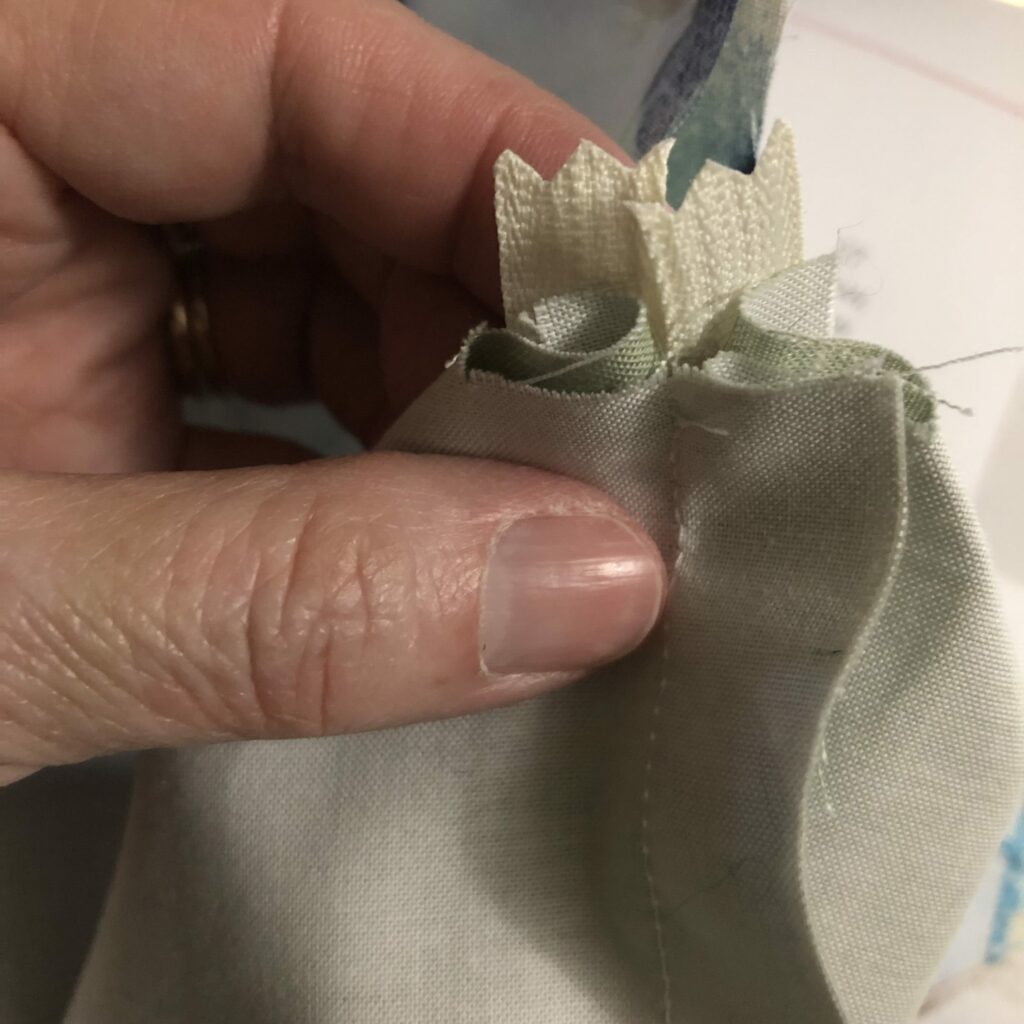
Doing the bottom of the pouch is the trickest part in, my opinion. It has a built-in design that lets you create a flat bottom when you sew it without having to add an additional piece of fabric.
If you have experience with sewing you’ll probably be able to figure it out, but if you’re a beginner you should go slow on this section to make sure that you do it the right way or you might have to redo it.
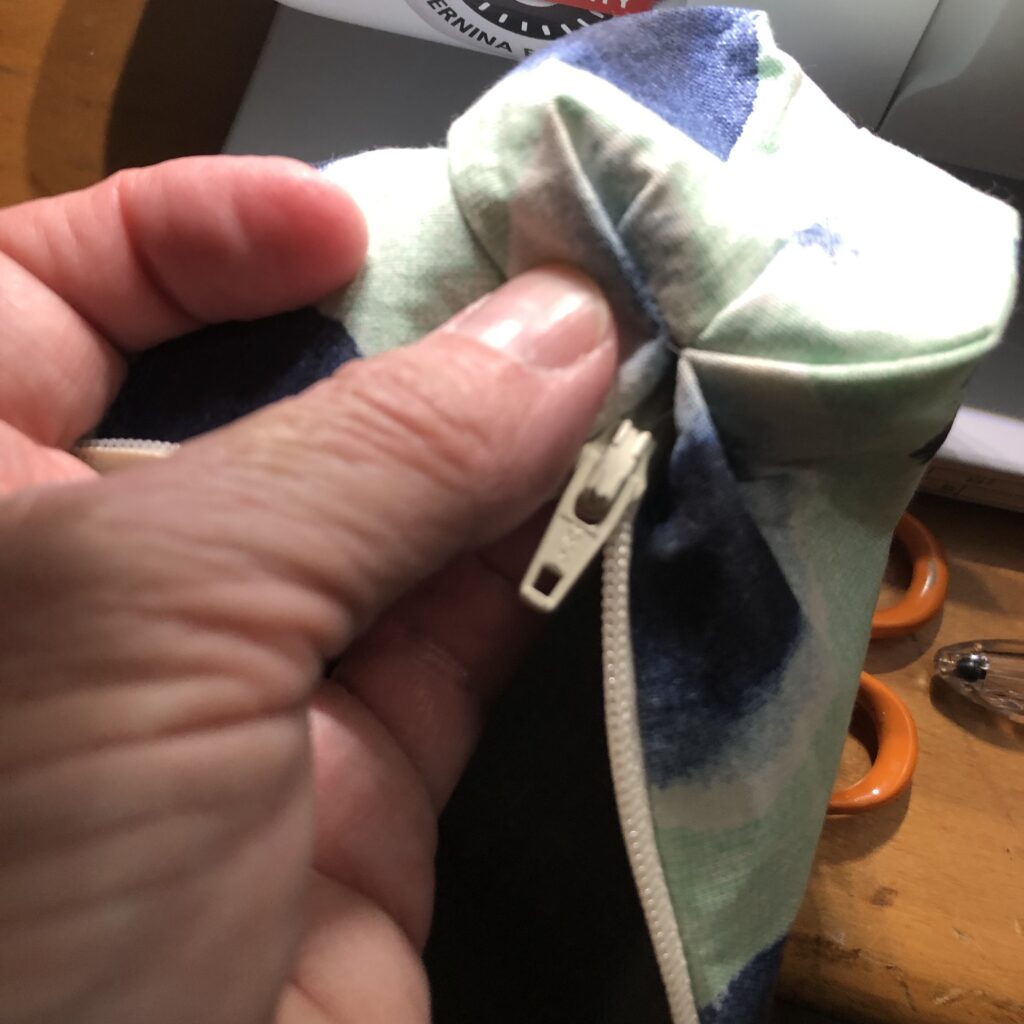
When it’s done, there will be a flat section on the bottom of the bag and you’ll be able to stand it up.
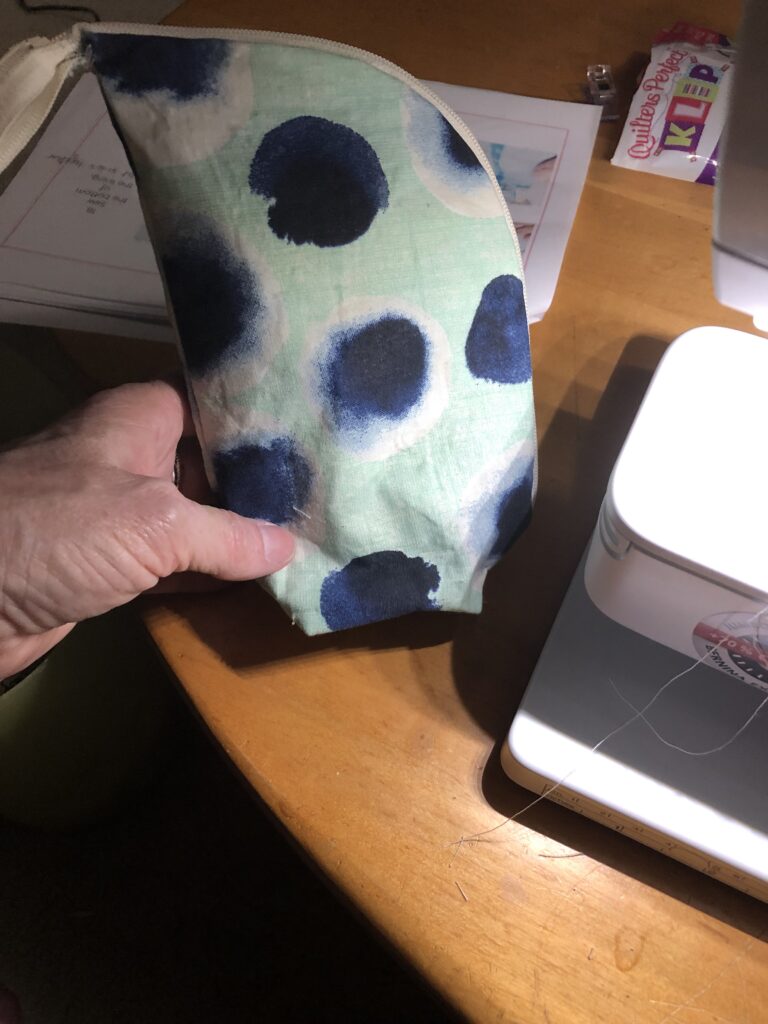
Here’s the finished bag before I added the tab on the zipper to finish it off.
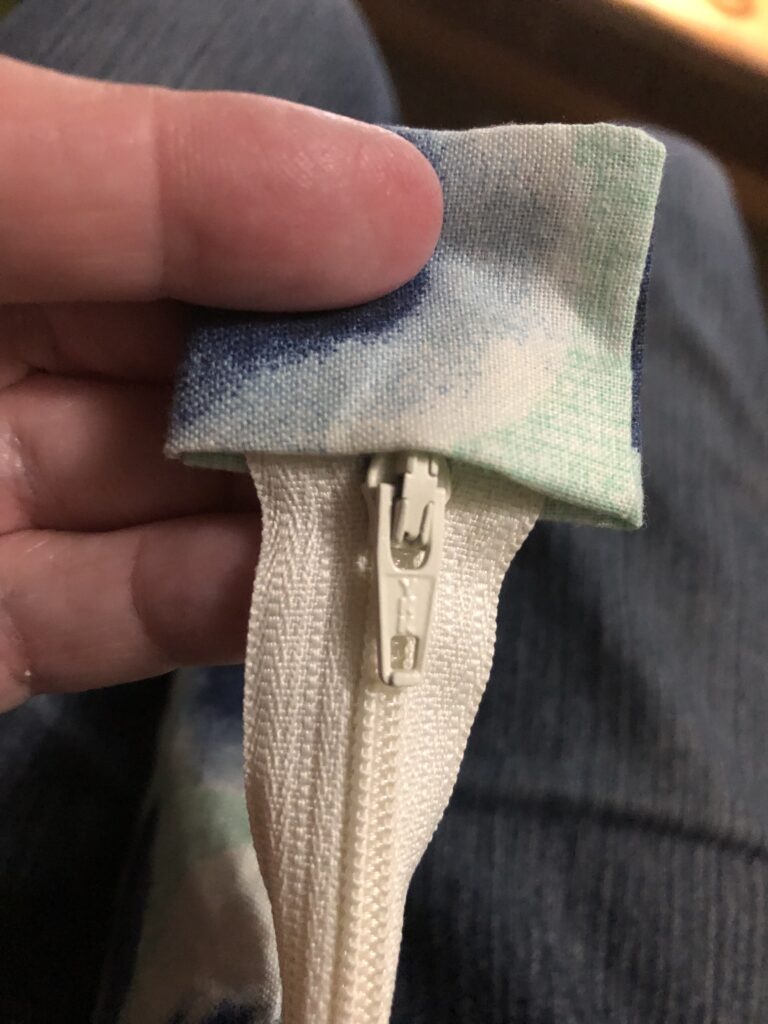
And here’s the zipper with the tab before I sewed it on.
I did two versions of this pouch, one with a longer zipper and one that has a zipper that’s shorter.
For a free tote bag pattern, click here.
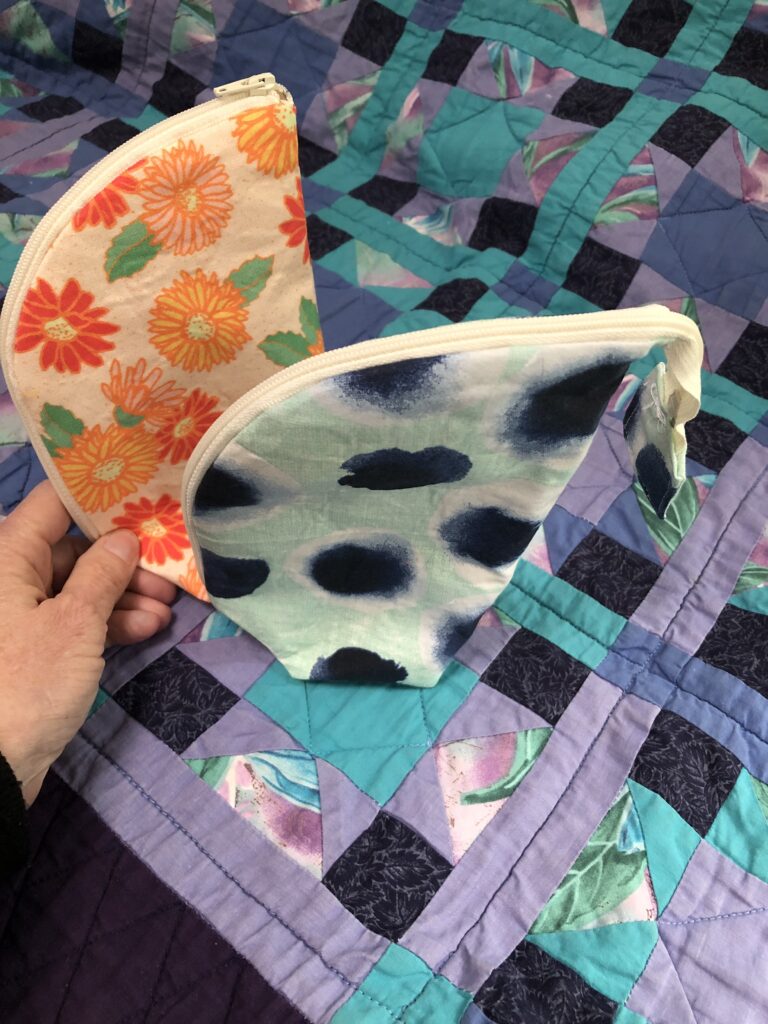
This was an easy pencil pouch to make, it takes about an hour to make one from start to finish.
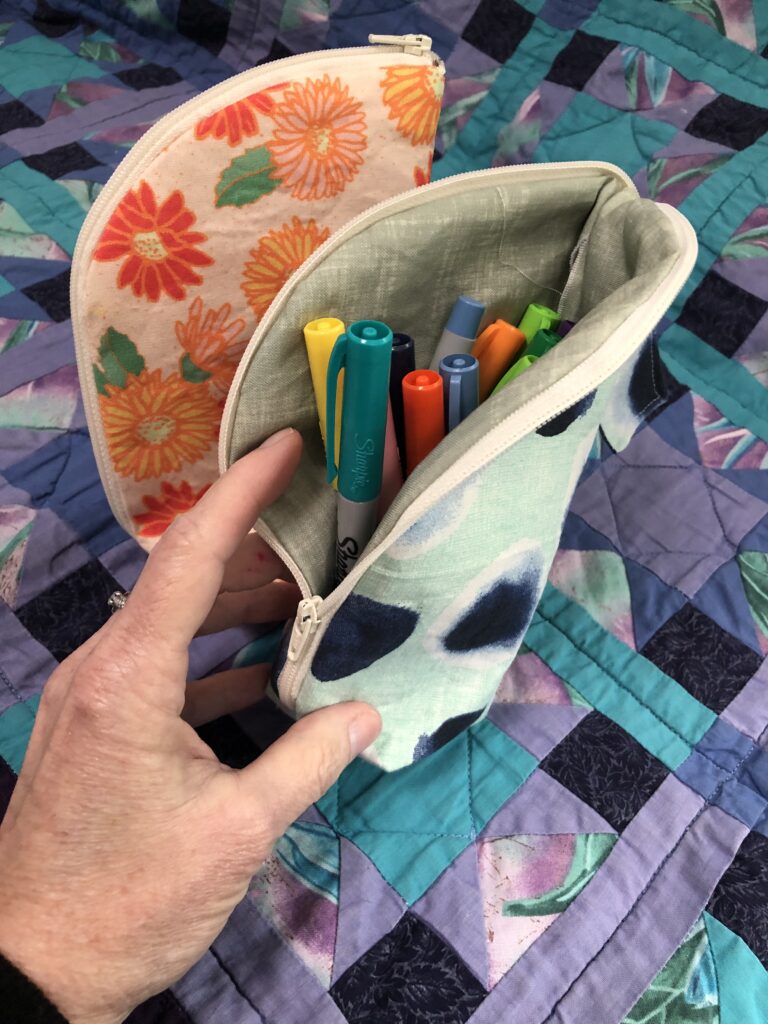
It’s not too big but I was surprised at how much it holds. I put these sharpies in one to see how tall they were and there’s plenty of room to put more things in there.
I’d say that this pattern is rated correctly on the “confident beginner” side, and that if you make one out of scrap fabric ot practice you’ll get faster on the second and third ones.
It would make a cute gift or a nice pencil case for a kid or a teenager’s school backpack.
Grab the pattern here on Etsy: Evie Sews Pattern Shop

