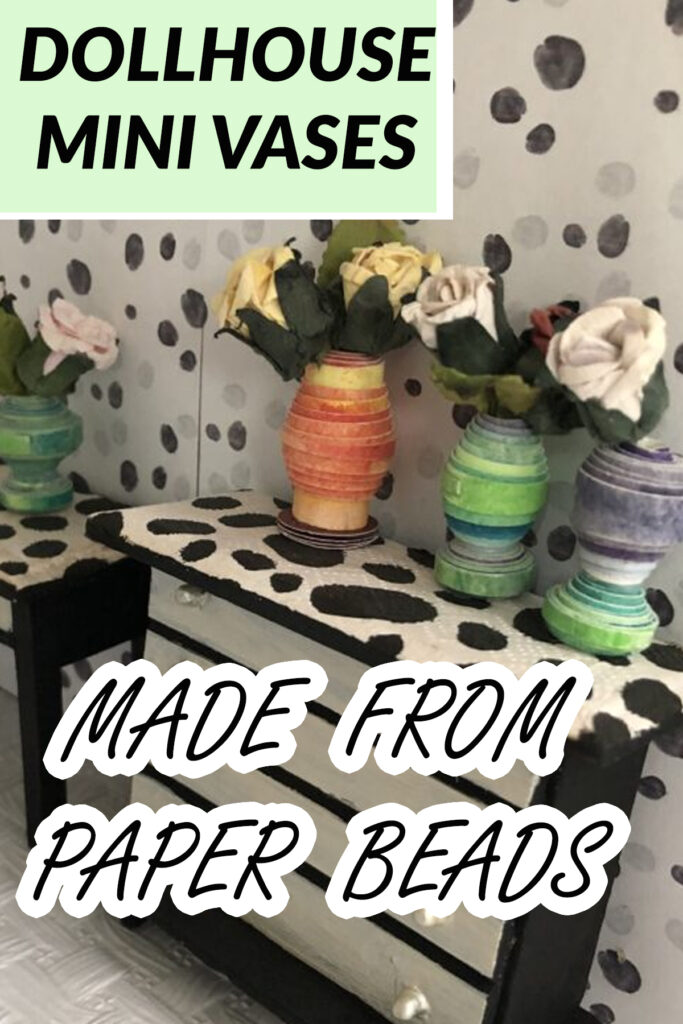
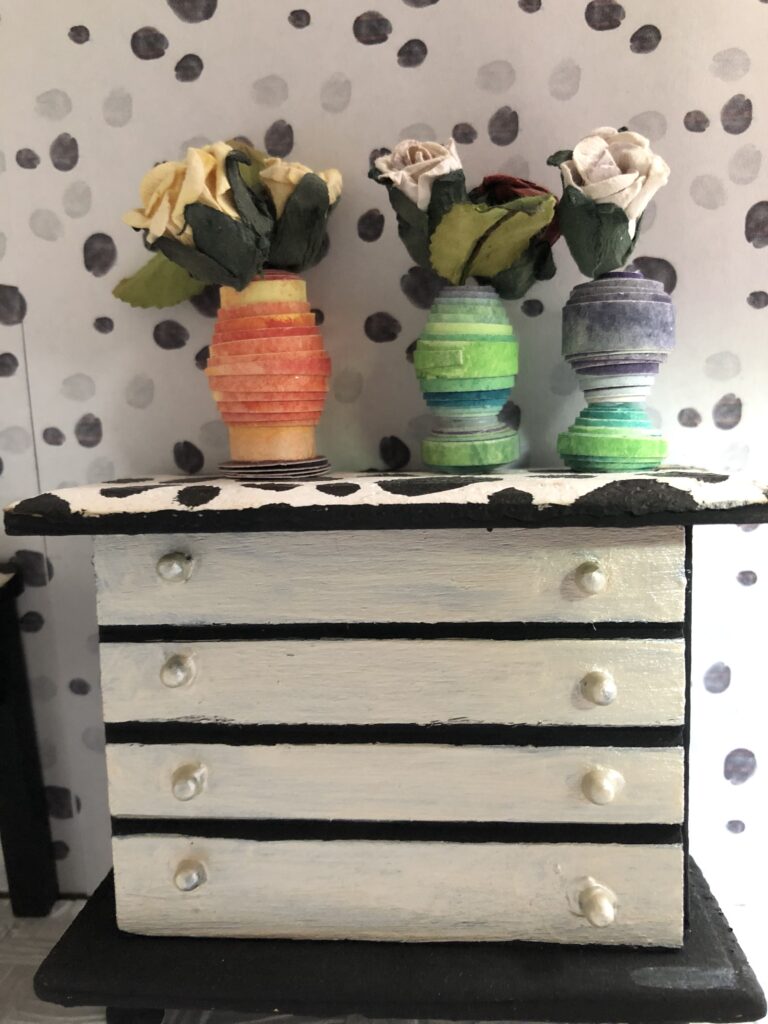
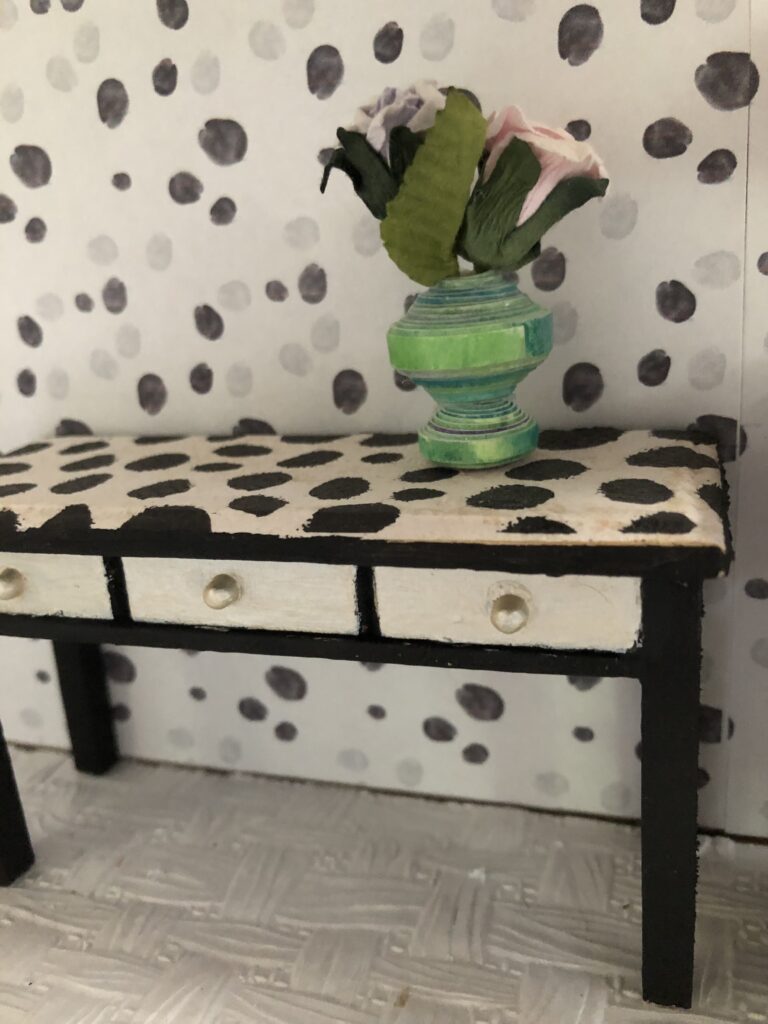
I decided to show this simple DIY mini vase idea for dollhouses that you can do by using scrap paper and beads.
This is a fun way to create a ton of little vases in different shapes and sizes, and like I said, you don’t have to go buy a lot of materials for them.
Recycling magazines or scrap paper to make the paper beads is just as good as buying special paper for them.
You can even reuse strips of wallpaper that you used for a room to make matching interior decor!
Some of the links in this article are affiliate links that will pay a small commission if they’re used to purchase something. To see the entire affiliate policy click here.
Materials you’ll need to make the miniature vases.
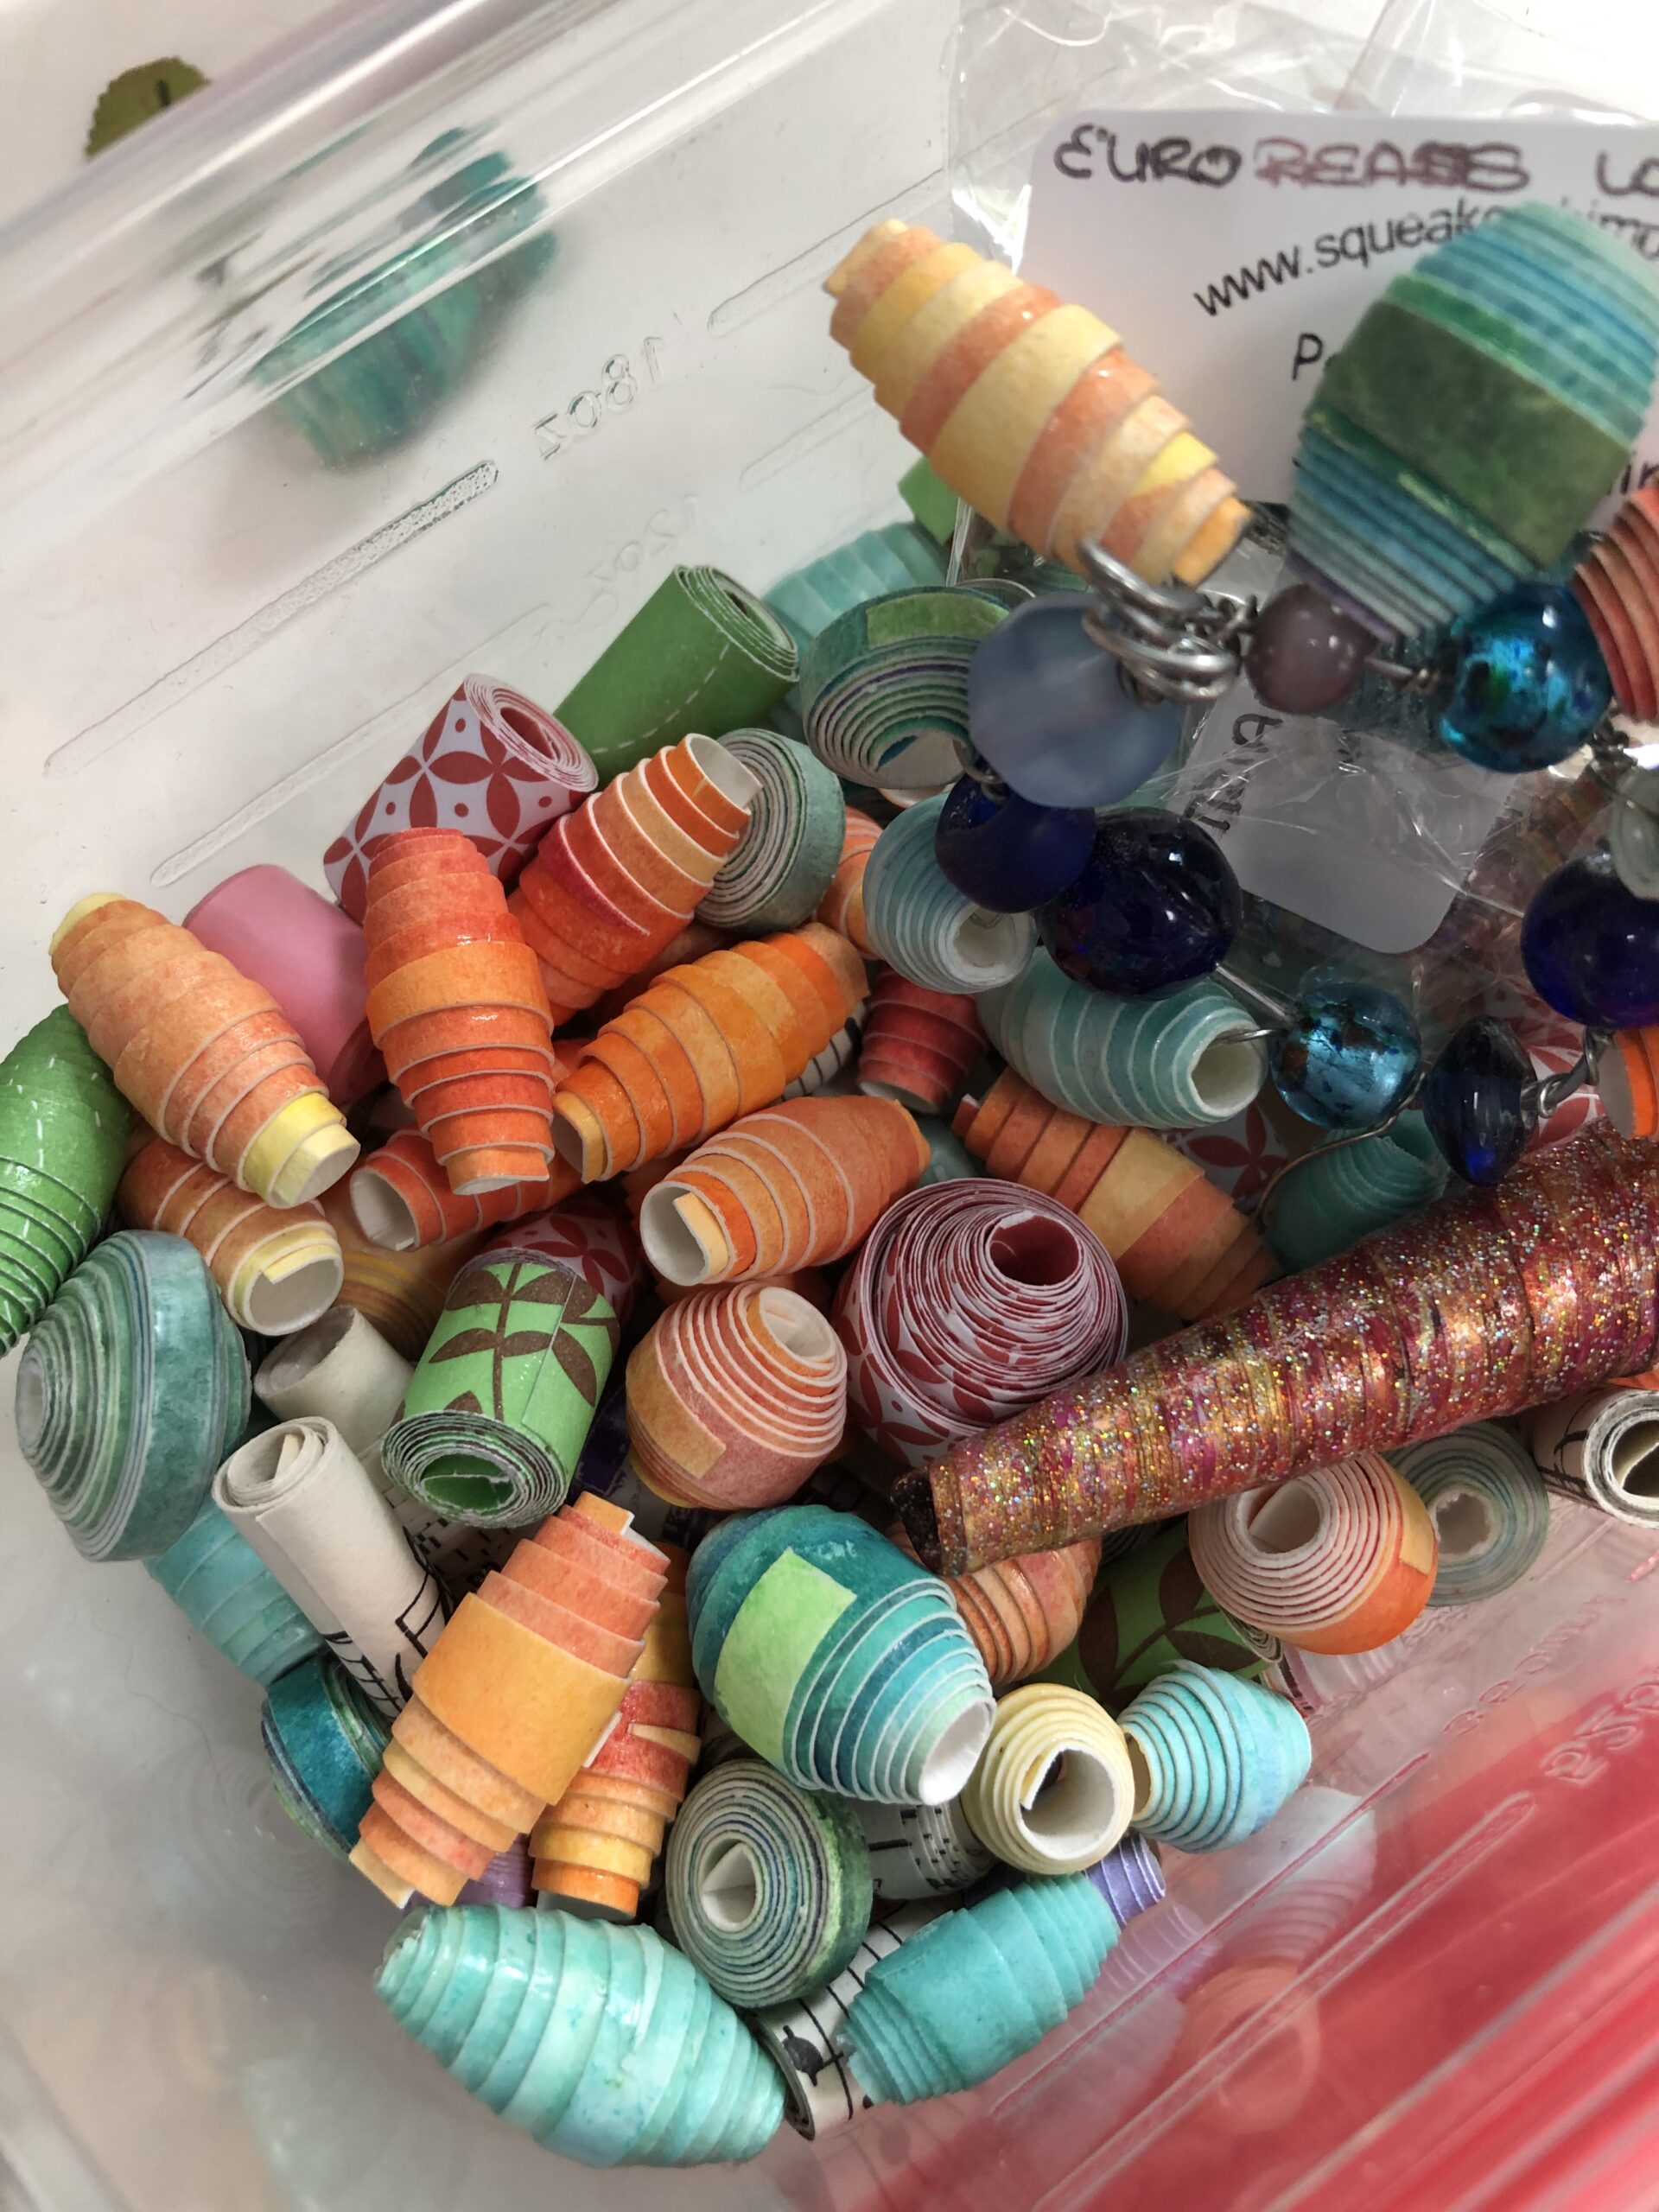
I had two types of beads for this, some paper beads that I had made using a tool from Squeakerchimp on Etsy, and the wooden ones that I found at a thrift store.
I used a hot glue gun to attach everything but if you want to use regular glue, that will probably give you a cleaner look.
The hot glue gets bulky, and it made some of the seams between the beads rougher than they could have been.
I also used a styrofoam cup to cut out some of the bases and a paper punch and some cardstock for the other type of the bases.
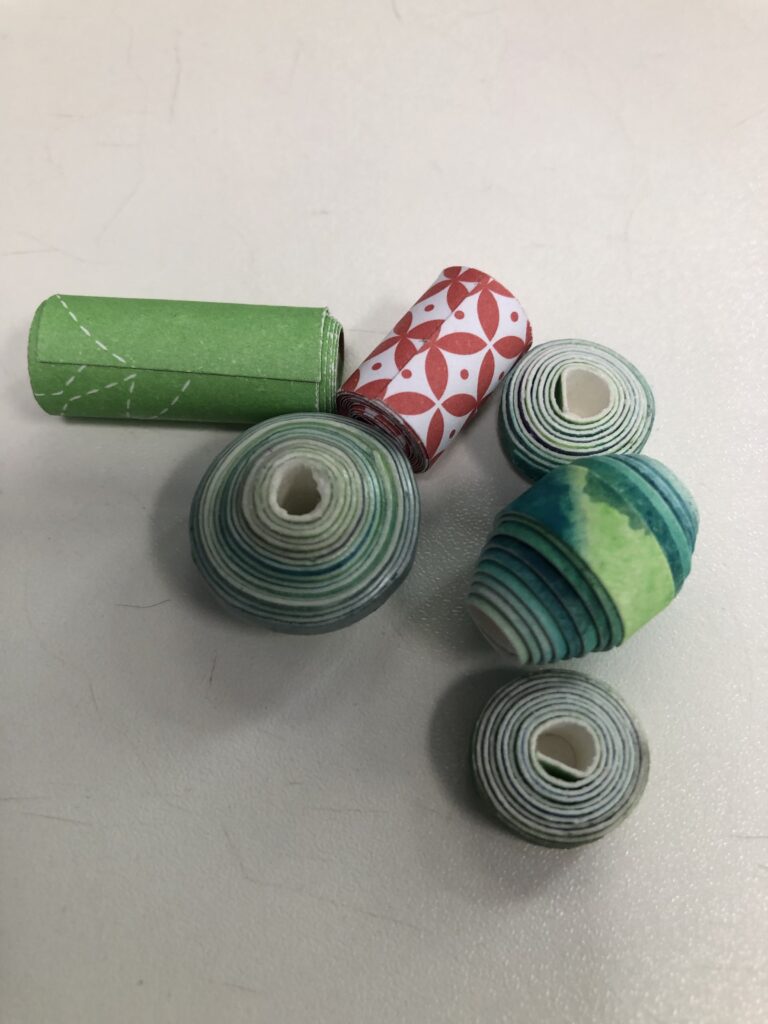
I had some flat paper beads and some taller ones, one of each per mini vase.
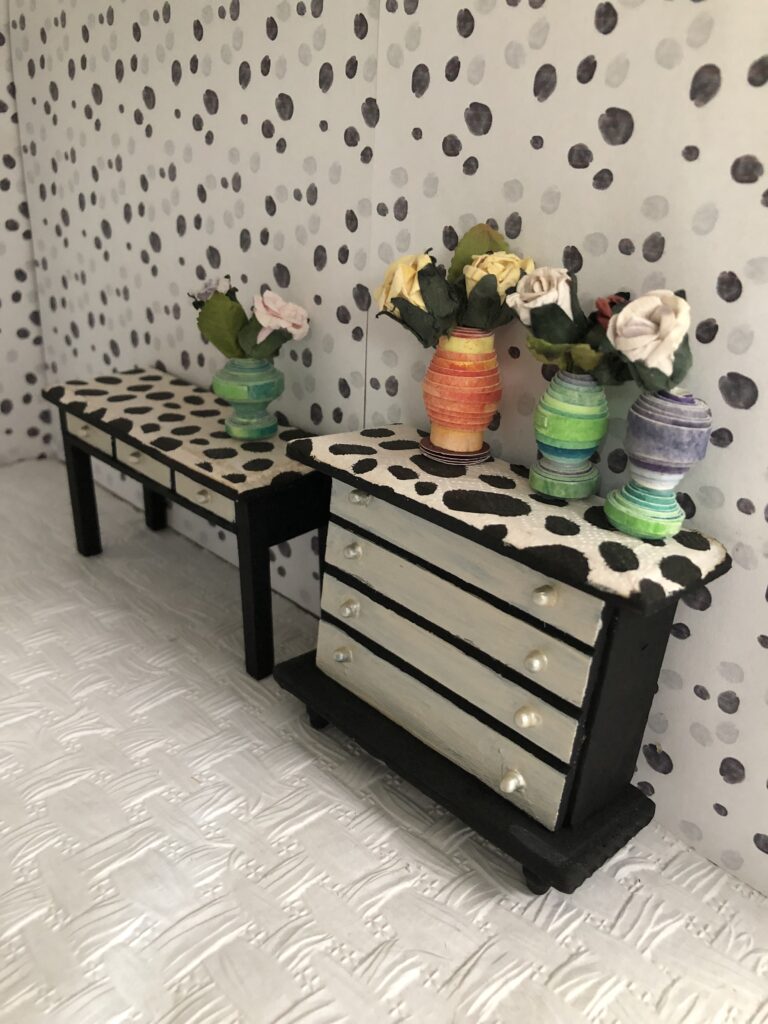
I put some miniature paper flowers in the finished vases, but you could do anything that you wanted in them once they’re finished.
Making the paper bead vases using only beads.
Start with the beads and match them up, one small round one for each taller one.
Flatten the small round ones on the table to make sure that one side is flat, that will be the bottom of the vase.
Glue the taller bead onto the flat one using hot glue or regular glue. If you’re using regular glue it can take a while to dry, so you could insert a wooden skewer or a toothpick into the holes in the beads to keep them upright while the glue dries.
If you want added stability during drying for regular glue, stick the toothpick into a piece of styrofoam then thread the bead vase onto it so that it stays upright and lined up while the glue is drying.
You can use multiple shapes of flatter beads for the top part if you want to make a multi-section vase, or just stick to one longer one for the top piece like I did.
When the pieces are all matched up and glued, you’re basically done unless you want to glaze the vases to smooth out the ridges on the paper beads.
To see the full directory of all of our verified members, click here.
To glaze them, you can use Mod Podge or an actual poly glaze, but that can get messy. Mod Podge usually works fine, and it’s less toxic as far as fumes go.
Dipping the beads in the Mod Podge, or painting on thin coats and letting them dry in between, will give you a smoother outside surface than the paper beads have when they’re not glazed.
One thing to note, though, is that gluing them first is better than trying to glue them together after they’ve been glazed. The beads that I was using that had glaze on them were harder to glue together, so glue them first and let them dry before glazing them.
Making the paper bead vases with a cardstock base.
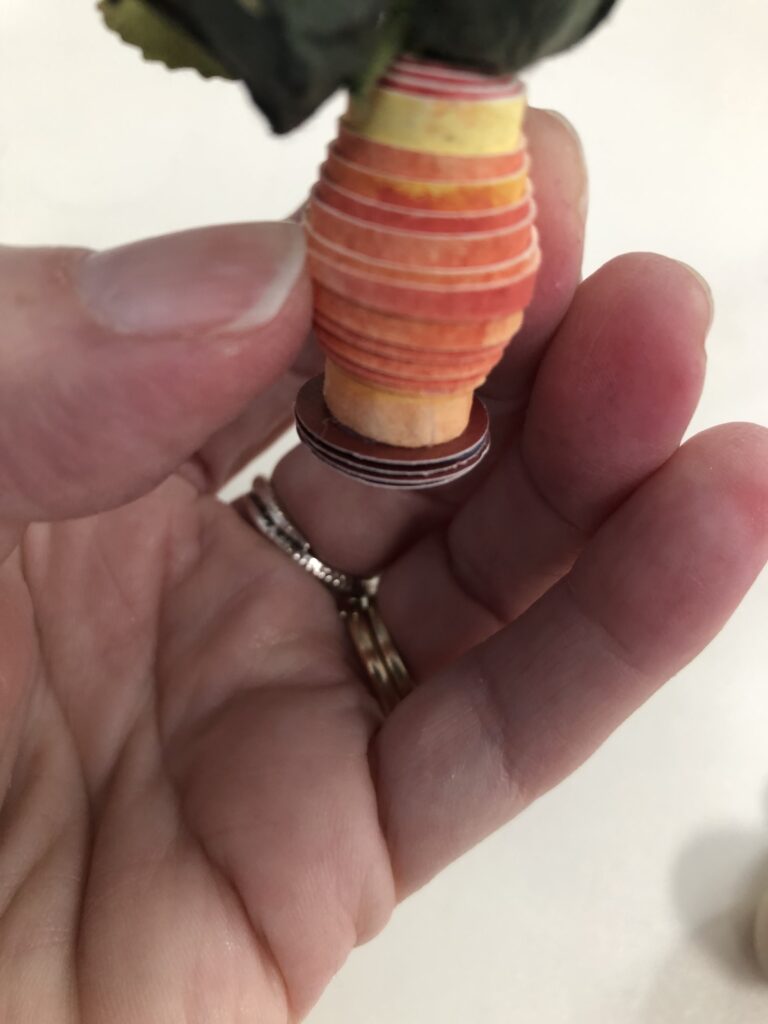
To make a cardstock base, if you don’t have any flat beads, you can punch out some little circles and glue them together for the base of the vase.
I cut out 7 of them but I only needed about 4 to make a thick enough base that would be sturdy.
Once you glue those together and the glue dries, you can glue the taller bead onto the base to give it the foot to stand on.
This vase was tall enough that I thought it would be good for a lamp base instead, so I’ll probably be making some of those later.
Using the styrofoam bases for wooden beads.
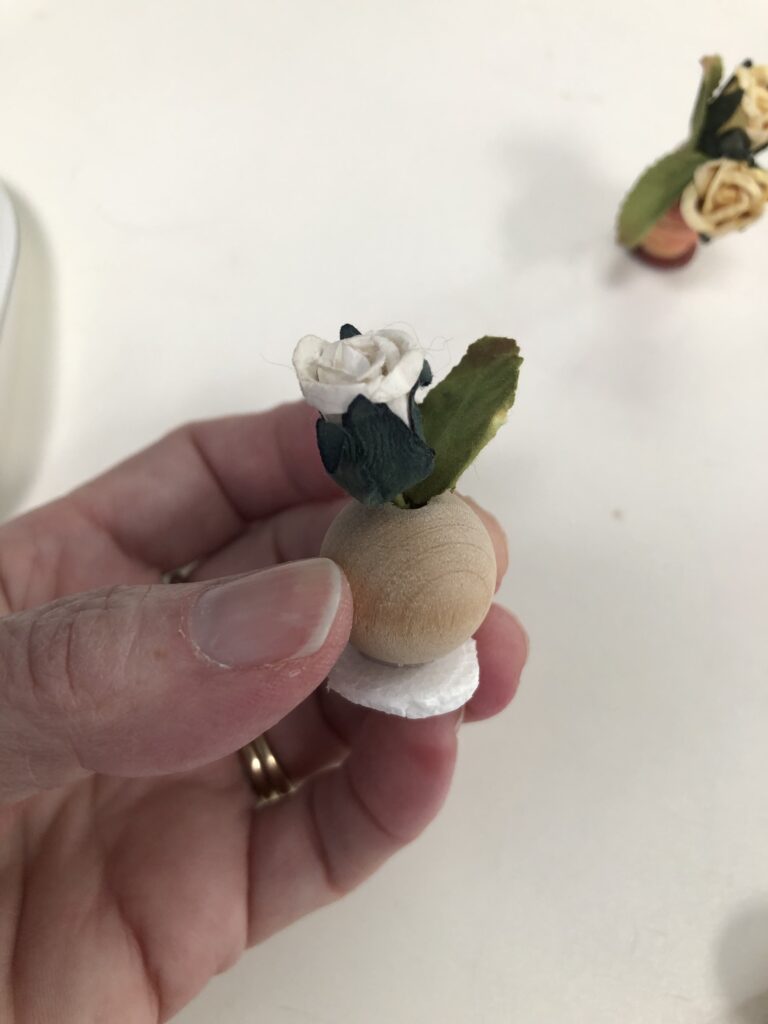
The wooden beads turned out to be a lot taller when they were glued together than I thought they’d be, so I’m keeping most of them for another project where I’ll make some miniature topiaries for landscaping.
I cut out a little round piece from the styrofoam to use as the base of the vase.
I glued the styrofoam bases onto two of the smaller beads to use those for vases. I plan on painting the wooden vases at some point but I’ll leave them plain for now.
Add flowers to the vases.
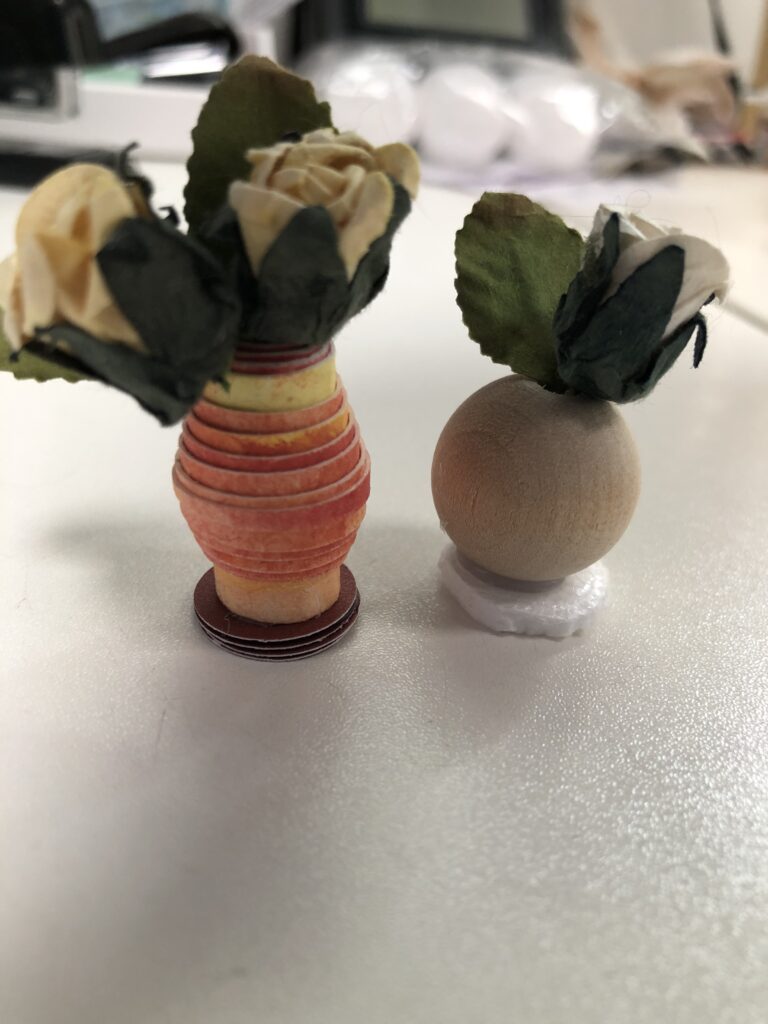
I had some little paper flowers that were about the right size, so I cut the wire stems to the height of the inner holes in the vases and added those in.
I used wire cutters for that, but if you have an old pair of scissors that are kind of dull they would probably cut the wire, too. Don’t use your good scissors or you’ll ruin the blades!
Add the flowers to the vases. If you want to glue them in you can do that, but you can also leave them loose so that you can change out the colors every now and then.
If you do leave them loose, be aware that the flowers will probably fall out as you’re trying to set them up in the house.
One trick to try would be to leave the wires a little longer so that you can twist the wire to make it fit snugly in the hole of the vase, and that will keep the flowers in place better.
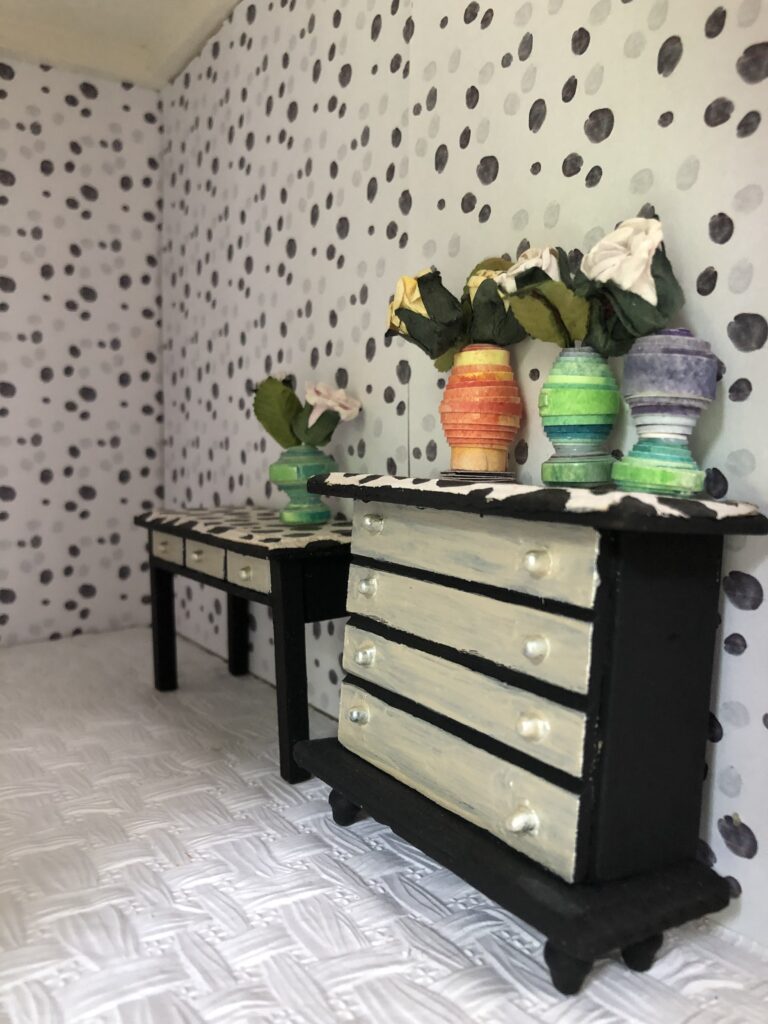
And there you have it, this is a fun way to upcycle some old strips of paper to make beads that you can use for different things in your dollhouse!
