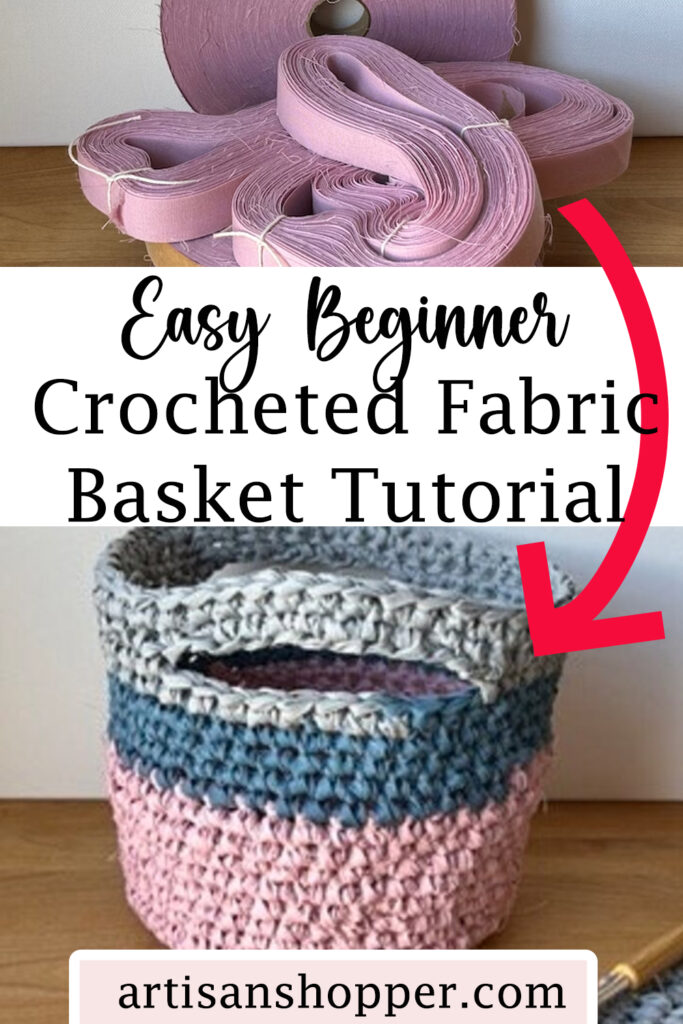
Want to crochet a simple basket with fabric instead of yarn? Pam Lyon, owner of Lyon Handwovens, tried it and wrote up this simple DIY tutorial that’s do-able even for a crochet beginner.
Some of the links in this article are affiliate links that will pay a small commission if they’re used to purchase something. To see the entire affiliate policy click here.
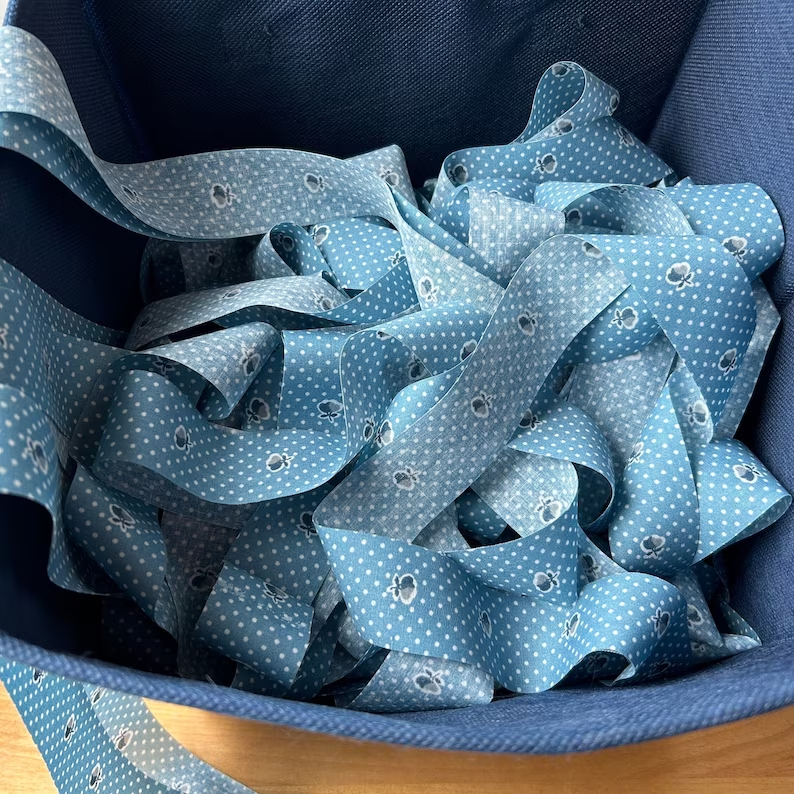
For this basket I used 3/4-inch wide solid colored cotton strips that I have available in my Etsy shop Lyon Handwovens. Click here to see those: Fabric yarn strips
After fusing together three or four patterns I found on Pinterest as a starting point I am sure that you can modify this pattern to adjust the diameter and height to suit your needs.
Supplies needed to make the basket.
Here are the supplies I actually used:
Approximately 100 yards of 3/4-inch fabric
Size US L11 (8.00 mm) crochet hook
Stitch markers
12-inch ruler
Scissors
Basic crochet stitches.
How to crochet the basket.
Step 1
Make a magic circle or 3 chain stitches (ch) and connect into a circle with a slip stitch (sl st).
Step 2
Work 6 single crochet (sc) stitches in the ring above. Join the last sc to the first sc with a sl st. Chain 1 in this space along with 1 sc. Place a stitch marker here.
Step 3
Work 2 sc in each of the 5 remaining sc in the previous round for a total of 12 sc. Again connect the last and first sc with a slip stitch. You should have 12 sc.
Step 4
This round (#3) is the beginning of a pattern that should provide you with a flat circle regardless of how large you make it. Chain 1 and 1 sc in this first sc, this counts as two sc. Work 1 sc in the next two sc and then follow this pattern of 2 sc in a stitch 1 sc in each of the next two stitches to the beginning where you will join the round with a sl st.
Step 5
Subsequent rounds will begin with a ch st and 1 sc followed by 1 sc in the next two st and then repeated.
Step 6
This next step is new to me but is designed to provide more stability or structure to your basket. I’m trying it out on a second basket to see what I think.
At the end of your final round join the beginning and end as before with a sl st. Then place a sl st in the back loop of each sc in the round. (Inset #3).
As before, connect beginning and end of round with a slip stitch and chain
Now place 1 sc in each stitch, by about sc 6 you should notice this row turning upward to form the wall of your basket. Continue adding rows to the height you want your basket to be. Cut off your fabric and weave the end in as you would with yarn.
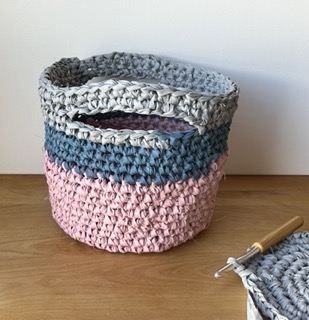
This is an easy project that you can adapt to make as wide and as tall as you want it to be.
I added the handles by making a chain instead of attaching the stitches in a couple of places, then continuing to crochet for a couple inches more.
That makes a little space that can be used to pick the basket up. If you don’t want that effect, just keep crocheting all the way around until the basket is tall enough.