Adding beautiful images to your walls can totally change the look and feel of your home.
If you have chosen fine art prints because they are visually pleasing to you, you certainly want to protect as well as enhance them.
Framing preserves your images from dust, humidity and similar damage. But how do you get them on the walls? What kind of framing should you use? Where do you start?
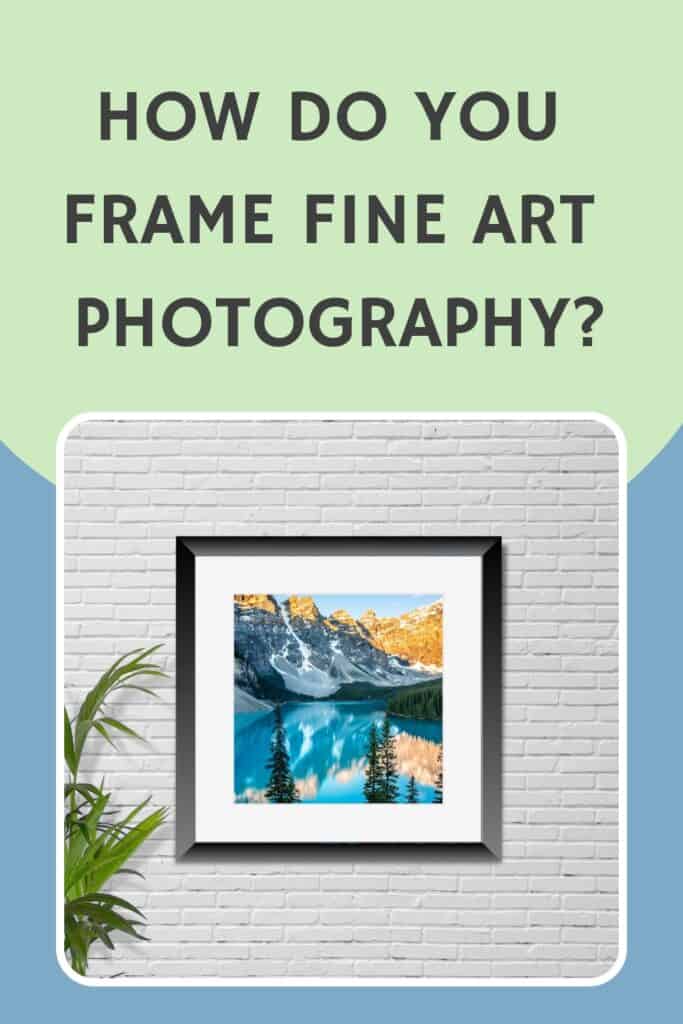
Table of Contents
- How do you frame fine art photography?
- Do you have to frame printed photos?
- What size and color mat should you use?
- How to frame canvas art prints.
- Examples of framed photos in different types of frames.
This article contains affiliate links that pay a small commission at no cost to the reader if they’re used to purchase something.
How do you frame fine art photography?
When framing fine art photography, the first and most important thing is to pick a frame that matches not only the photo itself, but also the decor and feel of your home. You need to determine what size and shape of frame best displays your art, including whether you want to include a mat or not.
The two major options for getting your photos framed are:
- Using a professional framer. Large craft stores (Hobby Lobby, Michaels etc.) offer professional framing services. If you are more concerned about just getting it done, this may be your best option. These places sell a wide variety of frames and can provide the finished, professionally done product.
- Frame it yourself. To frame it yourself you will need not only the frame, but also an acid-free mat, backing for the photo and acid-free tape (not masking tape) to hold the photo to the backing. The backing or backboard can be simple cardboard or foam board (available at craft and framing stores). Lightly attach the back of the photo to the backboard with tape, and then align the mat over the front of the photo. Insert the photo into the frame after first making sure that the glass is clean and free of dust.
Do you have to frame printed photos?
Framing photos in the traditional way isn’t required, as there are a lot of options for displaying photographs. Some involve using non-traditional materials to display the photos, and some involve using repurposed materials like old window frames to create a rustic look.
Shadow boxes allow you to protect the image behind glass, but also perhaps add mementos in the box with the photo.
Another option is to add them to a stylized bulletin board (depending on the size of your photo of course).
Glass blocks are another possibility. In this case, there are two slabs of heavy glass on a stand, and the photo slips between, giving a unique and vibrant look.
The image is protected and enhanced, but can be easily changed out.
Glass blocks can usually be found at craft and framing stores, as well as online.
An additional option can be using an old window frame (often found in online garage sales and similar places). Attach the photo to the back of the window, with the photo facing the glass.
For an article about how to display embroidery and needlework, click here.
What size and color mat should you use?
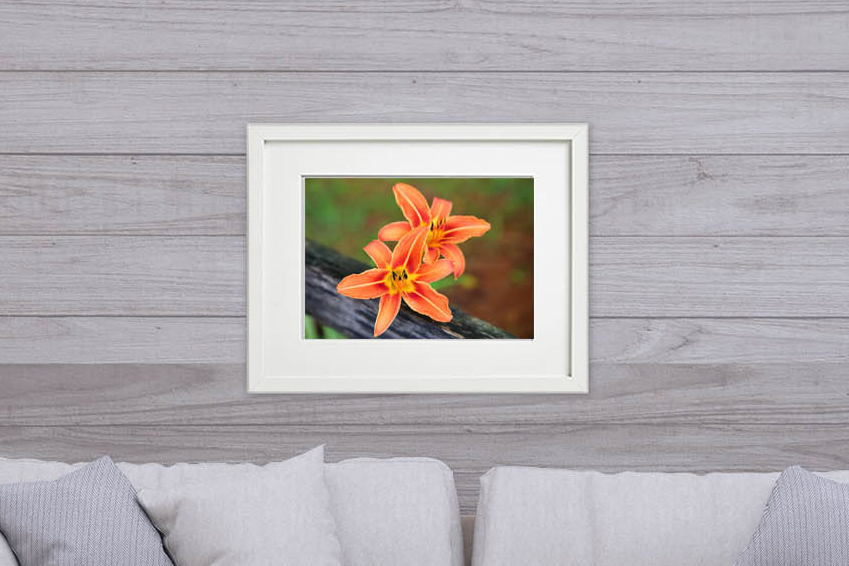
When adding a mat to your framed artwork, you want to complement your photo and not compete with it. A white mat is often a good choice, but that depends on the colors in the photo, what color frame you will be using, and your own decor. The frame and mat should work together to show off your photo.
To allow space for a mat, you need to buy a frame that is a size larger than the photo.
For example, if you are framing a 5×7 print, you need an 8×10 frame.
An 8×10 photo will need an 11×14 frame and mat, and an 11×14 photo will need a 16×20 frame and mat, and so on.
Mats come in a variety of colors, and can be either single or double style.
The purpose of a double mat is often to bring out a specific color in the photo. A common color to use for a mat is white as it generally complements and visually frames the image, however, that will depend on the photo and personal taste.
Make sure you only get acid-free mats in order to prevent damage to the photo. A good choice is a mat of 100% rag.
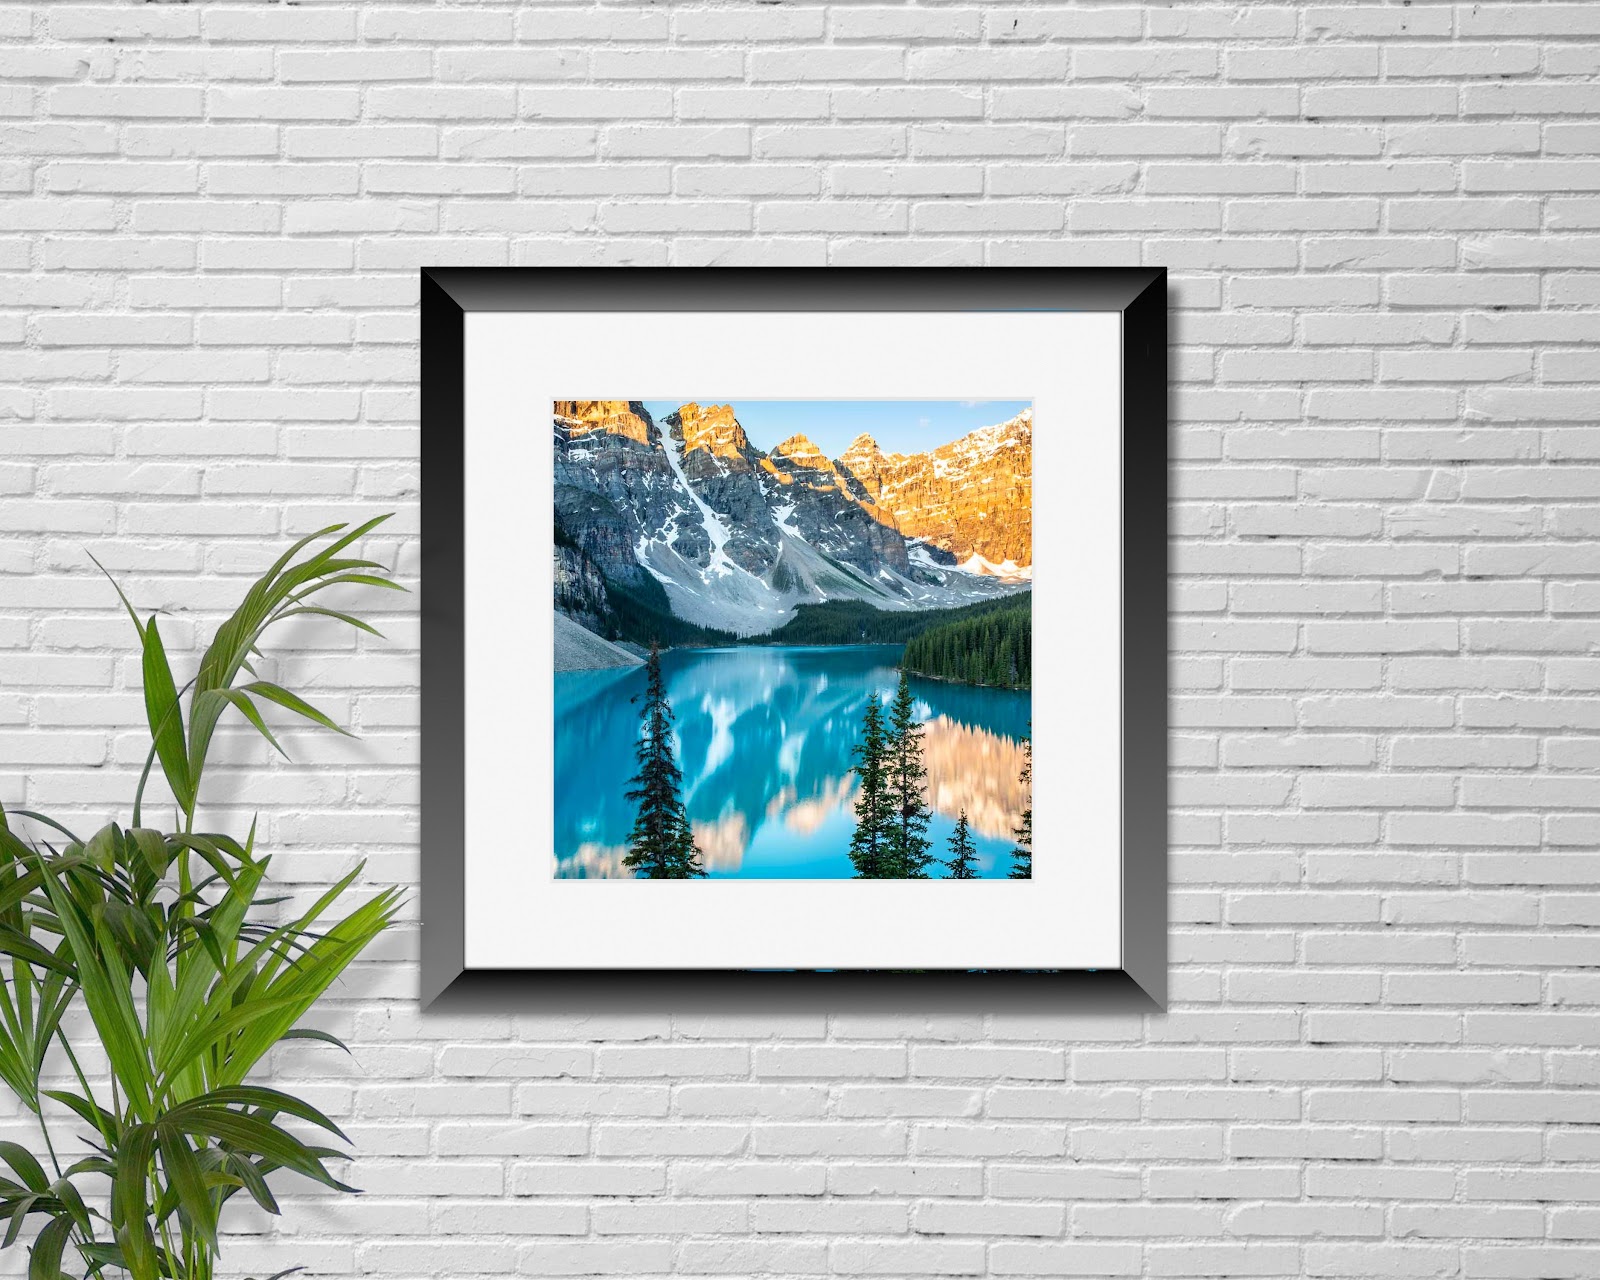
Some frames are even created to show the illusion of a mat. (See photo example).
For an article about how to display quilts, click here.
How to frame canvas art prints.
What if you are purchasing a canvas? Can that be framed? Yes, it can. That can add a more “finished” look to a canvas. Often this is easiest when purchasing the canvas image, by having it added by the photographer or source you are purchasing the canvas from.
If you are adding the canvas to a frame you bought yourself, just be careful to measure how deep the canvas frame is and make sure it will fit into the frame.
Since the frame will sit on the edge of the stretched canvas, make sure the frame is deep enough for the canvas.
Simply slip it into the back of the frame, and you can use frame clips to secure it. These can be purchased from a craft or framing store, or online.
Adding a dust cover to the back of the canvas is a good idea to protect it from dust and damage.
An alternative to a regular frame for canvas is a “floater frame”, which makes your image appear to be floating inside of the frame
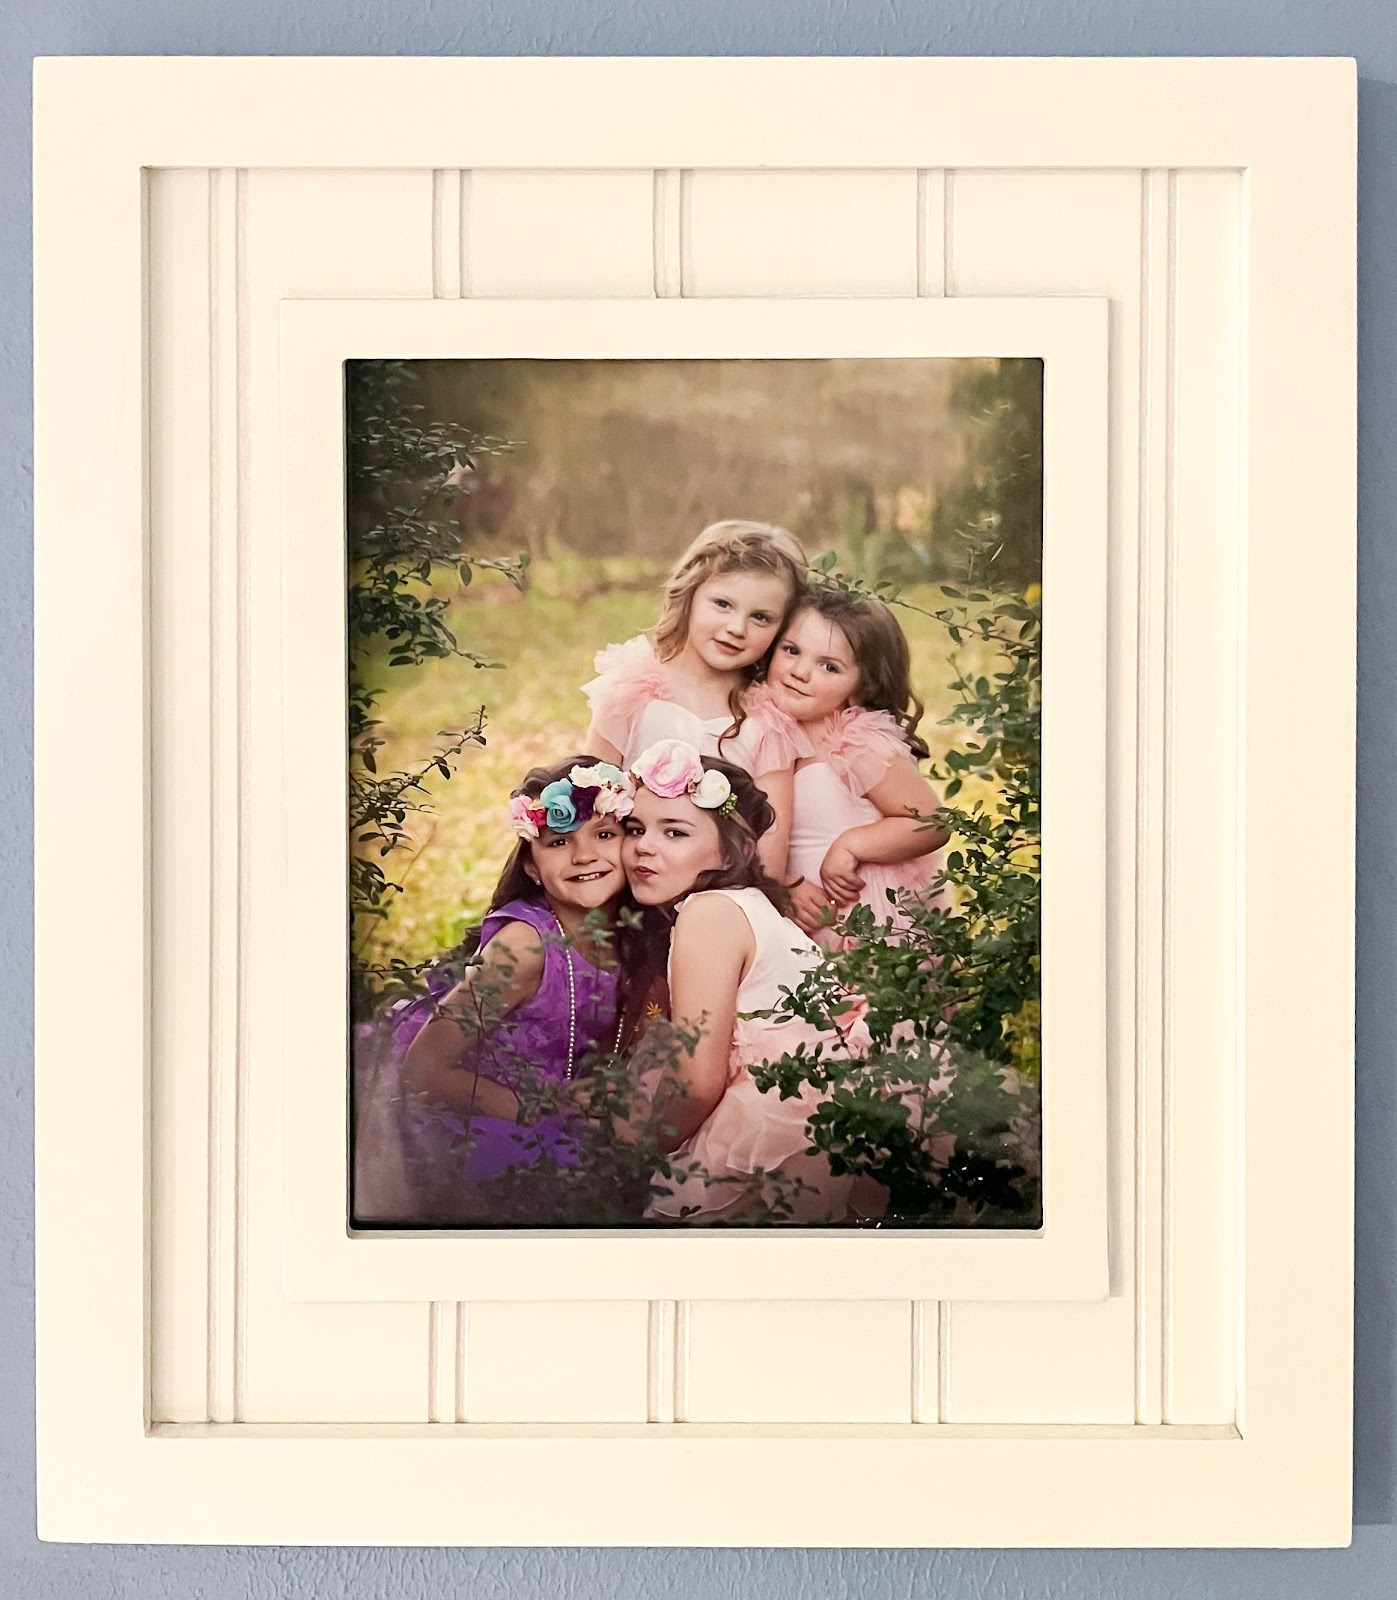
Examples of framed photos in different types of frames.
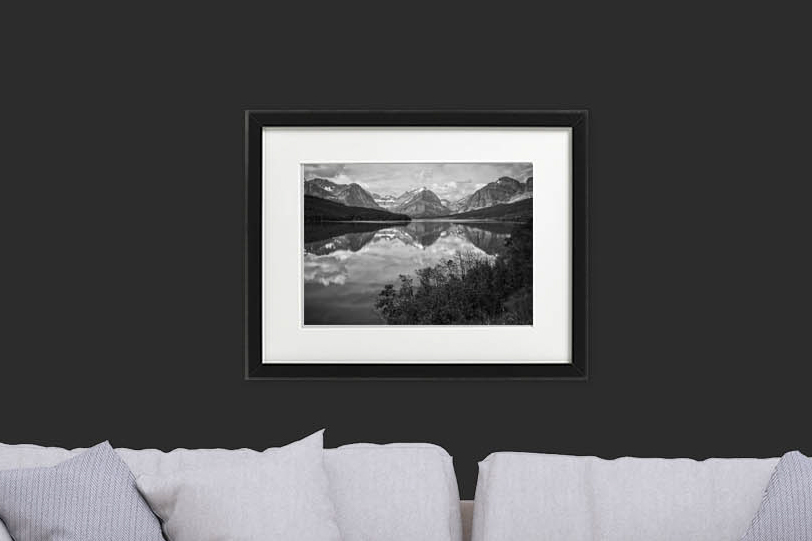
A simple black frame can be a great way to enhance a black and white photo, especially when paired with a white mat.
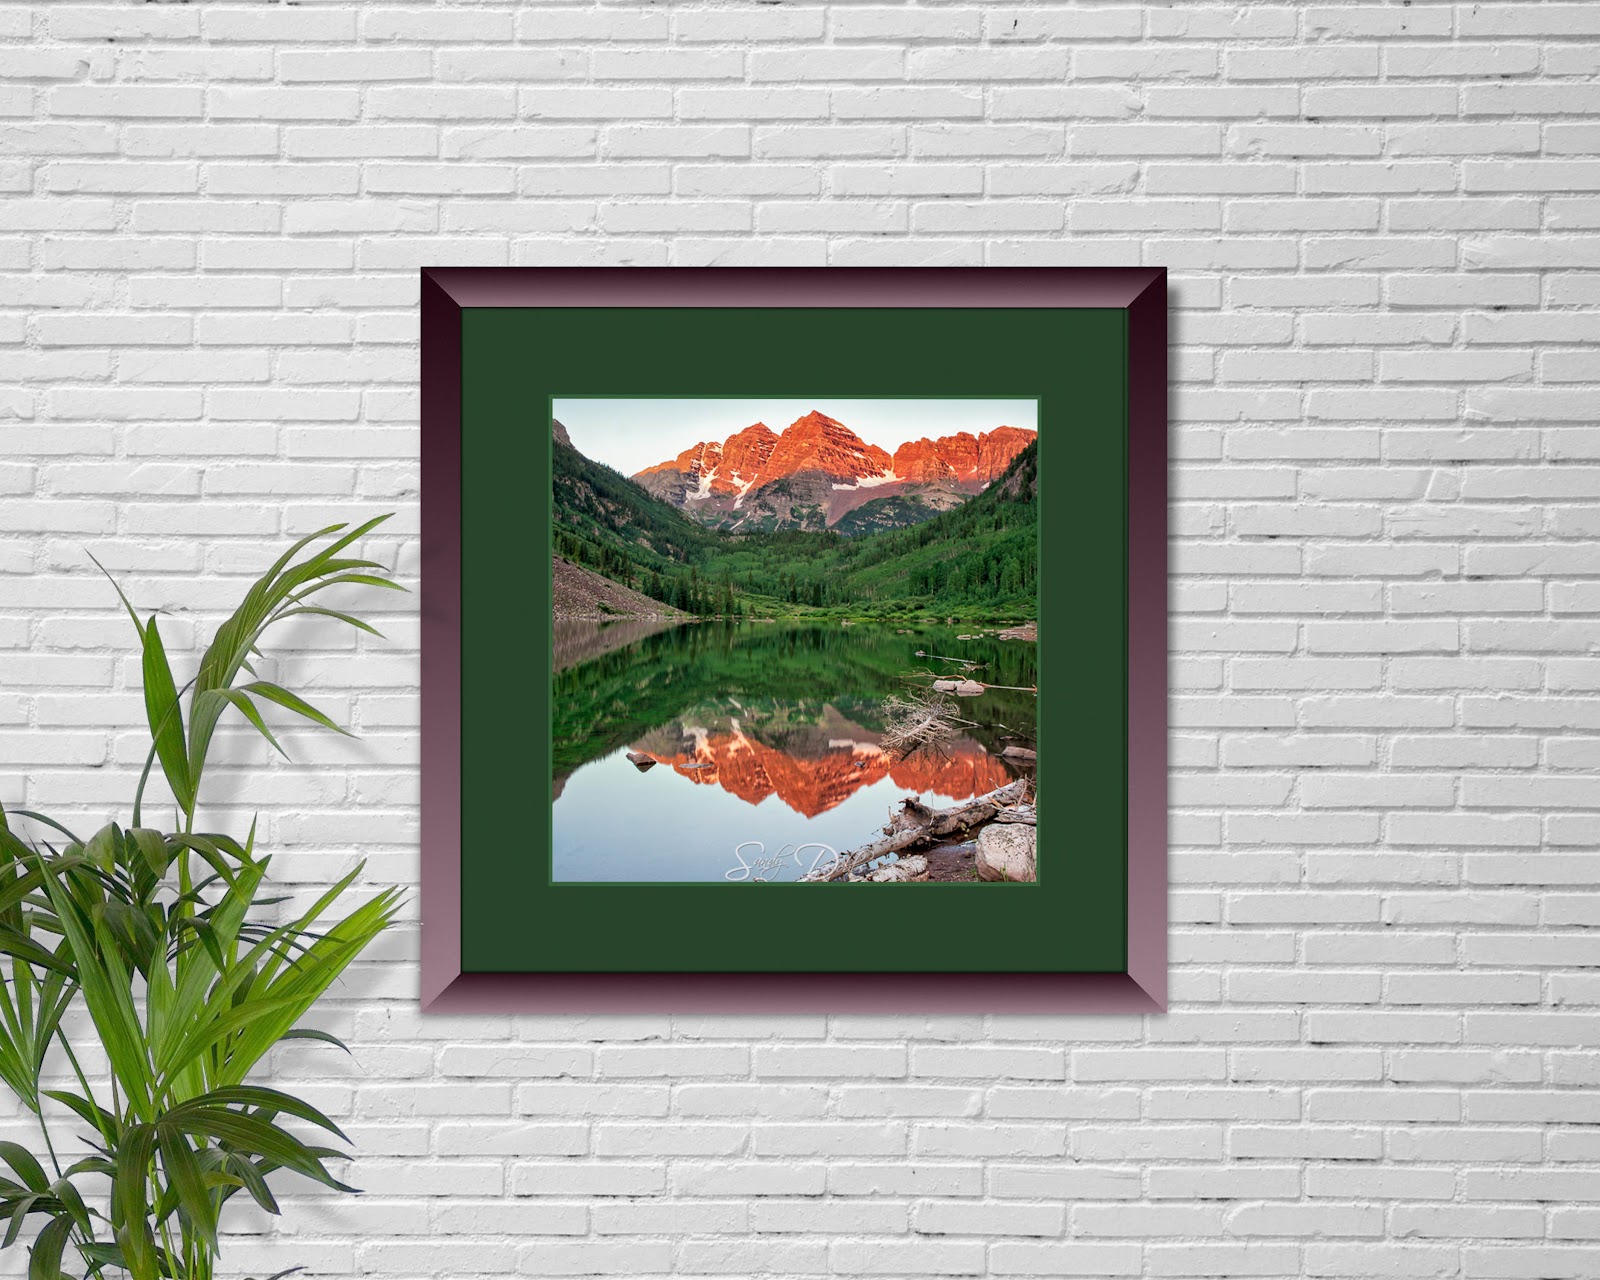
Adding a colored mat to a photo can pick up and enhance the colors in the photo itself.
Written by Sandy Dobbs, owner of Sandy Dobbs Photo. Visit Sandy’s Etsy shop here: Sandy Dobbs Photo , or her website here: Sandy Dobbs Photography