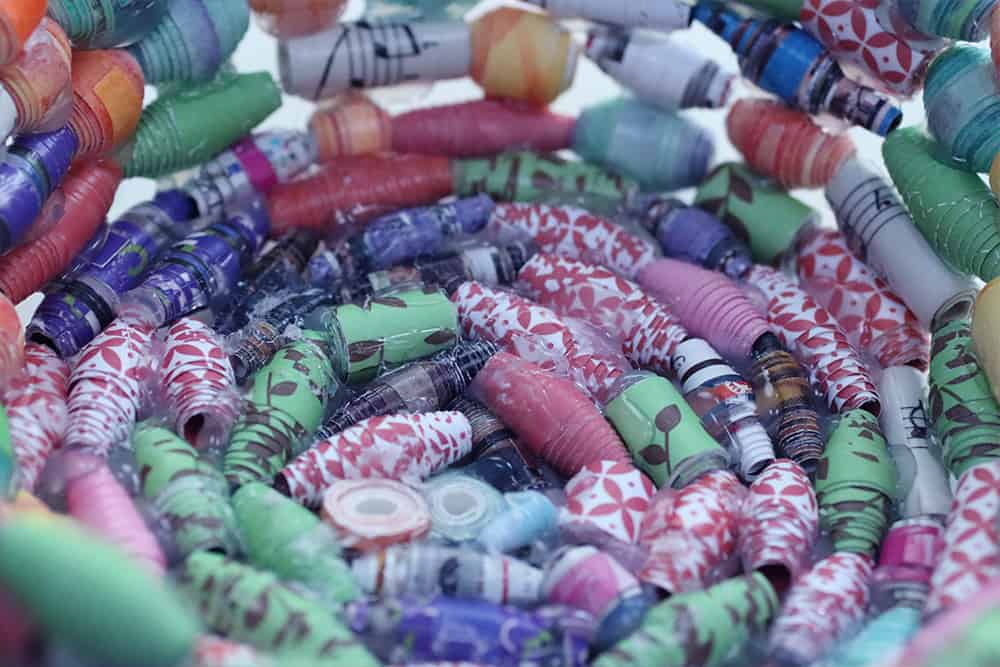
I’ve been making some paper beads lately because I wanted to try out some rollers that I got from Squeakerchimp on Etsy…Then I realized that I don’t wear jewelry, so I needed something else to do with them.
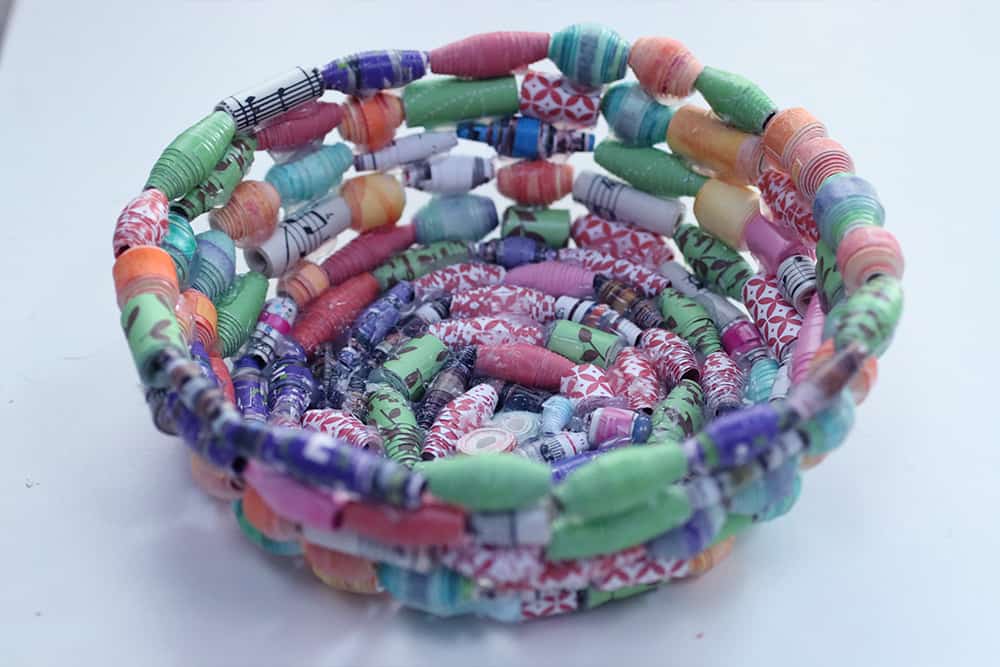
There are a bunch of things that you can do with paper beads, but I could only find a couple of examples of non-jewelry items online, so I decided to go ahead and wing it. I used the random beads that I’d made and put a little bowl together, and I think it came out pretty well.
I’ll be making another batch of beads that are a little less random and putting a video tutorial together soon, but for now this is what I came up with for how to make a bowl using paper beads.
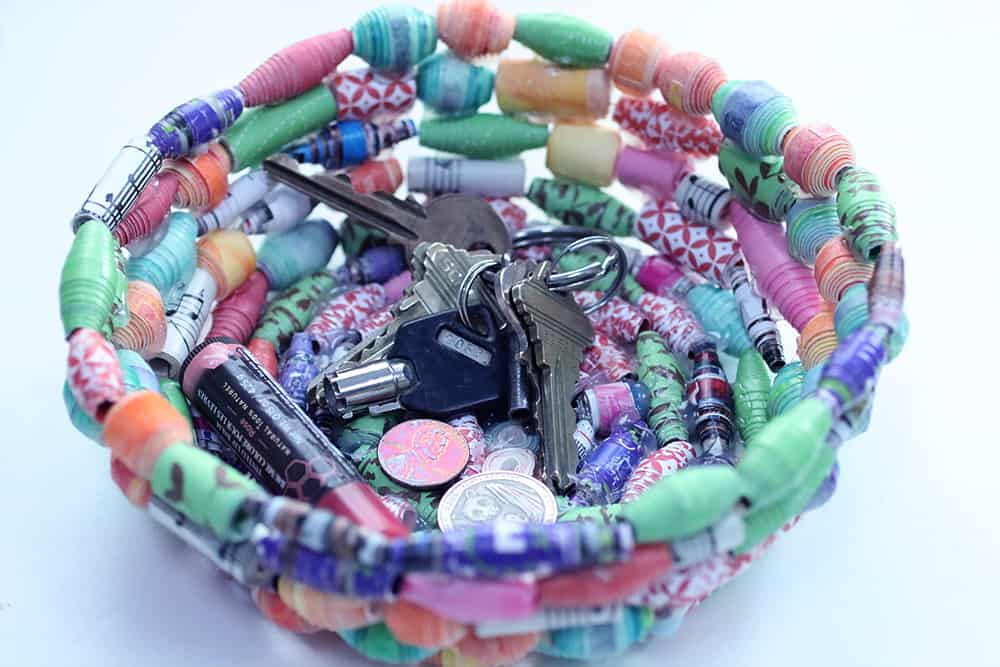
Table of Contents
- Materials you’ll need:
- 1. Start with the bowl on the work surface.
- 2. Make a loop on one end of the wire and string some beads on it.
- 3. Start wrapping the wired beads around the base of the bowl.
- 4. Attach the wire together to create a loop.
- 5. Start wiring more beads onto the wire.
- 6. Start hot gluing the bead rows together.
- 7. Attach another wire to the first one when it gets too short.
- 8. Keep working your way around the bowl.
- 9. Put the glue on the upper row bead.
- 10. Remove the bowl form.
- 11. Keep adding paper beads to the bowl.
- 12. Ending the layers.
- 13. Make the bottom of the bowl.
- 14. Finish off the bottom of the bowl.
- 15. Clean off extra glue and hide any wire ends.
- 16. Optional: Glaze the bowl.
- Design ideas
Some of the links in this article are affiliate links that will pay a small commission if they’re used to purchase something. To see the entire affiliate policy click here.
Materials you’ll need:
- Paper beads
 , generally about 1/2″ to 1″ long. You’ll probably need about 150-200 for a small trinket-sized bowl.
 - Low-temp glue gun (or regular glue, but a low-temp glue gun is faster. LOW TEMP is important!)
- Glue sticks
- Thin wire that’s flexible enough to go through the beads to create the armature for the bowl.
- Scissors to cut the wire.
- A glazed ceramic or glass bowl to use as a form.
- A surface to work on that hot glue won’t stick to.
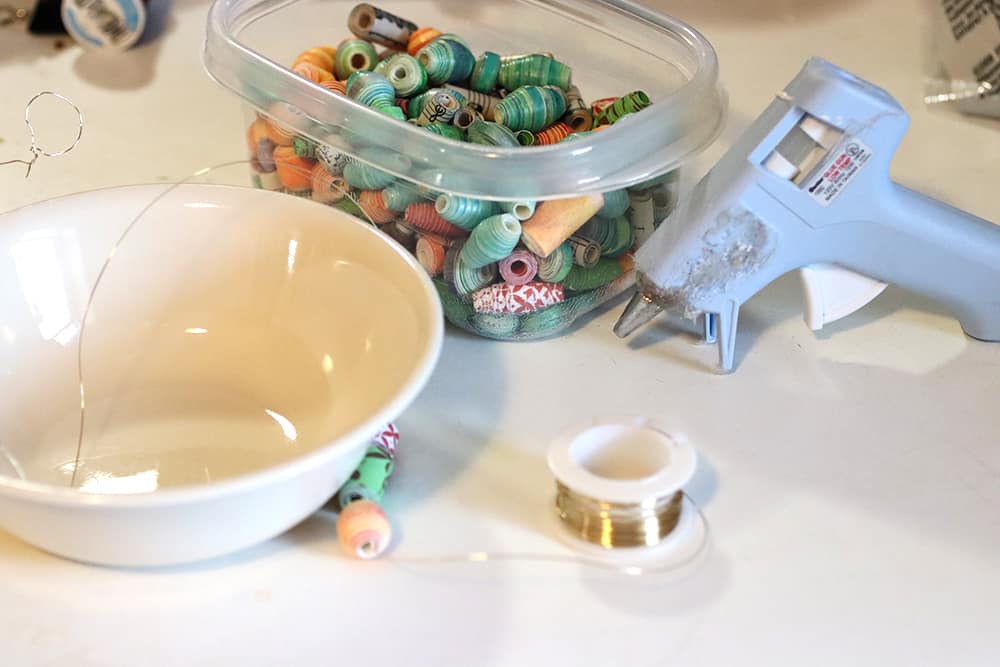
1. Start with the bowl on the work surface.
Choose a bowl that you’d like to use as a template for the size your finished paper bead bowl will be. I used a regular cereal bowl that’s made from glazed ceramic so that the hot glue wouldn’t stick to it, but a glass bowl would also work.
Put the bowl on the work surface and cut a piece of wire that’s about 2 feet long.
Make sure that the work surface is something that the hot glue won’t stick to. I used my kitchen counter, but I didn’t cover it with paper or anything that would stick to the glue.
You can also use a silicone mat if you want to, but a kitchen counter will work fine!
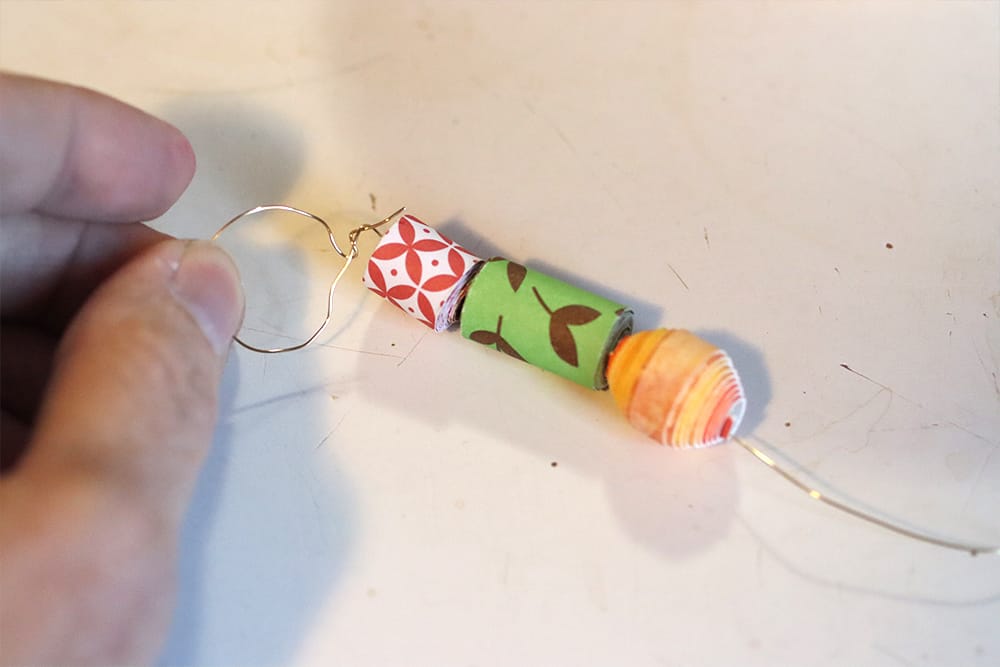
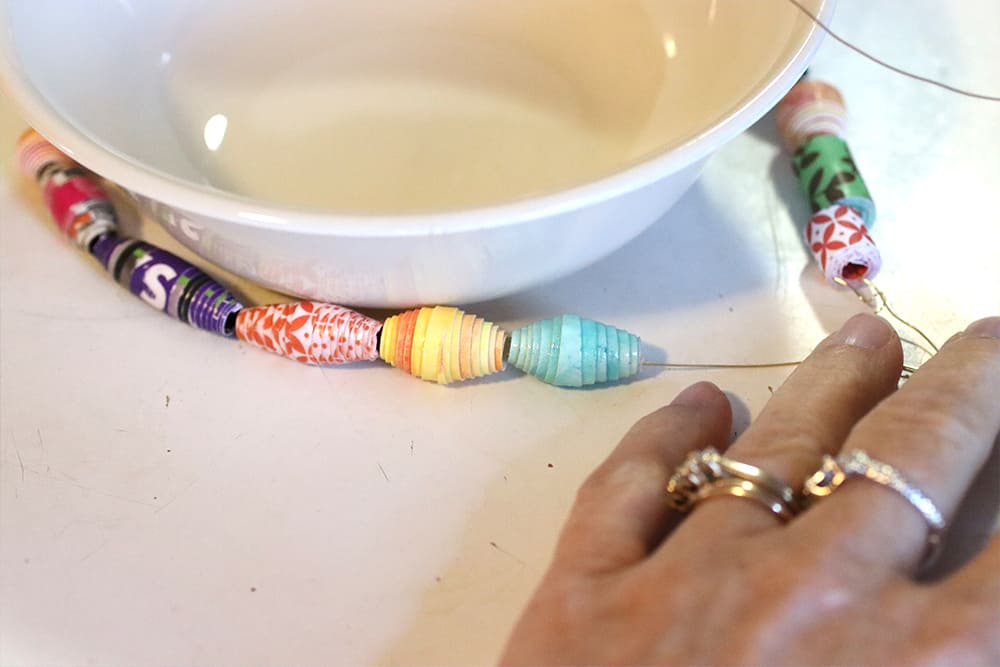
2. Make a loop on one end of the wire and string some beads on it.
The loop on the end of the wire will give you some wire to work with to attach the other end of the wire to, so don’t make it too small!
Add more beads to the wire until you have enough to go around the bowl.
Using a lightweight wire instead of thread or a string to build the bowl on creates an armature for the bowl, and that will allow you to know that the beads aren’t going to drop off if the glue doesn’t hold well.
Wire will also allow the beads to move a little after the bowl is finished, and you’ll be able to adjust it if it’s a little wonky.
I used a 26 gauge wire because it’s thin enough to be very flexible and can easily be tied into a knot and wrapped around itself. This makes it easy to connect the wires and still thread the paper beads onto them.

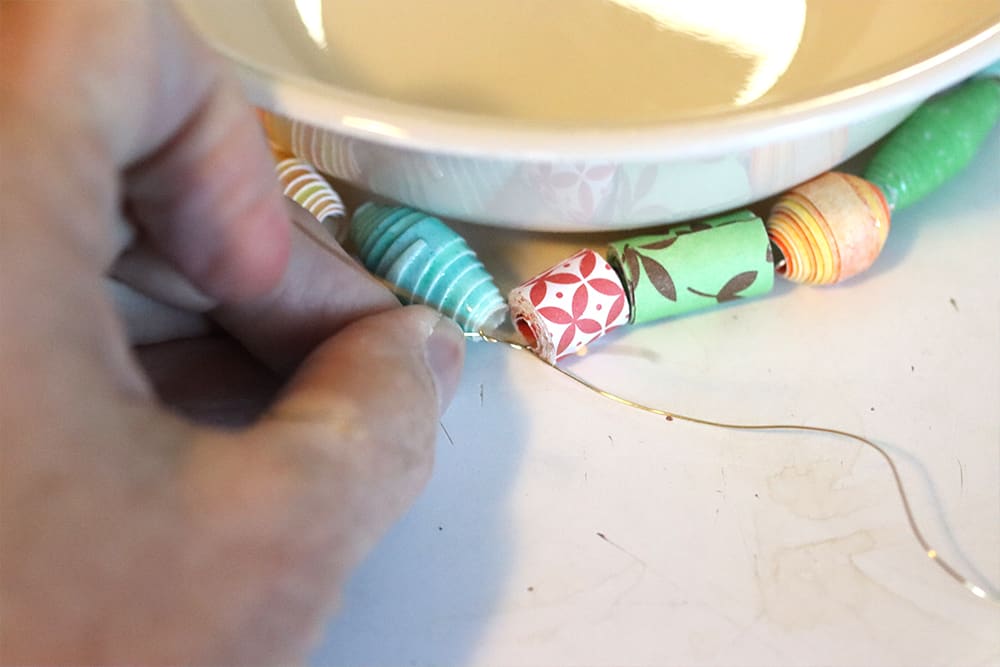
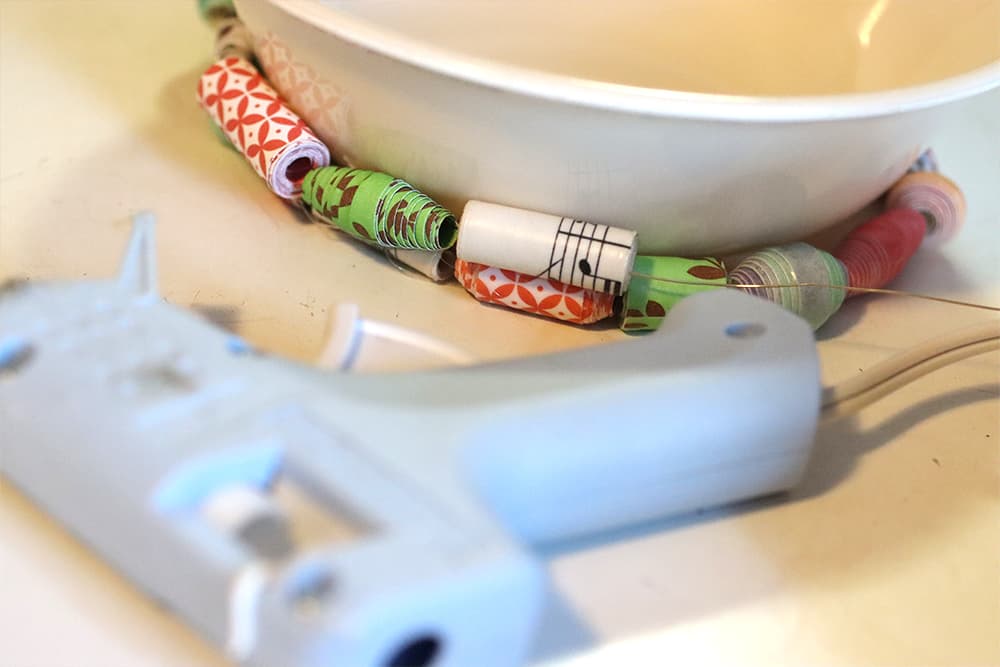
3. Start wrapping the wired beads around the base of the bowl.
Wrap the wired beads around the base of the bowl and measure the string until it fits all the way around and the beads meet end-to-end.
If you need to change the size of the last bead to make sure the beads meet exactly go ahead and do that, it will make the next steps a lot easier!
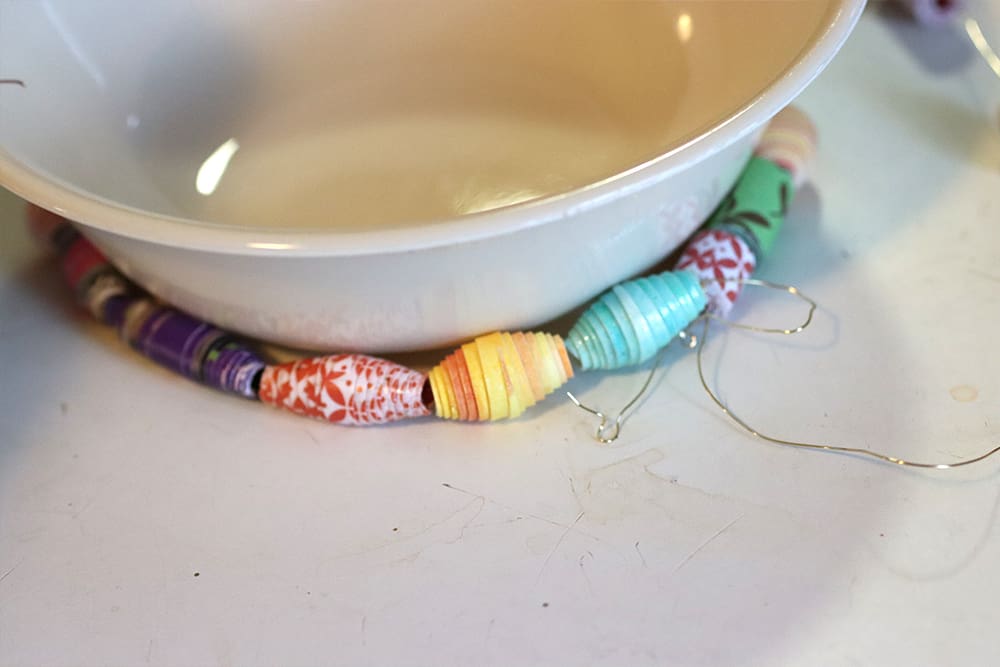
4. Attach the wire together to create a loop.
Twist the wire around the loop end and tie it as tightly as you can so that the beads fit around the base of the bowl with no space between them.
This is going to be the hardest part to do, because the wires will slither around each other and the bowl will try to jump out as you tighten them together.
Make sure that you get them as tight as you can so that the base layer of the bowl will be stable.
The loop end of the wire will now be just an end sticking out, so wrap it around the longer part of the wire to secure it.
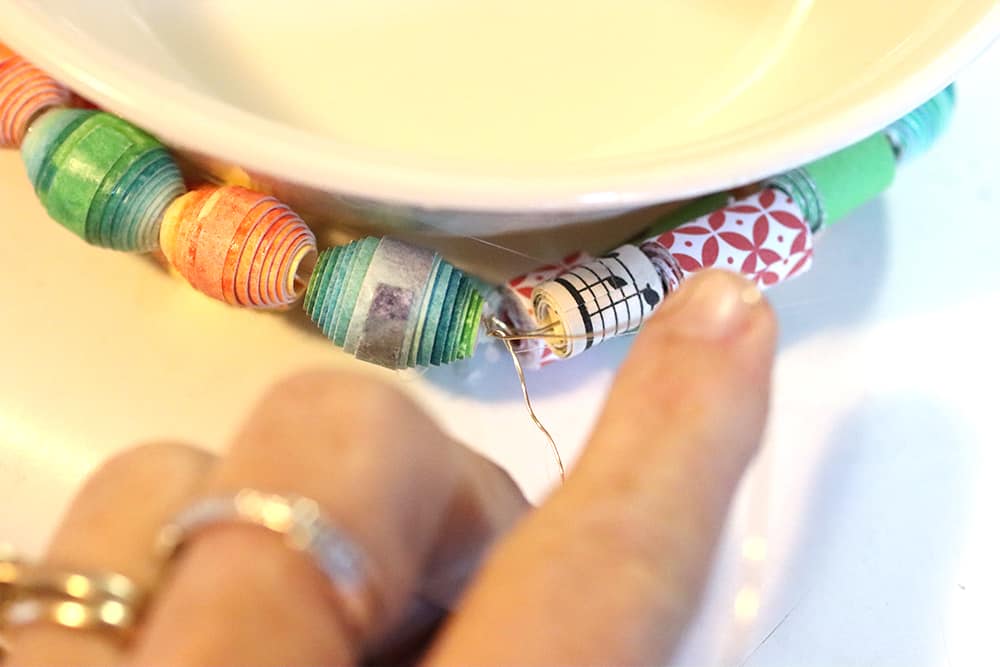
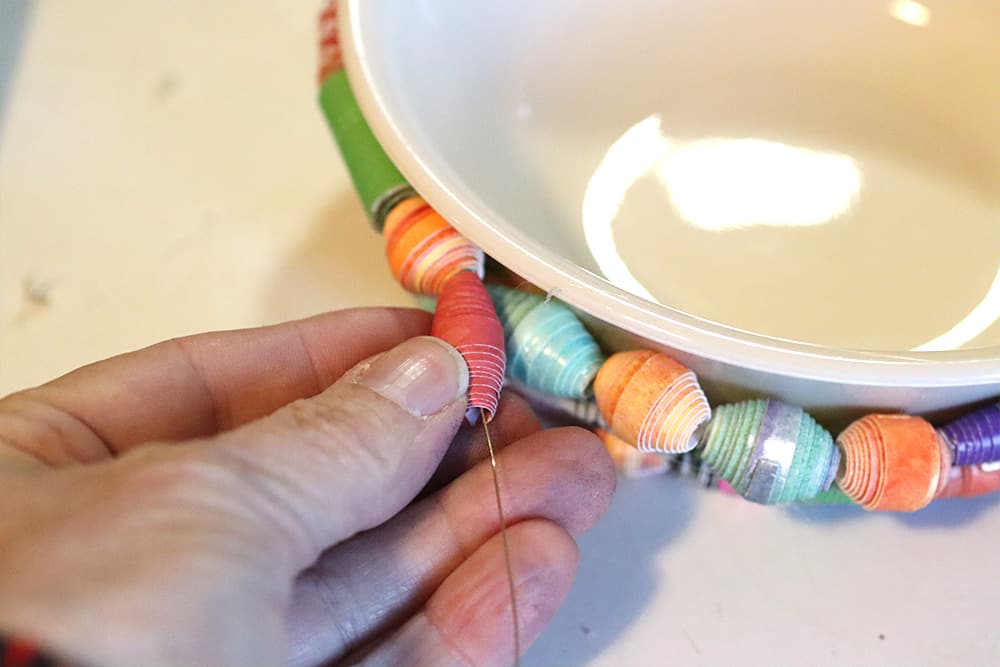
5. Start wiring more beads onto the wire.
Take the wire that should still be attached to the join area and string some more beads on it.
For the first few beads, manipulate the wire up and choose a few beads to test out how they’ll fit on top of the first layer.
Try to place beads on top of each other that will create a more-or-less level layer, unless you want to create an uneven look, which would also be interesting!
When you have a few beads, get out the glue gun for the next step.
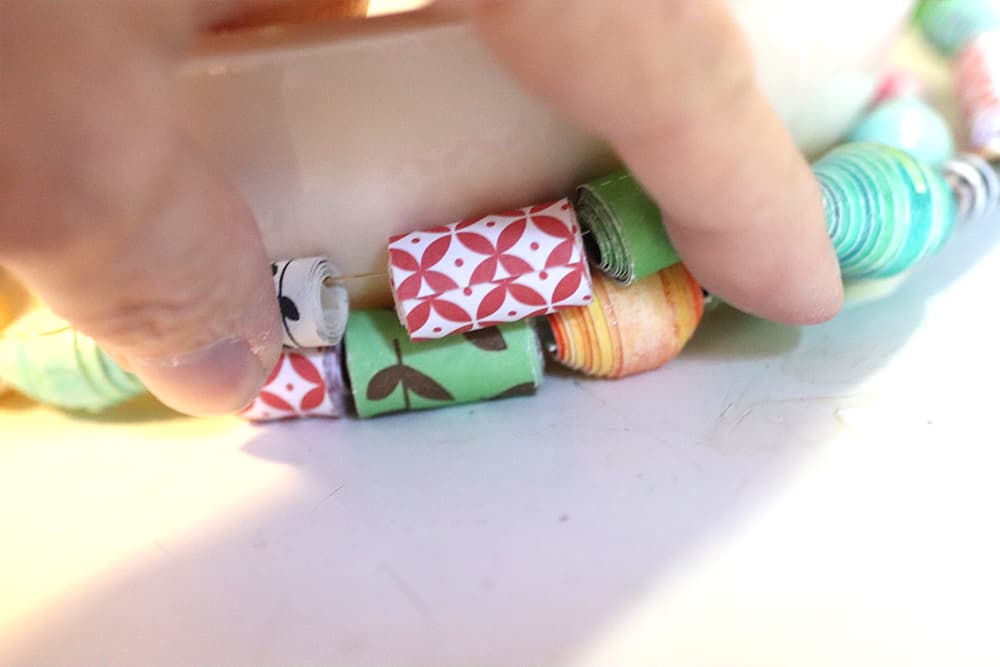
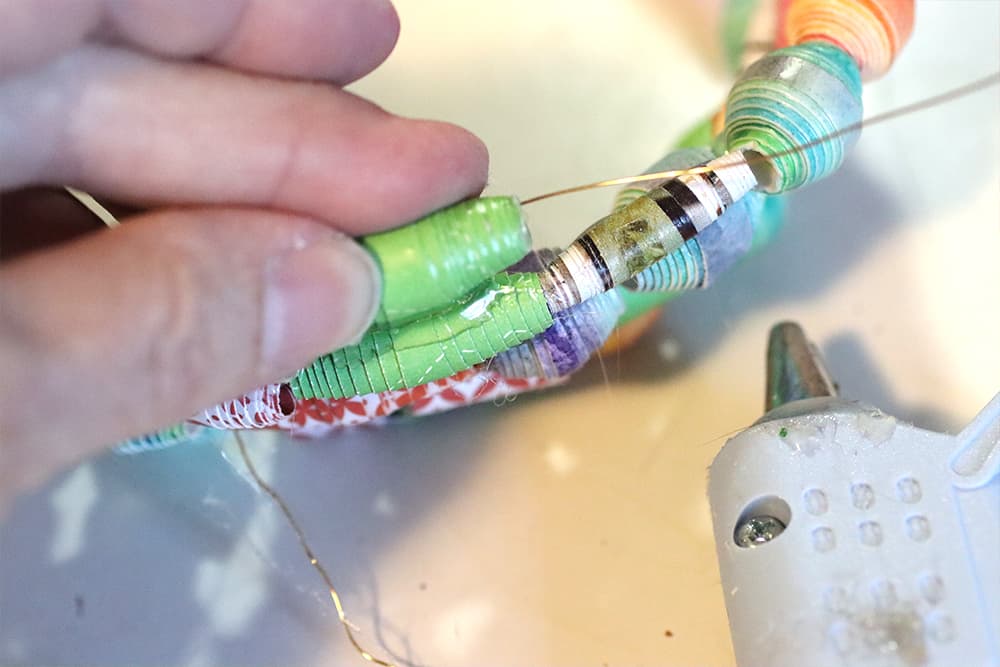
6. Start hot gluing the bead rows together.
Use hot glue to attach the second row of beads to the first one.
This is going to be the trickiest row to do because the first row of beads isn’t attached to anything, and they’ll try to turn.
This is also the reason why a LOW TEMP glue gun is important. The hot glue is going to get on your fingers at some point, and a high-temp glue gun can give you some severe burns. (Ask me how I know this.)
You can also use regular paper glue for this, but the hot glue will stick faster and be more secure as you work your way up the side of the bowl.
If you do decide to use regular white glue, you might want to give the glue time to cure in between rows to make sure that the beads won’t shift as you work.
Using hot glue can also leave strings on the bowl, but you can pull those off later. Big globs of it won’t be removable, though!
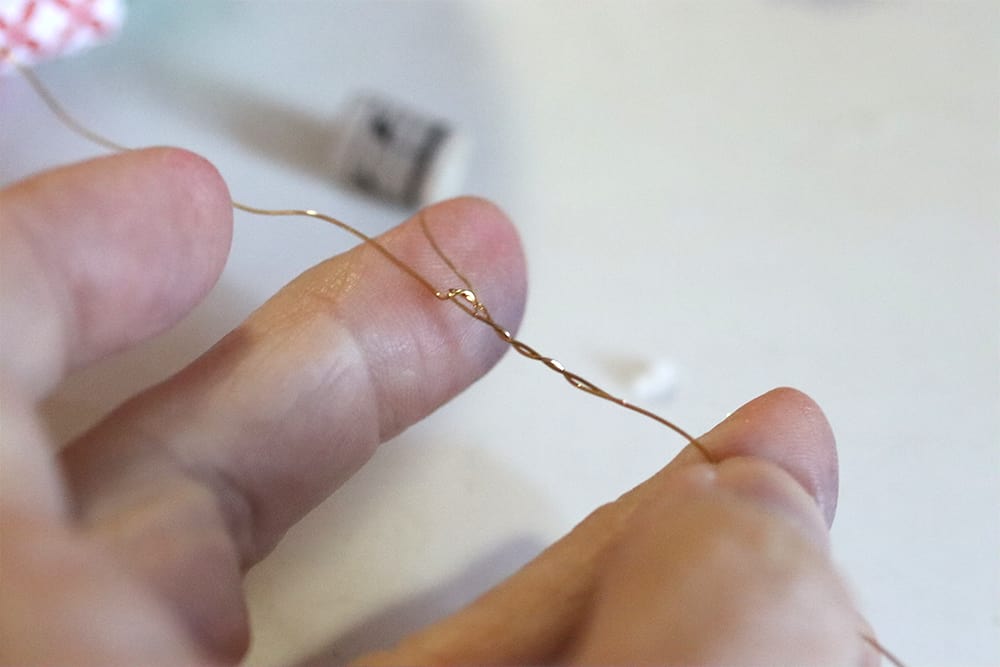
7. Attach another wire to the first one when it gets too short.
If you run out of wire, add another piece by knotting them together then twisting the ends around the wires in the opposite direction of the knot.
You can also use a really long piece of wire to begin with, but it’s hard to judge how much you’ll need, and it’s easier to work with shorter pieces.
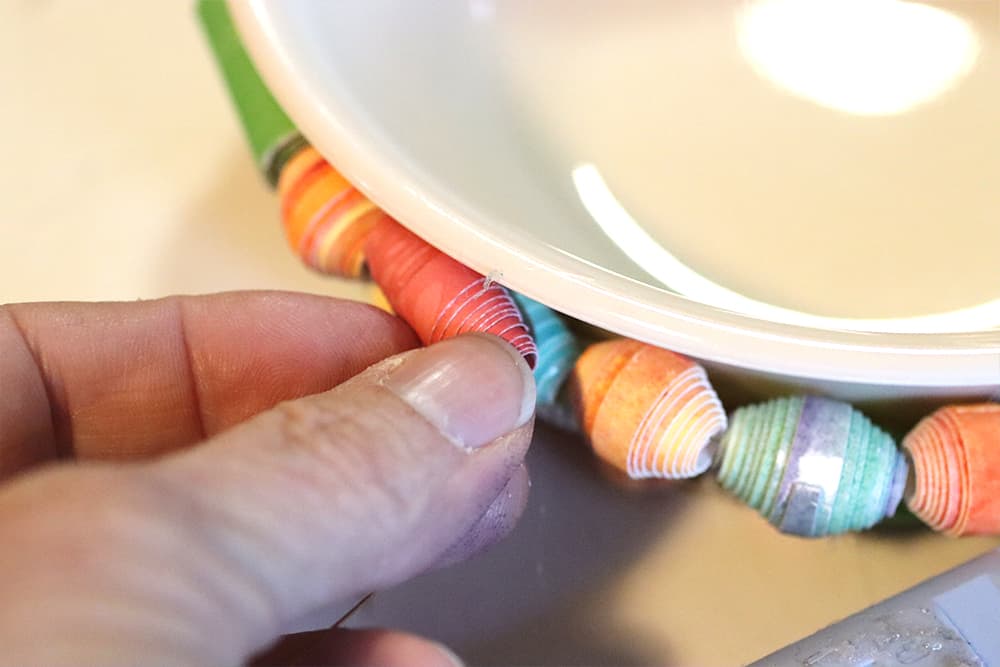
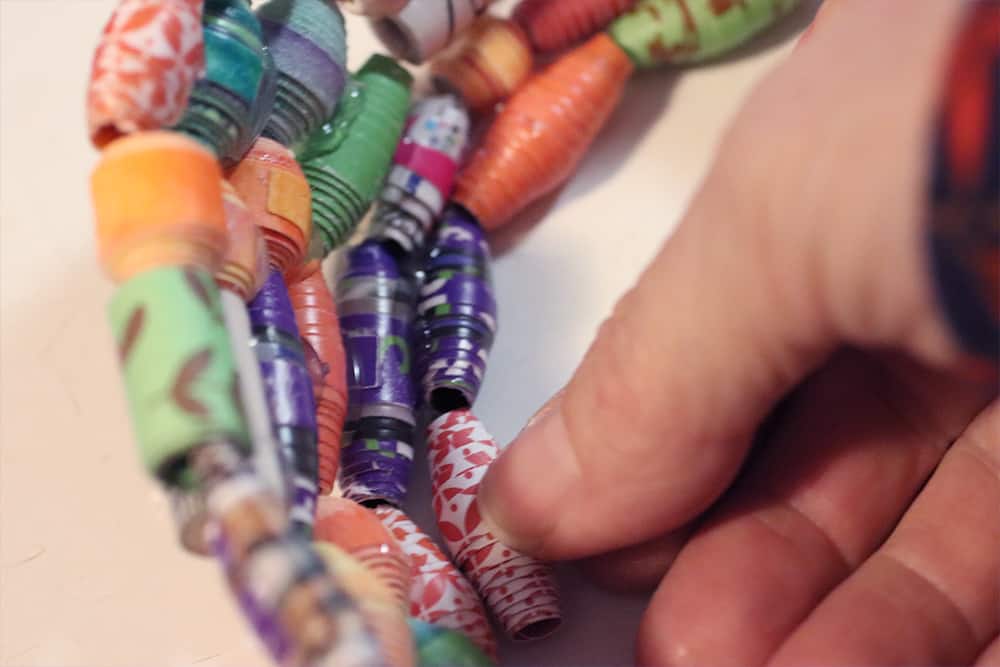
8. Keep working your way around the bowl.
Continue around the bowl, gluing each bead onto the one under it.
Try to make each layer pretty level by choosing beads that fit together well. If you have beads that are all the same size this will be easier.
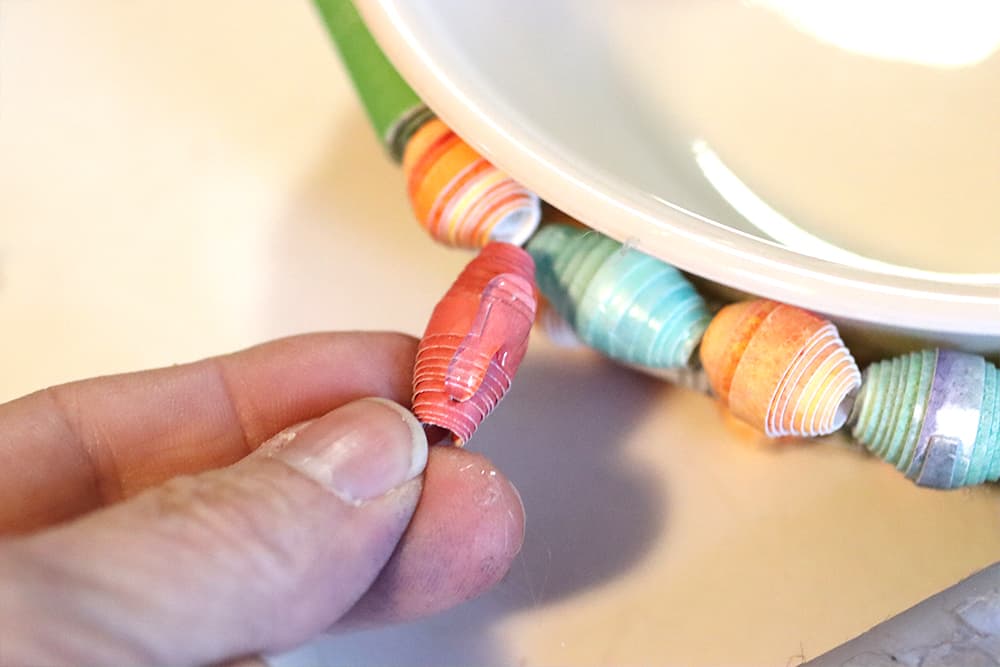
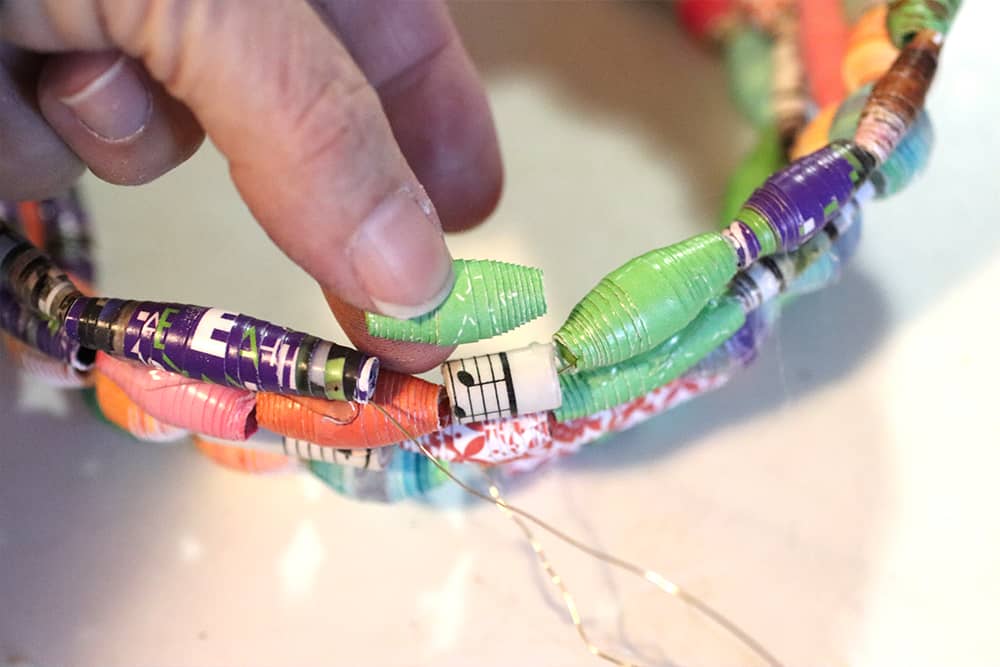
9. Put the glue on the upper row bead.
Once the second row is done the rows of paper beads won’t shift around and it will be easier to glue them into place.
At this point I found it easier to put the hot glue on the loose bead on the top and stick it to the row below it.
Doing it that way lets you control the glue easier because you can hold the paper bead on the ends and stick it to the row below a little more accurately.
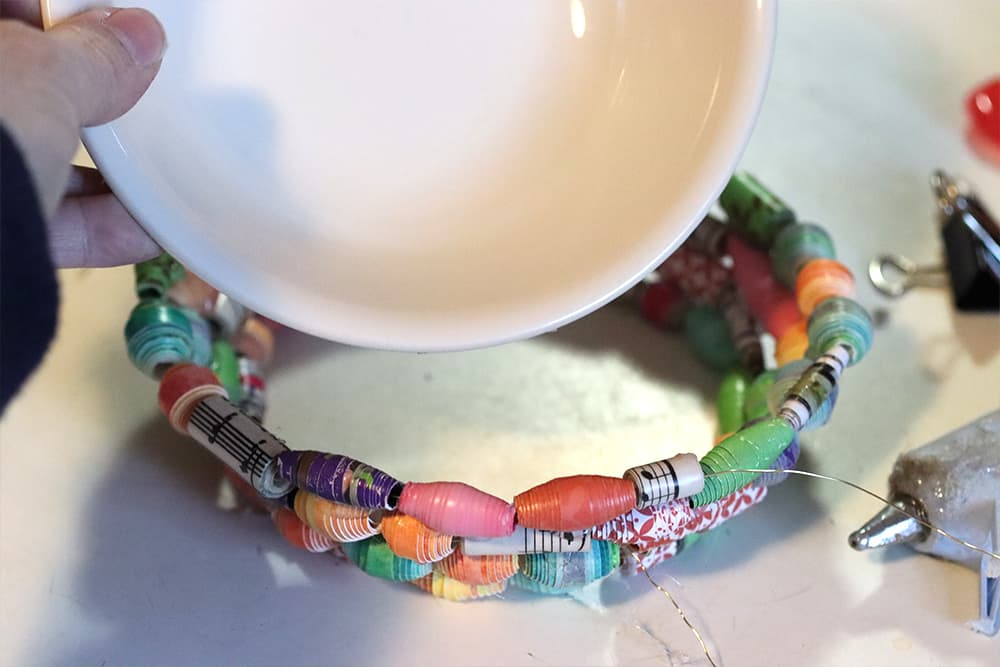
10. Remove the bowl form.
When the beads reach the top of the bowl, carefully pull the bowl out of the center.
The bowl will have the basic form, and if you need to glue any loose pieces, just add a little bit of glue to those areas to secure the paper beads in place.
None of the beads should be rotating at this point!
11. Keep adding paper beads to the bowl.
If you want to add height to the edge of the bowl, keep working your way around the edge and add one or two more rows to it.
Make sure to keep the wire in the beads to give an inner armature and increase the stability of the final shape.
Be careful with the hot glue so that you don’t leave a bunch of huge globs of it because it’s not removable! You’ll be able to pull strings of glue off later, but large areas of it are going to be permanent.
I personally wasn’t concerned about this, and you can always glaze the entire thing later if you want to!
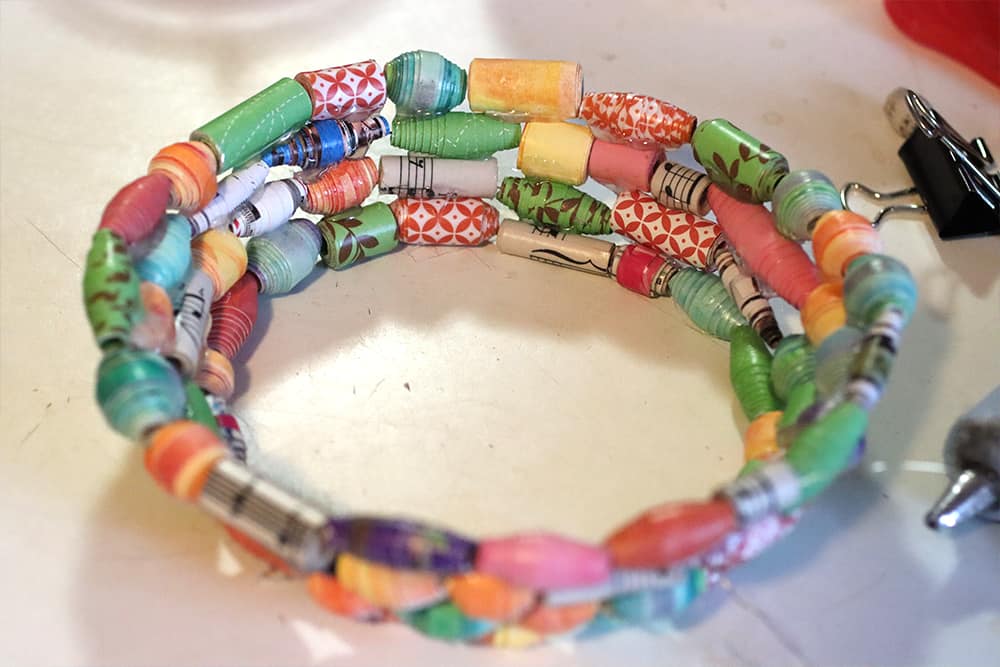
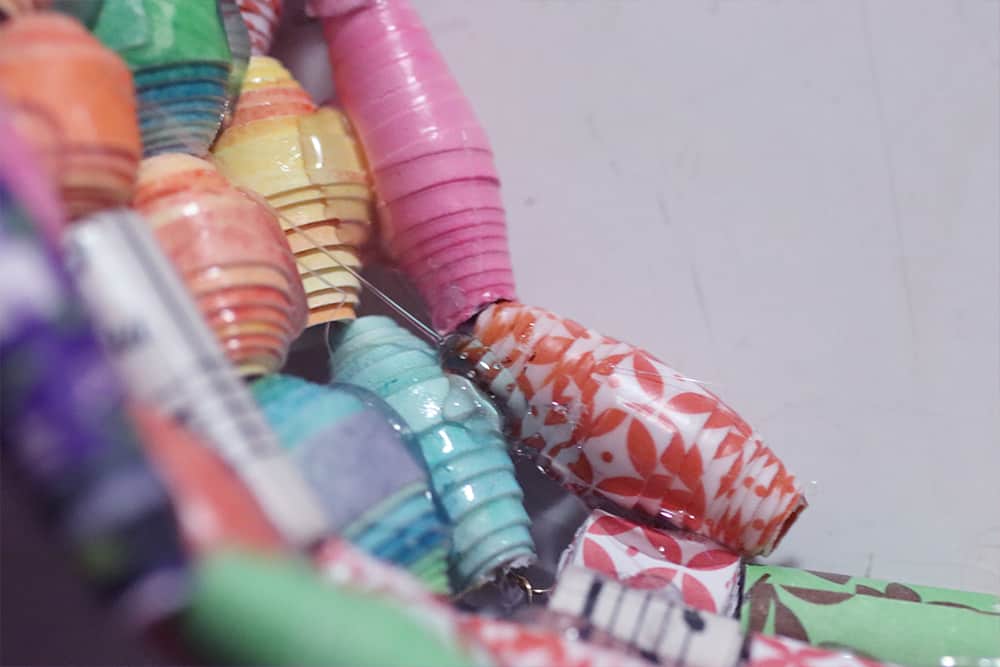
12. Ending the layers.
When the bowl is as tall as you’d like, you can end it at the same spot that the original layer had the wire attached.
Choose a bead that’s the same size as the opening so that you can create a fairly smooth top edge.
Glue it into place, then finish the sides of the bowl by cutting the wire to about 4″ long and weaving it through the beads and finally into the beads themselves to hide the end.
Tie it off any way that you want to, just make sure that the wire is connected to the structure of the other wires in the bowl so that you have a secure armature.
13. Make the bottom of the bowl.
To make the bottom of the bowl, you can use any of several methods. I ended up adding more beads using hot glue (but no wire) to the inside of the empty bottom section as the bowl sat on the counter.
You can also make a bowl bottom by cutting round pieces of heavy paper and gluing them together to make a solid, flat disc. Or by using the paper coil method to create a large round coil of paper, like a giant, round and flat paper bead.
If you use coils or one large coil, it’s a good idea to glue the entire thing together so that the bottom will be pretty solid.
If you use the paper bead fill-in method that I did, start by gluing beads into a circular shape that follows the outline of the center area. As you work your way around you’ll have to make adjustments to fill in gaps.
You can also fill in small gaps with more hot glue.
The beads that you should use for the bottom shouldn’t be too fat, since you want the bottom of the bowl to be fairly flat and level.
I used the beads that I didn’t like as much for the bottom since they’ll be covered up most of the time!
14. Finish off the bottom of the bowl.
When you get to the very end, you can stick small paper beads into the last spaces. I took a couple of little round ones and flattened them out a little so that they fit into the spaces that were too short for the longer beads to fit into.
If you use a different method to make a bottom base or a paper disc, glue the base onto the bowl shape to finish the bowl.
You could also add a paper disc made from cardstock to the bottom of the beaded version to make it more stable since there’s no wire in the bottom.
15. Clean off extra glue and hide any wire ends.
Go over the bowl and pull off any strings of hot glue that might be attached.
I pulled most of the little strings off by hand, then I took some packing tape and rubbed it on the surface of the bowl to finish cleaning it up.
If you still have ends of any wires showing, weave them into the beads to secure and hide them.
16. Optional: Glaze the bowl.
If you want to seal the bowl you can use any type of glaze that you normally use for your paper beads.
Design ideas
- Use different sizes of beads on the top edge to add some visual interest.
- Use different types of armature designs to create patterns and different shapes on the sides of the basket.
- Use a thicker wire and more random bead sizes and curl them around to create curving shapes that connect in spots to form the bowl sides.
- Weave some beads vertically and some horizontally to make the bowl look like a basket, using the wire armature inside.
To see the full Artisan Shopping Directory sections, including signups for discounts, click here.
")