I did a bunch of felting with some old sweaters, and they’ve been sitting around waiting for me to figure out what to do with them.
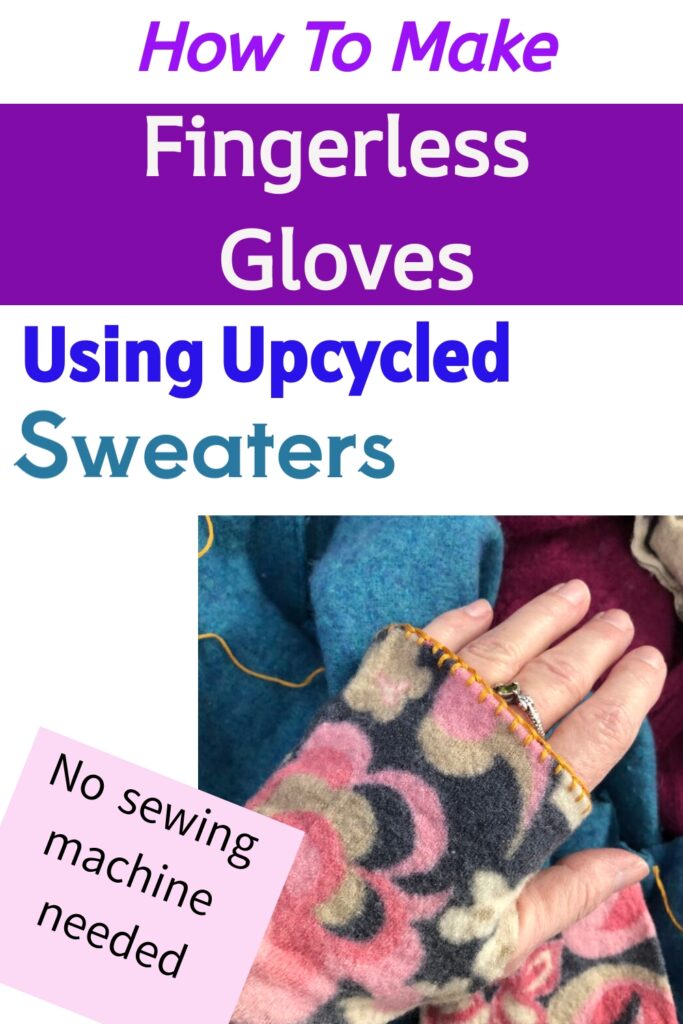
I decided to make some fingerless gloves because my hands are cold all the time, and the felted sweaters were the perfect material to use for some super-simple, no-sewing-machine-required gloves.
Some of the links in this article are affiliate links that will pay a small commission if they’re used to purchase something. To see the entire affiliate policy click here.
Why fingerless gloves?
Fingerless gloves keep your wrists warm, which then keeps your hands warmer. It’s a weird thing, but it does work!
They’re good for wearing if you need to use your fingertips for something but you want a little extra coverage in chilly weather.
Fingerless gloves can be made with or without finger “sleeves,” and they can be knitted like the ones from Artisan Shopping Directory member Kathy Zola Fiber Design , or made from other materials like leather, fleece, or wool.
Felted gloves like the ones from Vaida Petreikas (click here to see them) can also be made in longer lengths as arm warmers.
For the gloves that I made, I used some felted wool sweaters, since I figured that the sleeves would be a good choice to make the job faster! I’ve seen people make them from old socks, so it’s the same concept.
Materials you’ll need to make the fingerless gloves.

To make these gloves, you’ll need a felted sweater (you can use socks too, but the sweater will be easier.)
You’ll also need small pointed scissors, some embroidery floss and a needle that fits the floss, and that’s all!
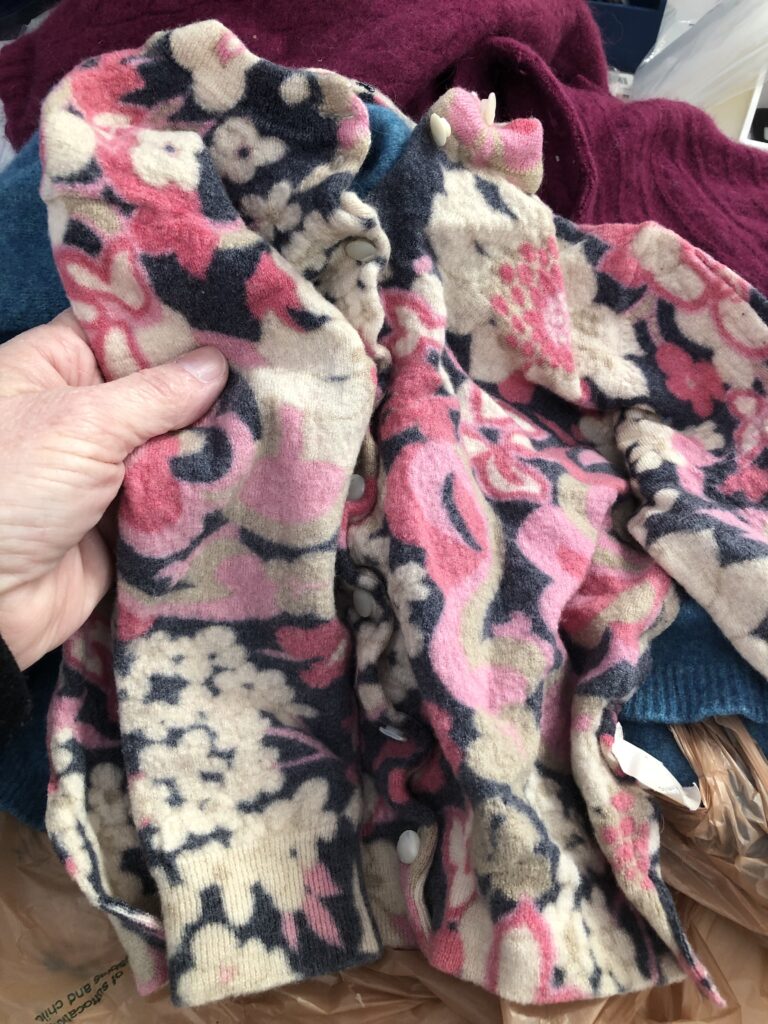
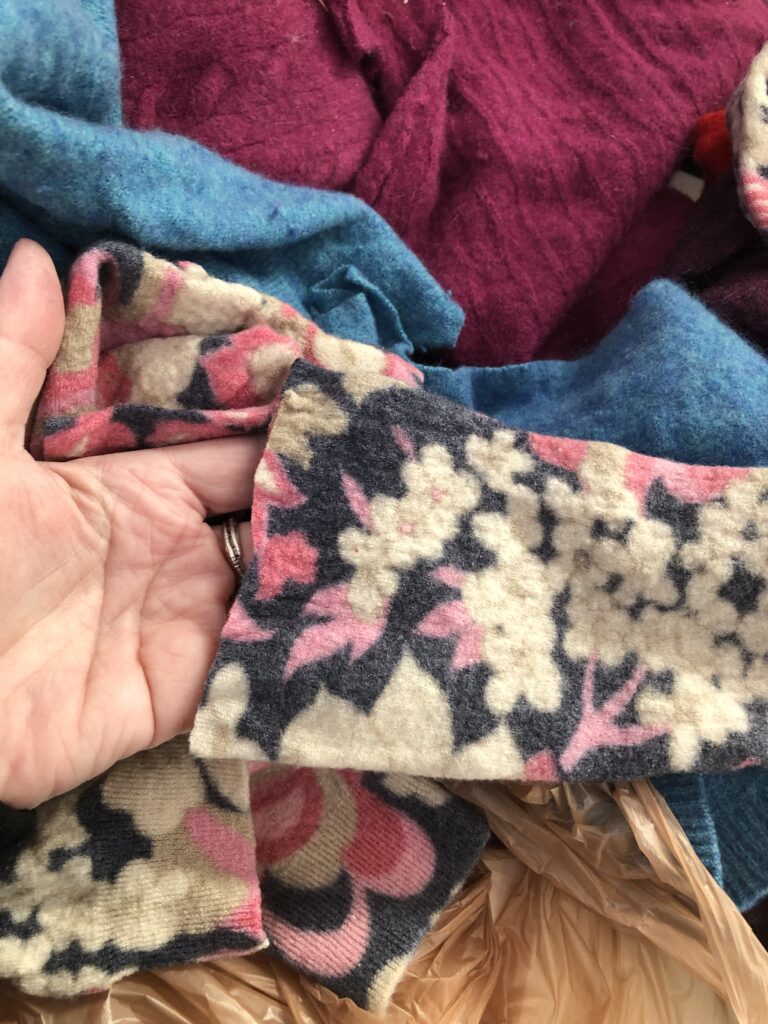
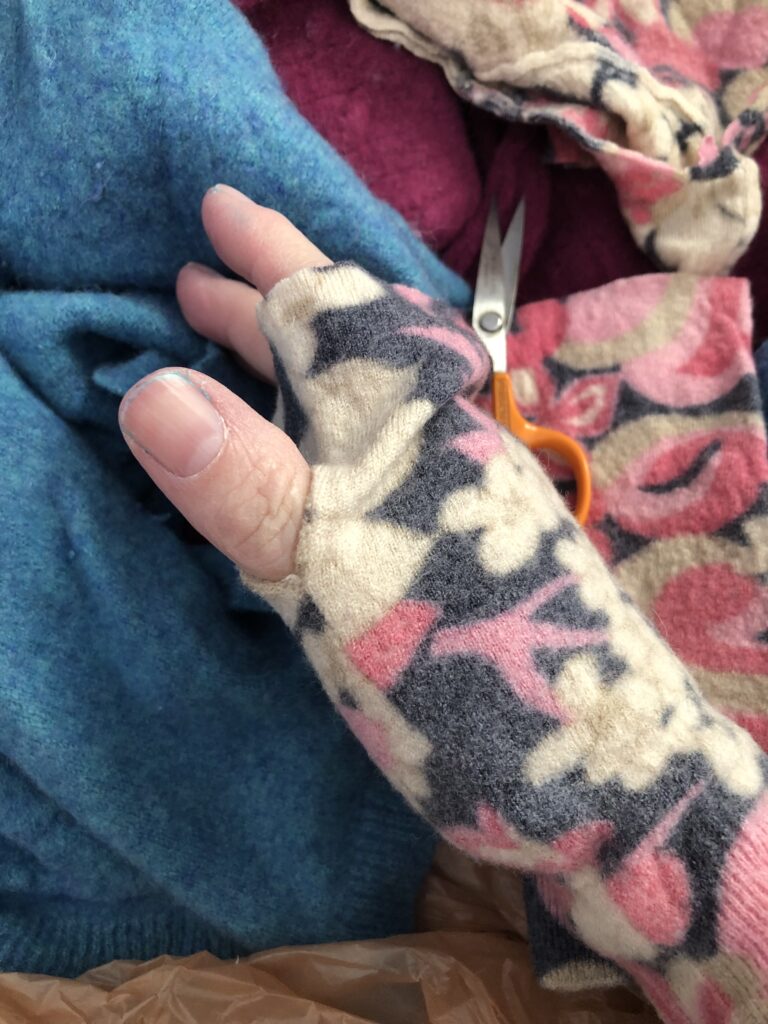
I had a bunch of sweaters that I had felted before (read the felting sweaters article here), and I chose this patterned one to start.
It had shrunk A LOT, so it was teeny kid sized, and the sleeves fit on my hands with the cuffs over my wrists pretty well.
Cut the sleeves.
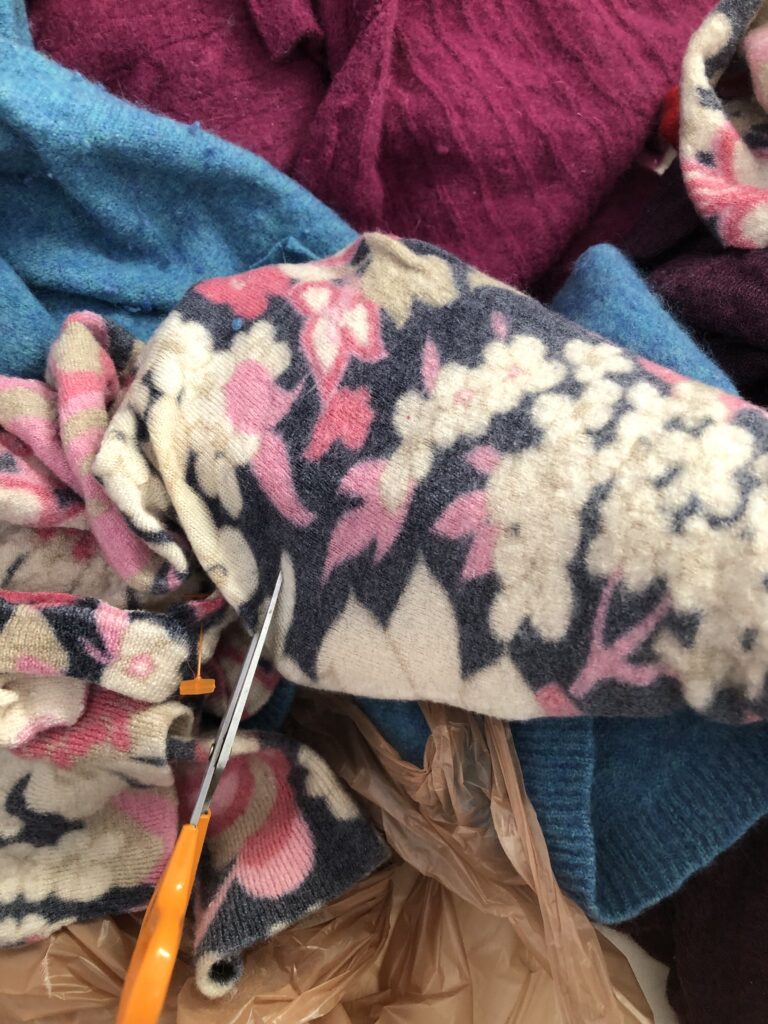
Put your hand into the sweater sleeve with the cuff on your wrist, and cut the sweater at the spot about 1/2″ longer then where you want the finished edge to sit on your hand.
I made mine a little longer than my knuckles so that the finished gloves would cover my knuckles completely.
Fold the sleeve over and cut a mark on the other side to match the first cut, then cut across the sleeve to make a straight line.
Here’s the cut-off sleeve.
Try the glove on and adjust the length if you need to.
Cut the thumb hole.
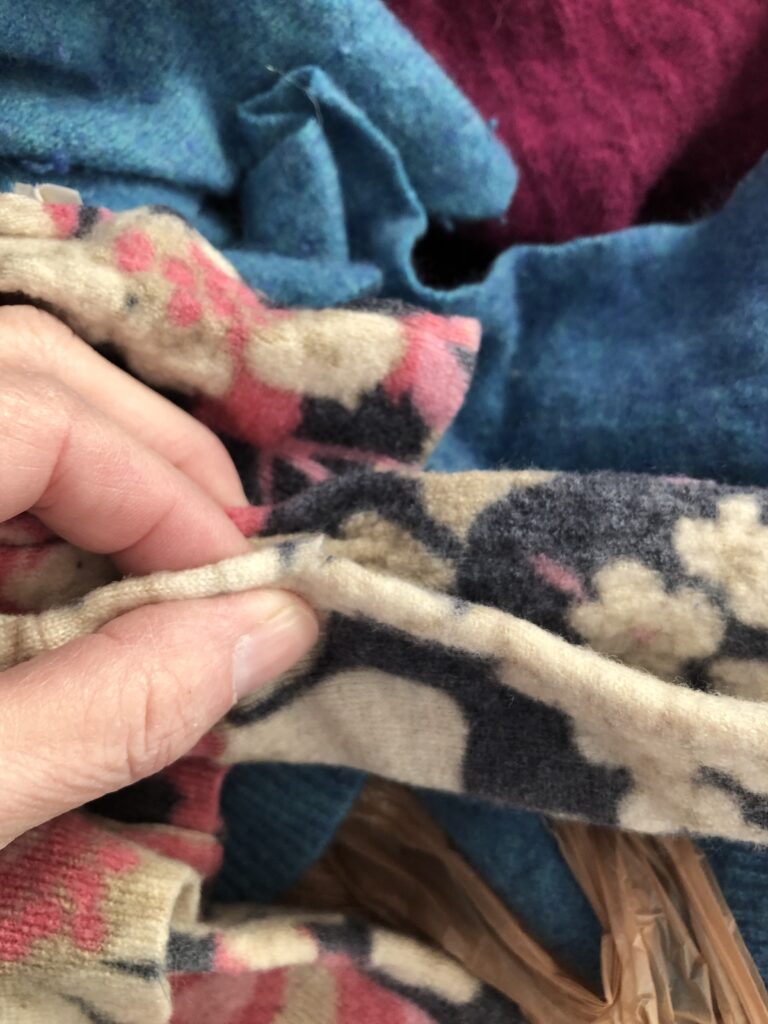
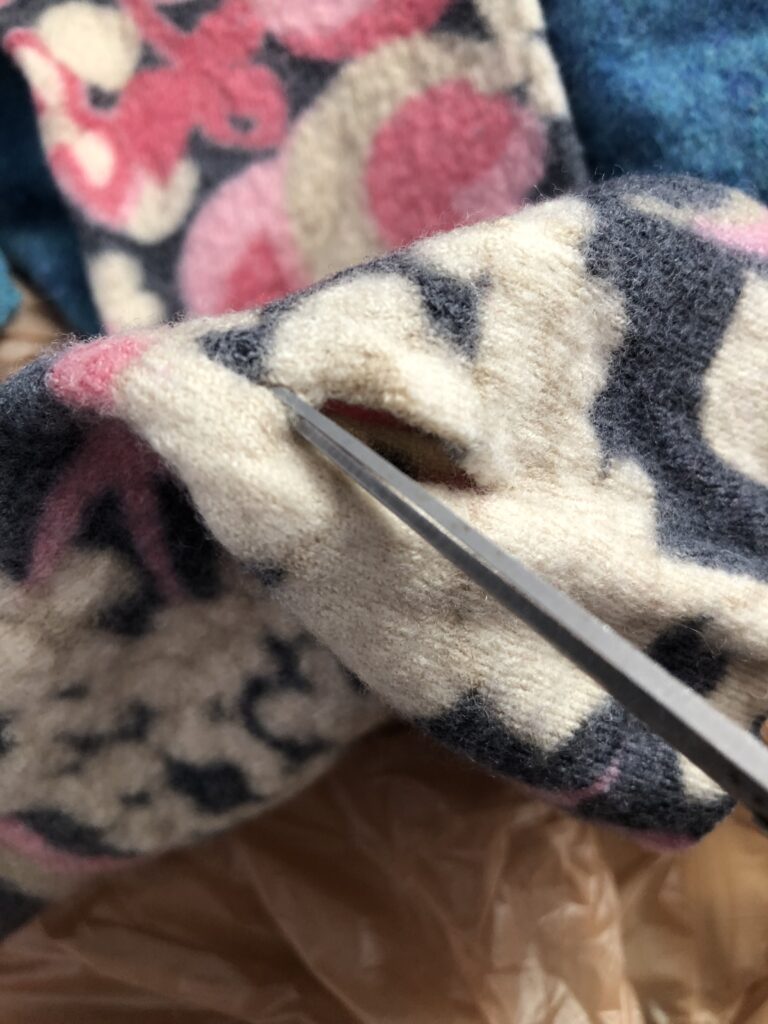
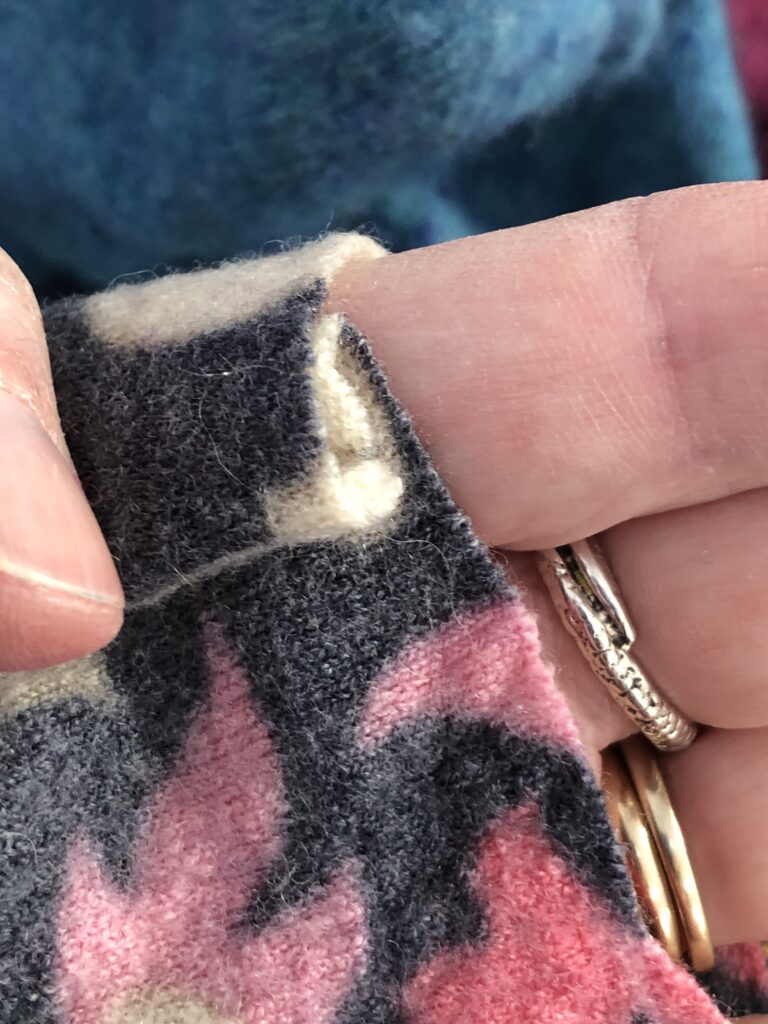
Put your hand in the sleeve and position the seam along the thumb side of your hand. Make a tiny cut in the seam where your thumb will stick out.
Cut a little hole in the seam and make it about an inch long. Try to only cut the threads on the seam stitching so that the knit fabric doesn’t get a cut in it.
When the hole is about an inch long, put it on and stick your thumb through so that you can see where the thumb opening needs to go.
I could see that I needed to cut it more in the direction toward the sweater cuff.
I carefully cut the seam open enough to let my thumb come through the hole. Be really careful to only cut the thread that sewed the sleeve seam together and not the knitted yarn. If you do clip some yarn it won’t be a tragedy, but you might have to fix it later if it starts to unravel.
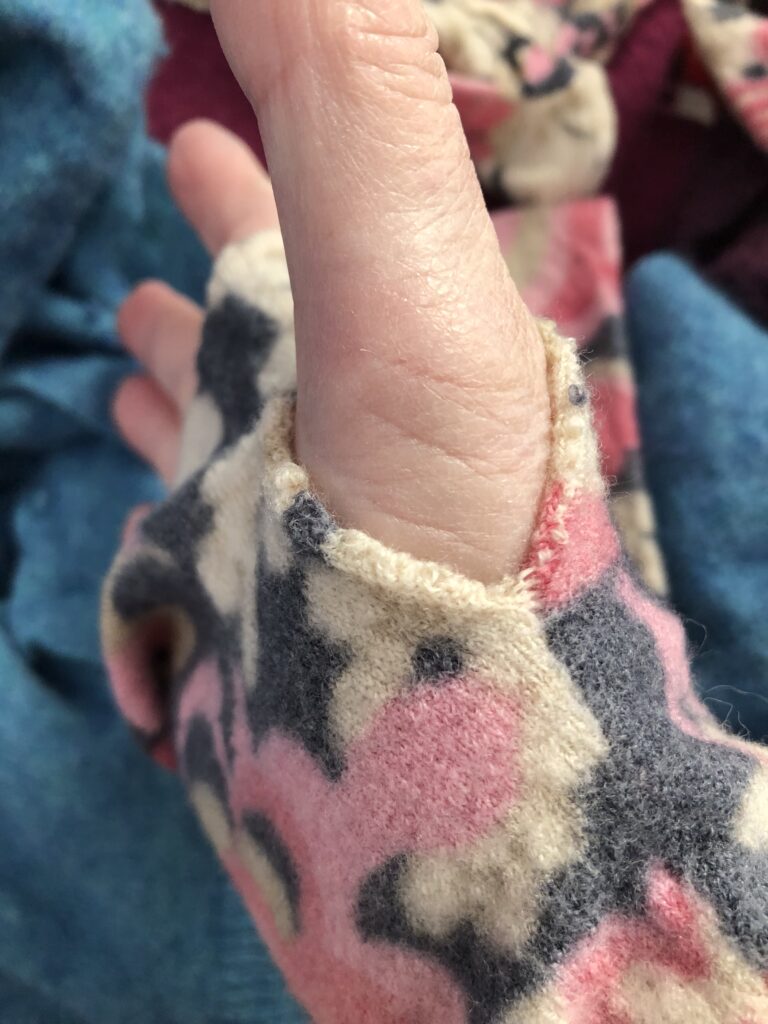
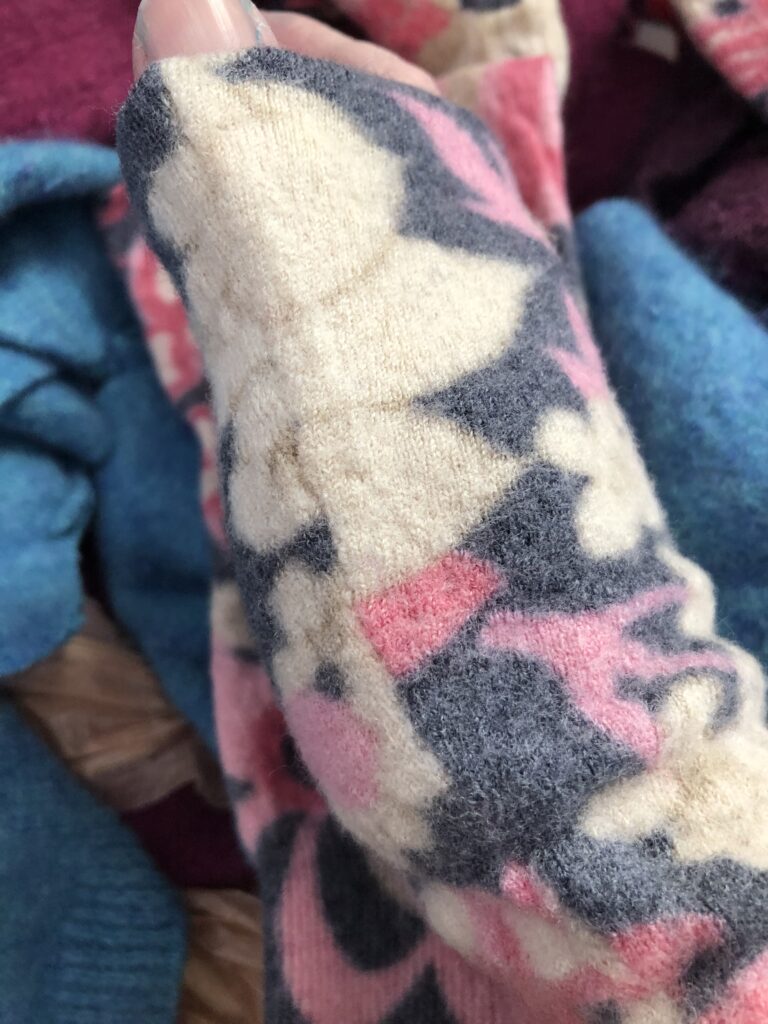
Test the thumb hole to make sure it’s right.

Hem the gloves (optional if the felting is really good.)
If the sweater was felted well, the fabric won’t unravel when you cut it off, so you might be able to skip this step.
But if the sweater was originally made from shrink-proof wool, the felting might not be as thorough, and hemming the gloves will keep them from unravelling over time.
You can also hem them to add a decorative element to them. I added a simple blanket stitch in a contrasting color since it was the only embroidery floss that I could dig up. I would probably have used pink or red but I didn’t have any available. The color is up to you!
Fold the top of the glove over to the length that you want for the finished pair. Pin the hem in place so that it stays where it should be when you stitch it.
If the top of the glove is too big for your hand (which it probably will be) you can make a fold like a pleat to tighten up the upper edge.
If you want to stitch this down you can use a whipstitch to sew it in place up to the thumb hole. Or if you don’t want to stitch it in place just fold it at the top edge then hem it when you do the full hem.
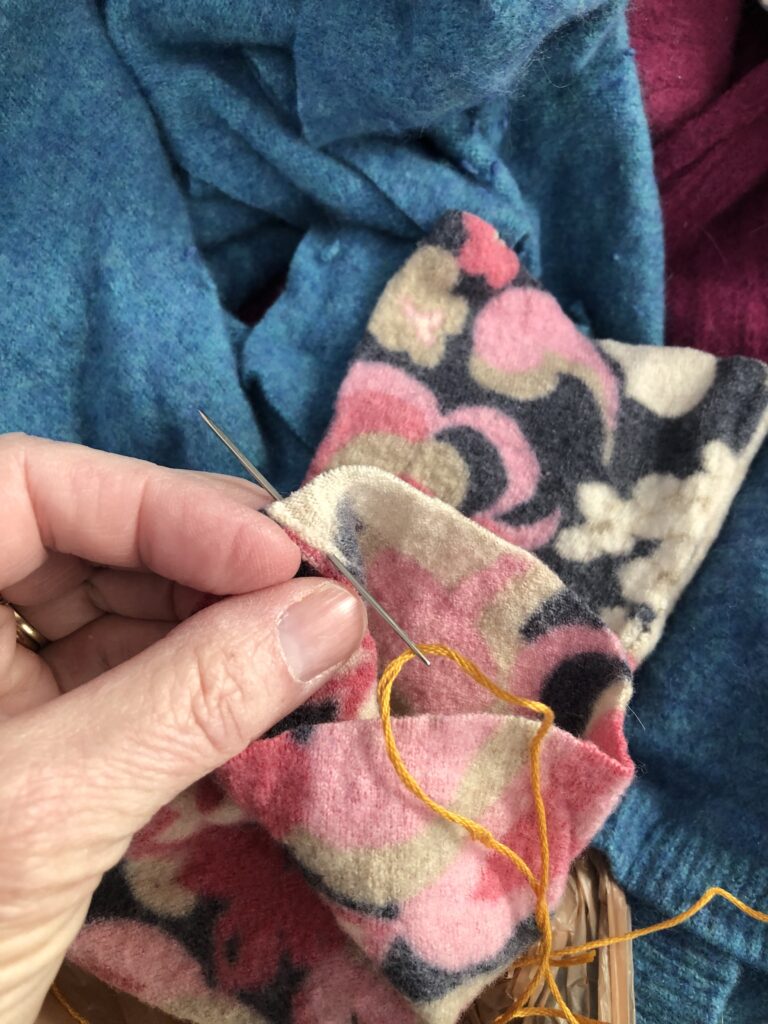
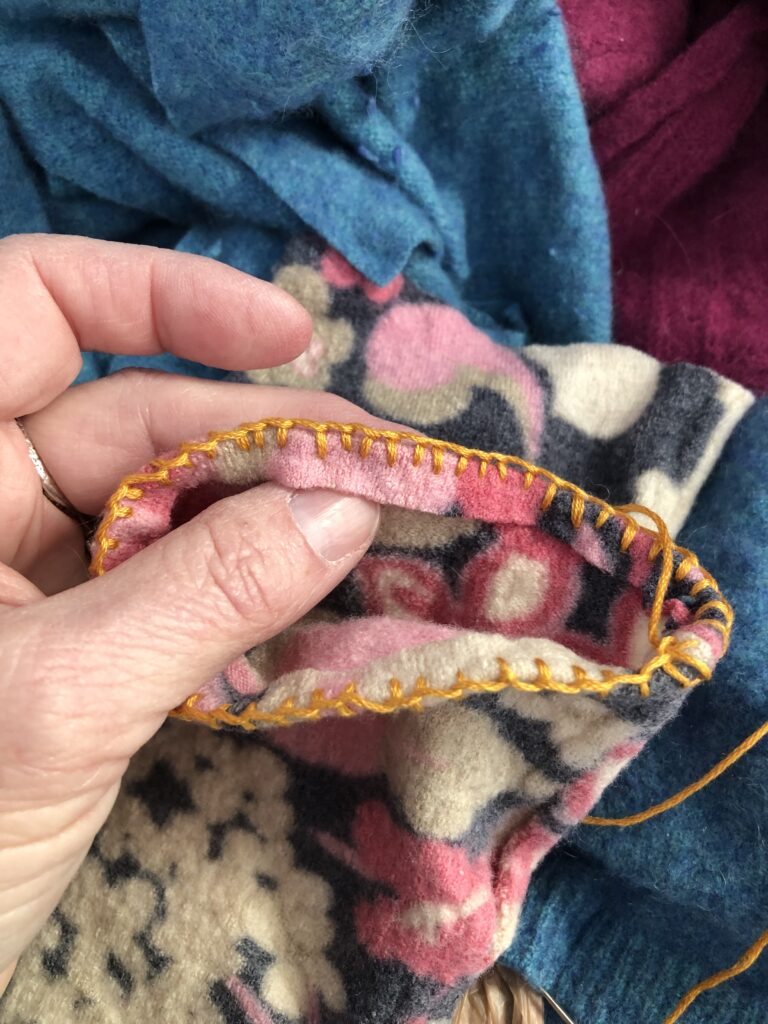
To start the hem, knot the thread onto the inside of the hem so that it will be hidden when it’s done.
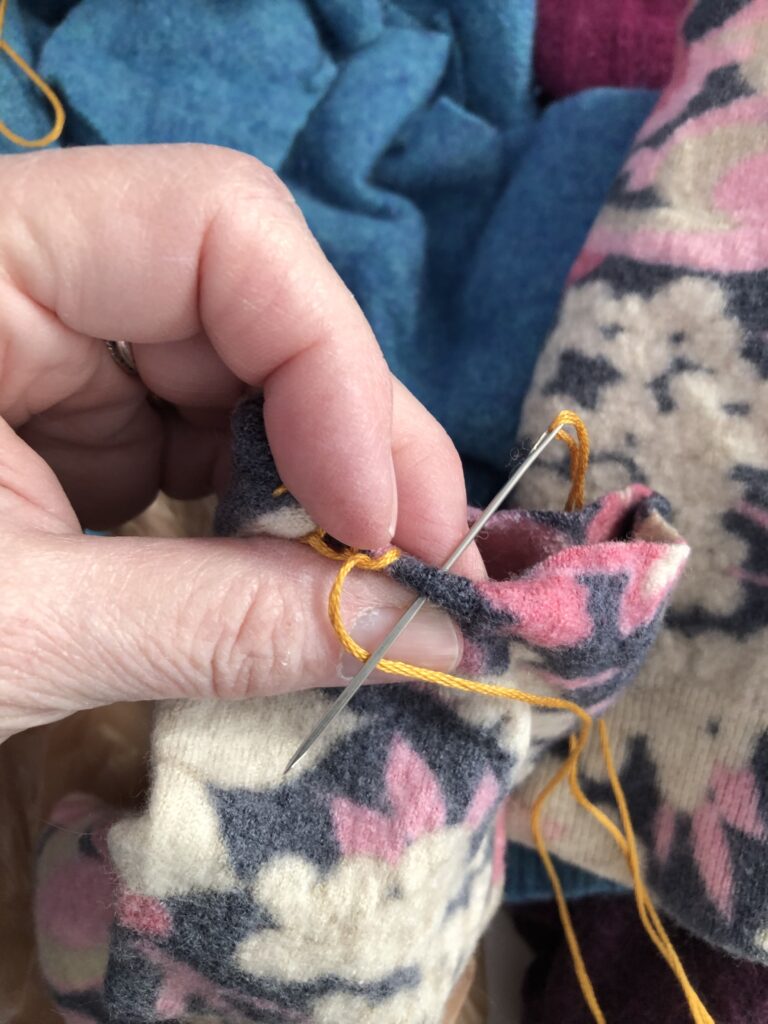
Sew the hen in place by making a simple blanket stitch around the top edge. That will hold the folded edge in place with a little bit of stretch, and be decorative, too.
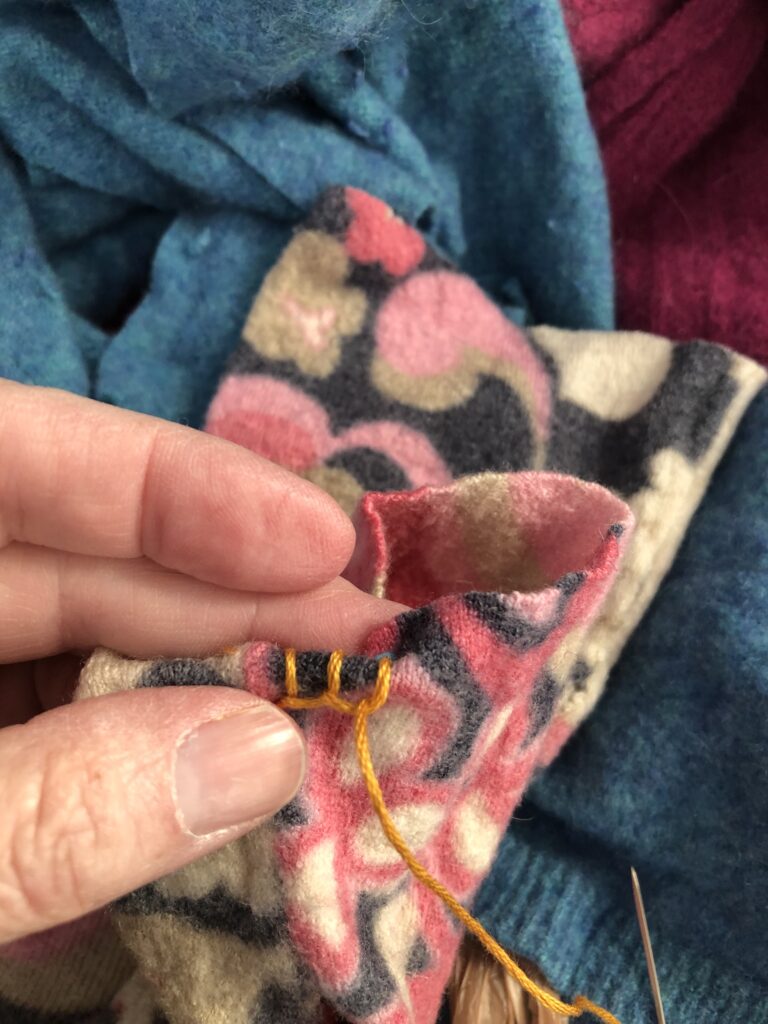
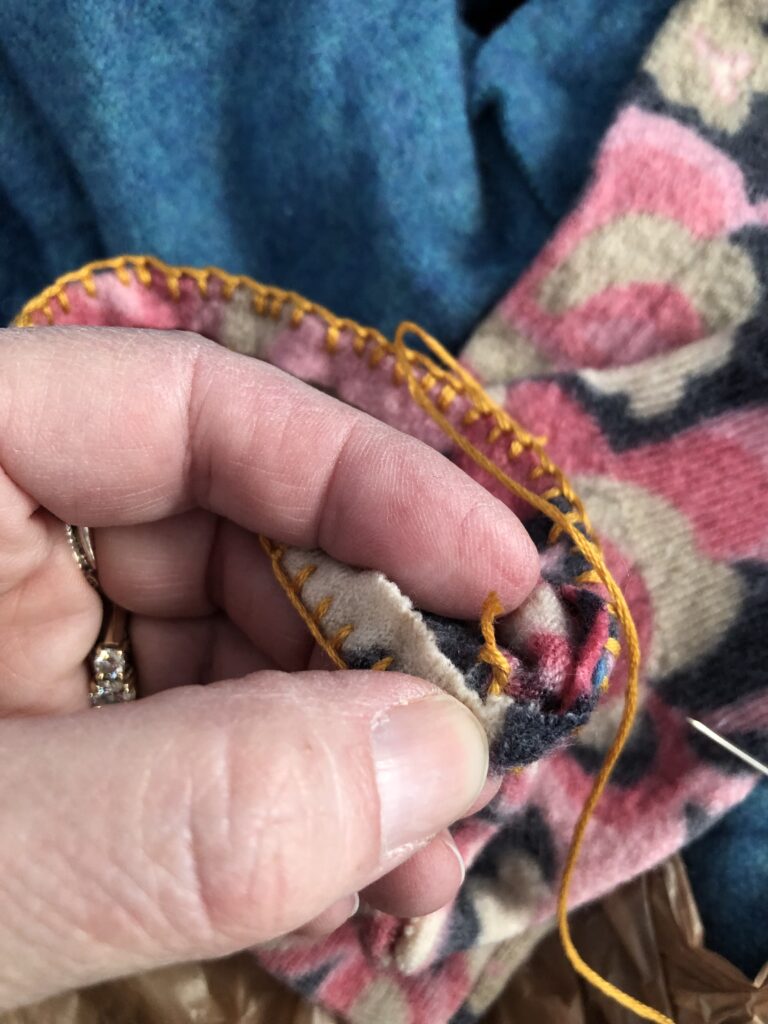
Work your way around the hem and sew the folded edge in place. When you get to the folded-in section, sew that too so that the top of the gloves aren’t too wide.
The hem will be like a decorative edge going around the top of the gloves, and if the fabric was felted well they won’t unravel. If you have some sweaters that weren’t felted well the edge might unravel, so you might need to use a sewing machine and do a zig-zag stitch along the edge to keep it from unravelling.
When you’re done going all the way around, tie the knot off under the hem so that the knots are all on the inside and hidden.
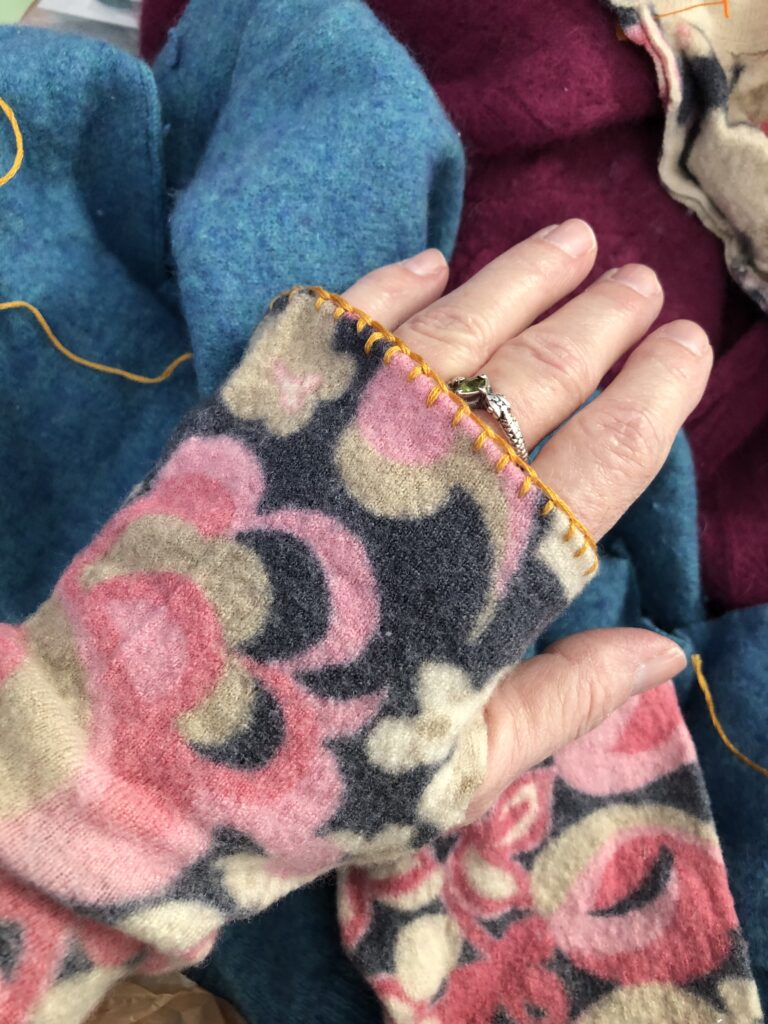
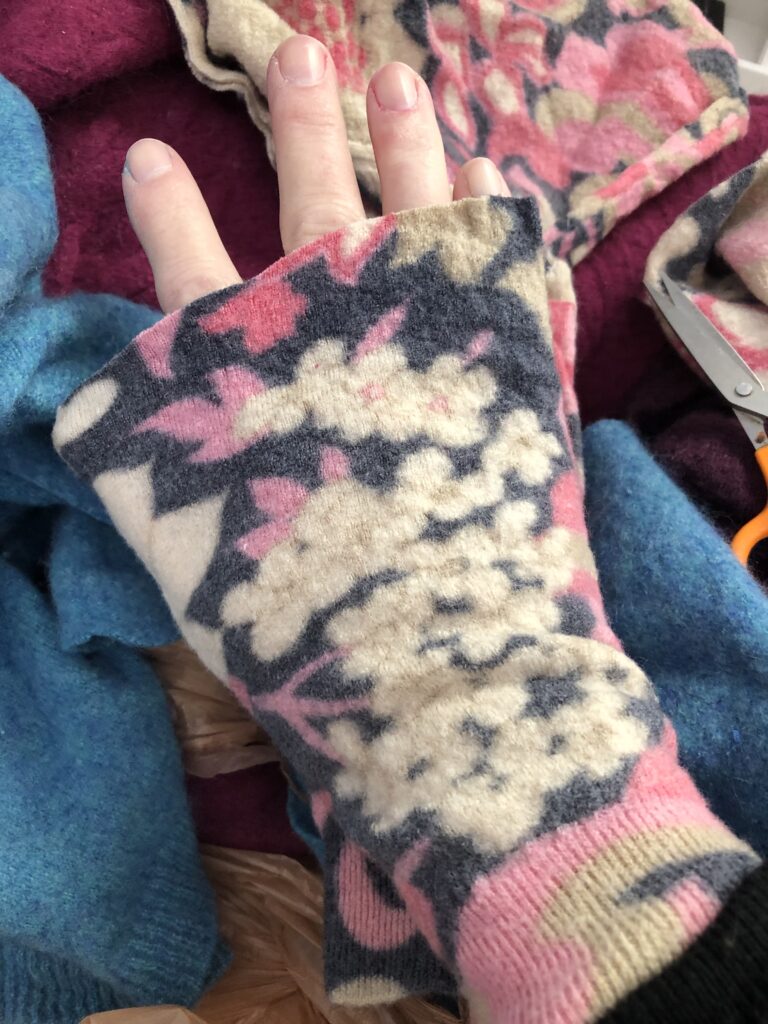
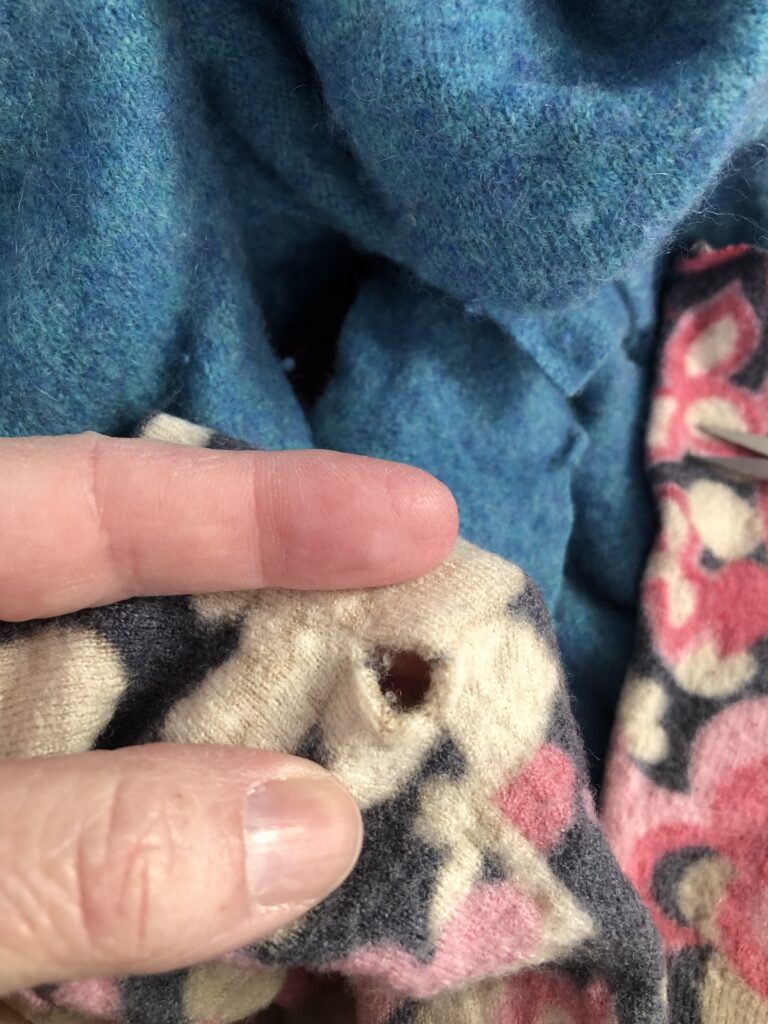
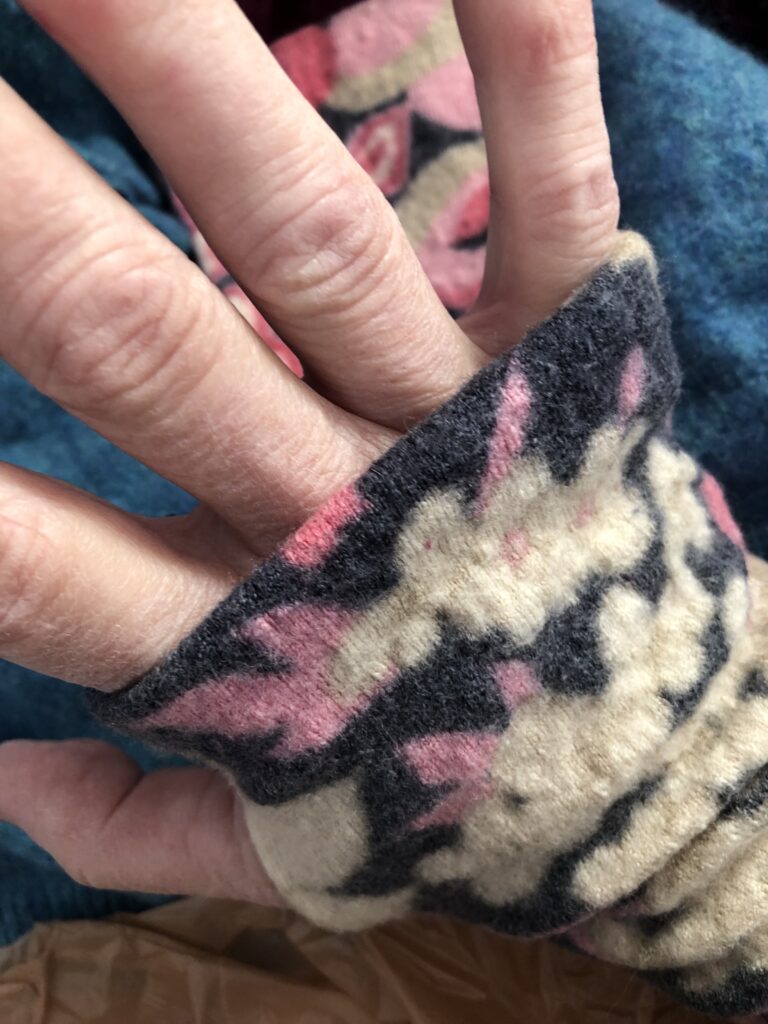
Here’s the finished glove…The only thing you’ll need to watch out for as far as unravelling goes is the thumb hole, because if you accidentally clipped some of the yard from the sweater instead of the seam, it can develop holes after you wear the gloves for a while.
If that happens, you can do a basic chain stitch around the edge of the thumb hole to keep the cut threads from unravelling.
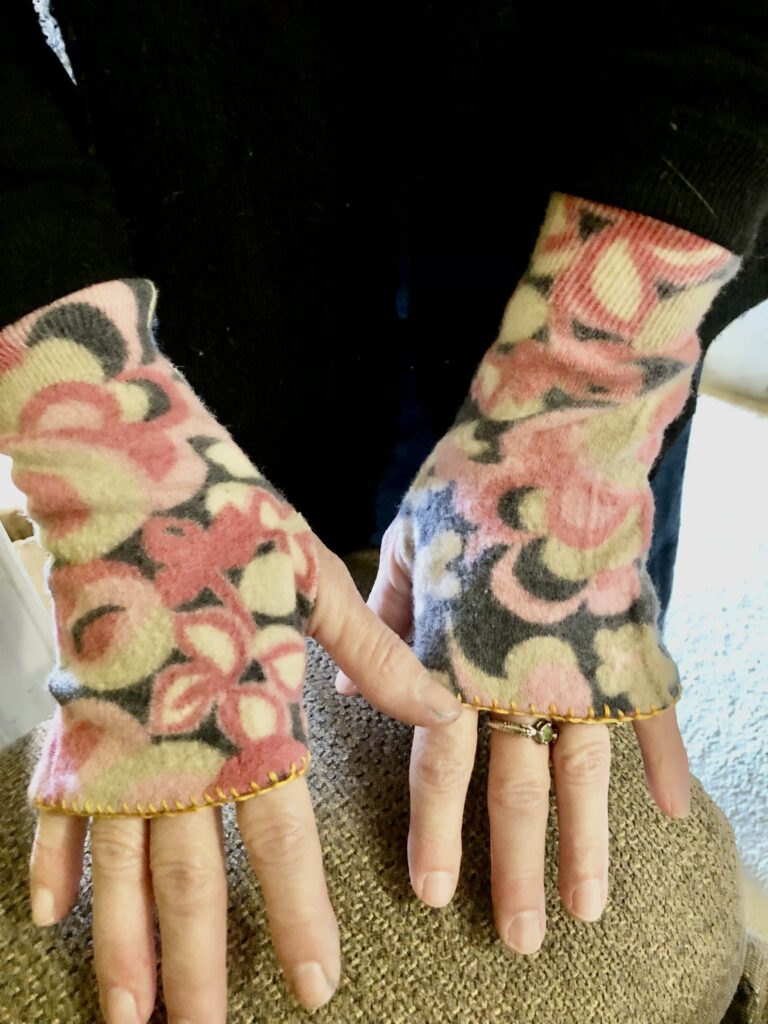
This was a really easy way to make fingerless gloves, and I’m going to make some more but I’ll put the cuff part up around my fingers instead of on the wrist part. It will work either way, and I think that you can decide which end should go up depending on how thick the sweaters are and how thick the cuffs are.