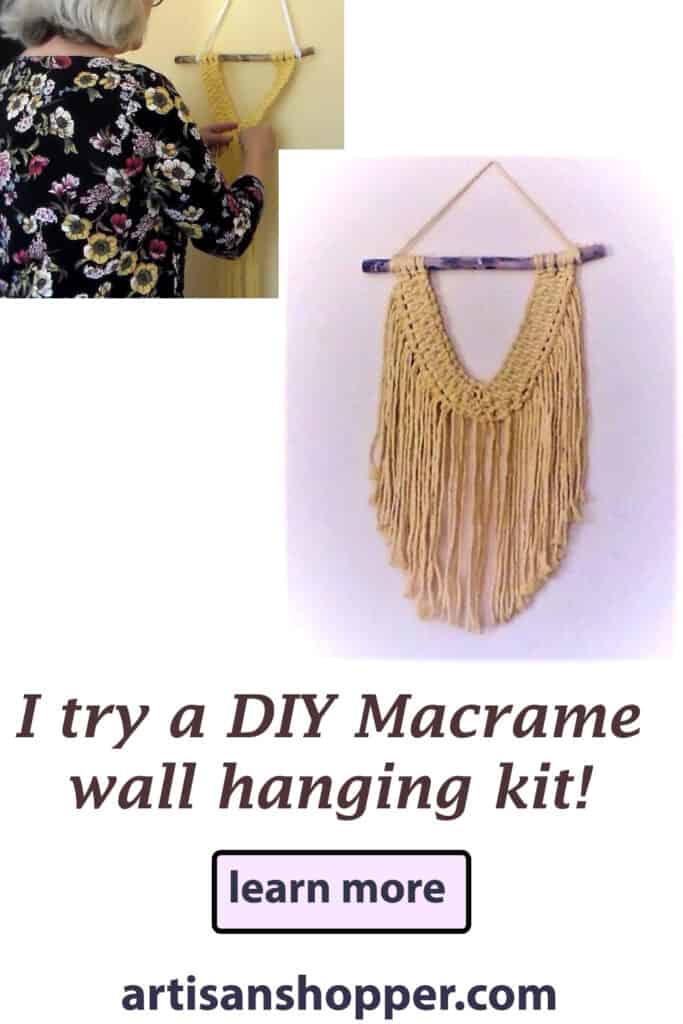
I bought a macrame kit from an Artisan Shopping Directory member to test out the theory that it would be relaxing, since I’m difficult to relax.
I did macrame quite some time ago in the 1970’s when I was a kid, but that was a long time ago, so I can safely say that I’m a beginner.
I didn’t know if it would be as easy as it was advertised, but I was willing to give it a shot to see how well I would do.
Macrame is a craft that creates designs using a series of decorative knots that are arranged in specific ways to create patterns. Macrame can be used to make large wall hangings, curtains, plant hangers, and other decorative decor elements. I put it in the “relaxing craft for adults” category because you have to concentrate on it, so it’s something that forces you to stop thinking about other things while you’re working on it.
Please note: Some of the links on this page are affiliate links, which will give me a small commission at no cost to you if you buy something when you use them.
The kit came from Artisan Shopper member Wires and Knots Design , and it was advertised as an easy kit for beginners. It came in a bunch of different colors and I chose the yellow because I had a feeling that my daughter would want it after I was done, and that’s one of the colors she likes.

Tina had sent a dowel and a natural stick to use for the hanger, and I chose the stick because it was prettier than the dowel!
The kit comes with a full set of instructions and a guide to different knots, but this design only used two different knots, which was good because it made it easy to follow.
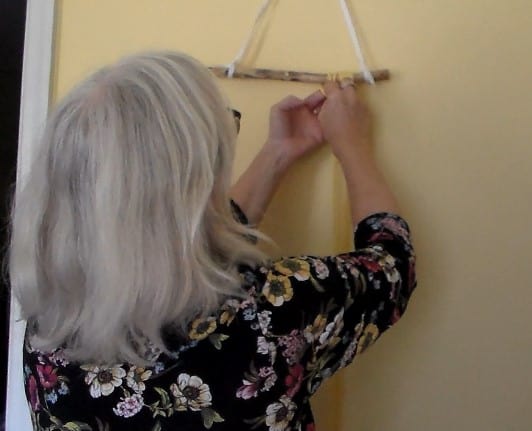
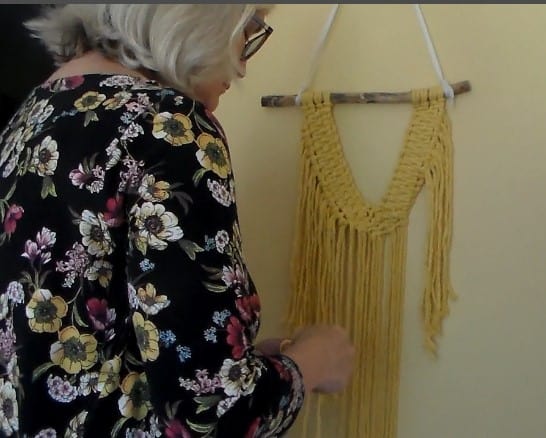
I started by printing out the instructions and the knot guide, and I found a spot to hang the stick up so that I could work vertically.
After the first part I realized that it would be easier to be more at eye level with the hanging because I was craning my neck too much, so that would be my first tip:
Keep the piece you’re working on at a comfortable eye level so that you don’t have to strain your neck to see it!
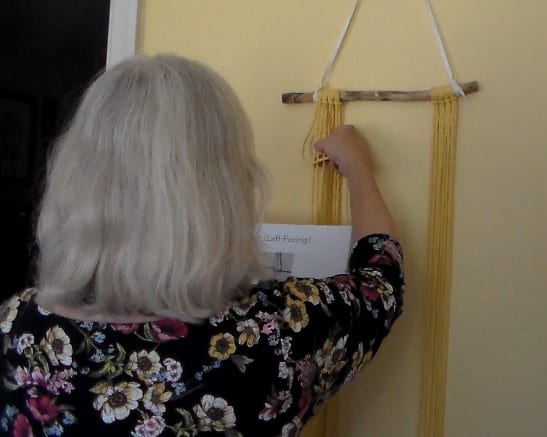
I got the strings set up to start making the knots, and after checking with the instructions for how to actually tie the knots, I got to work.
This is a basic kit so it’s two identical side sections that you attach in the center, and of course I tied them too tightly, so that’s my second tip:
Actually look at the picture to make sure what you’re doing looks like the photo of the finished piece!
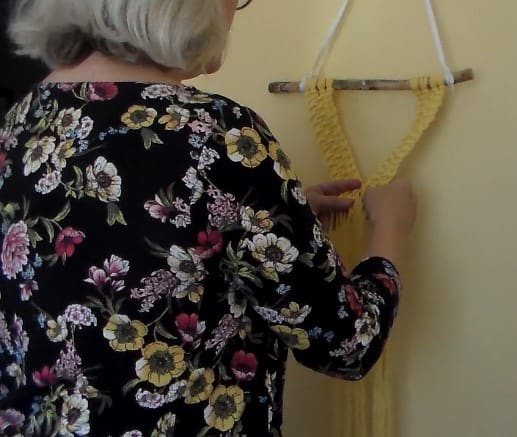
I noticed that the right side was twisting a little bit, and I thought that was weird because that wasn’t what it was supposed to do.
I know that in the olden days of the hippie 70’s we tried to get the strands to twist when we made those hanging plant holders, so I didn’t really think about it, but I realize now that I wasn’t leaving enough string in between the knots.
It worked out in the end, but just pay attention to what the finished piece is supposed to look like.
I got both sides done and then it was time to attach the two sides together.
I made sure to follow the instructions, because this was the part where it started getting complicated.
This is also when I went to get a stool so that I could see what I was doing easier.
I attached the two sections together and continued down the piece, following the instructions (or so I thought).
I must have missed a piece of it because it was suddenly crooked! Or it looked crooked anyway, it might have just been because I was making it too tight to begin with.
I adjusted by adding a knot in the places that seemed like it was off-balance, and that evened it out visually, so that’s my next tip:
Don’t be afraid to tweak the pattern a little, you can always unwind it if you don’t like it!
I got it all set up, then the last step was to add the fringe, which I can do without any problem due to the fact that it involves almost no skill whatsoever.
After that, it was just a matter of trimming the fringe to the length that I wanted it to be.
This would be the time to add beads to the thread if that was something I wanted to do, but I decided to leave it bead-free.
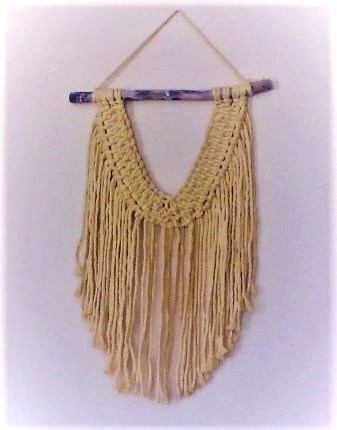
My finished product was rounder than it should have been, but I really like it! I think it looks like it should be used as the neckline for a shirt or something along those lines.
It was easy to make, it took around an hour or a little under, and I was right that my daughter wanted it, so I’ll be mailing it to her soon.
And Tina doesn’t only make kits, she also sells already-made pieces that you can buy and tell people that you made to impress them (just kidding!)
To see her beginner kits and the premade decor macrame pieces that she’s made, click here: Wires and Knots Design
For all of the Artisan Shopping Directory home decor items, click here.
