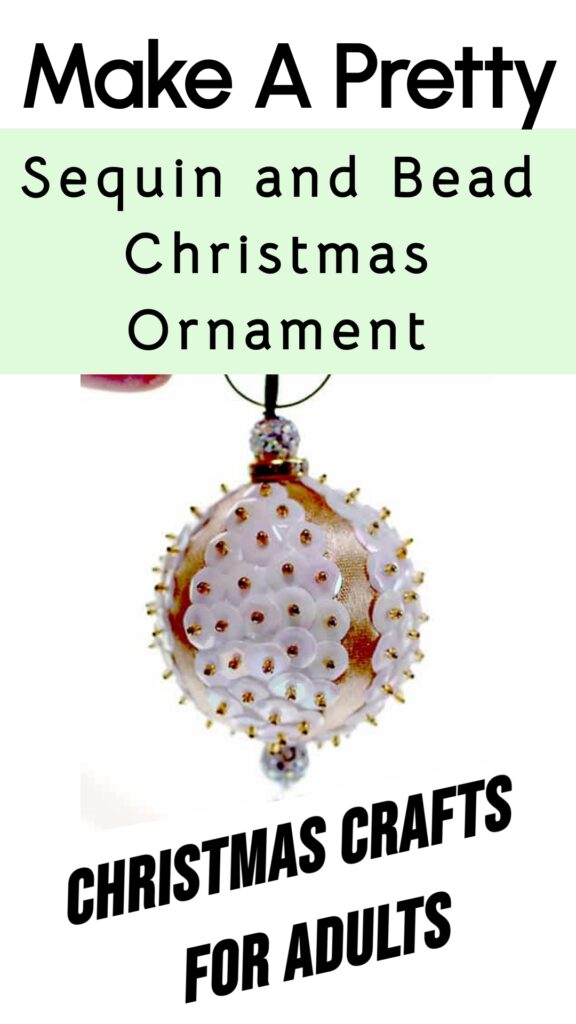
Making sequin and bead Christmas ornaments is fun and relaxing because you have to pay attention to where you’re pinning the sequins, so you really can’t think about work for a while!
I made one using a kit that I got from Holidays Lane , and I documented the result of my (slightly crooked) result.

Some of the links in this article are affiliate links that will pay a small commission if they’re used to purchase something. To see the entire affiliate policy click here.
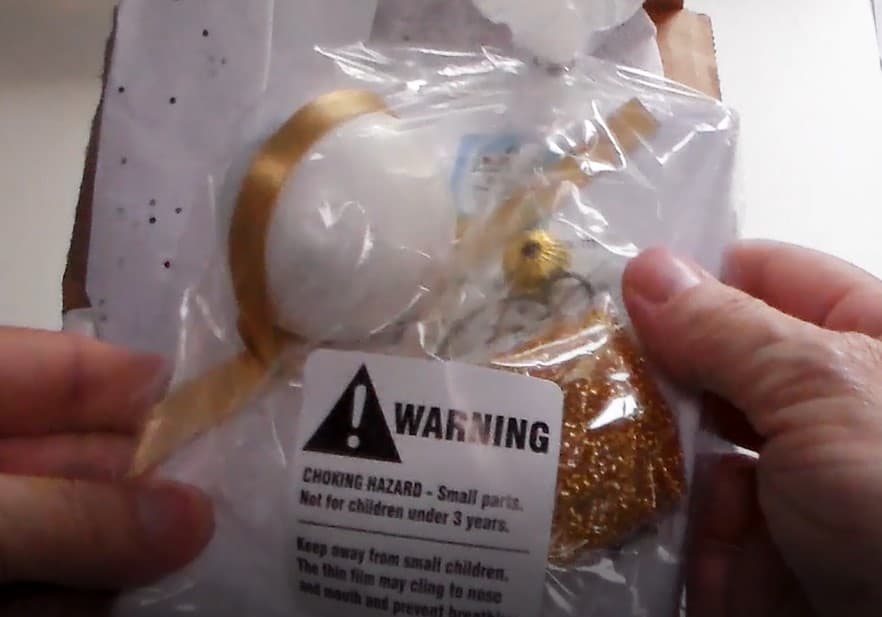
The kit for the sequin ornament comes with all of the supplies that you need to make a 2″ diameter ornament, and there are enough extra sequins that you could probably use a slightly larger styrofoam ball if you have one available.
This kit isn’t meant for small kids, but it’s simple enough for older kids (maybe 7 or 8) to do with assistance, or for a tween or older to do on their own.
This would also be a fun idea for a grown-up ornament-making party where everyone makes the ornaments and goes home with the one they made.
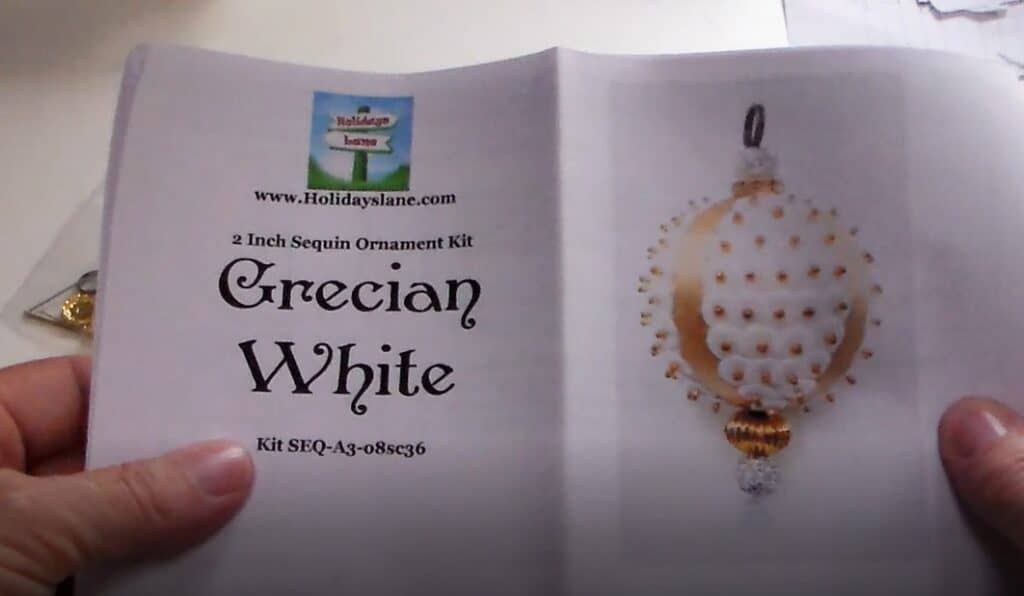
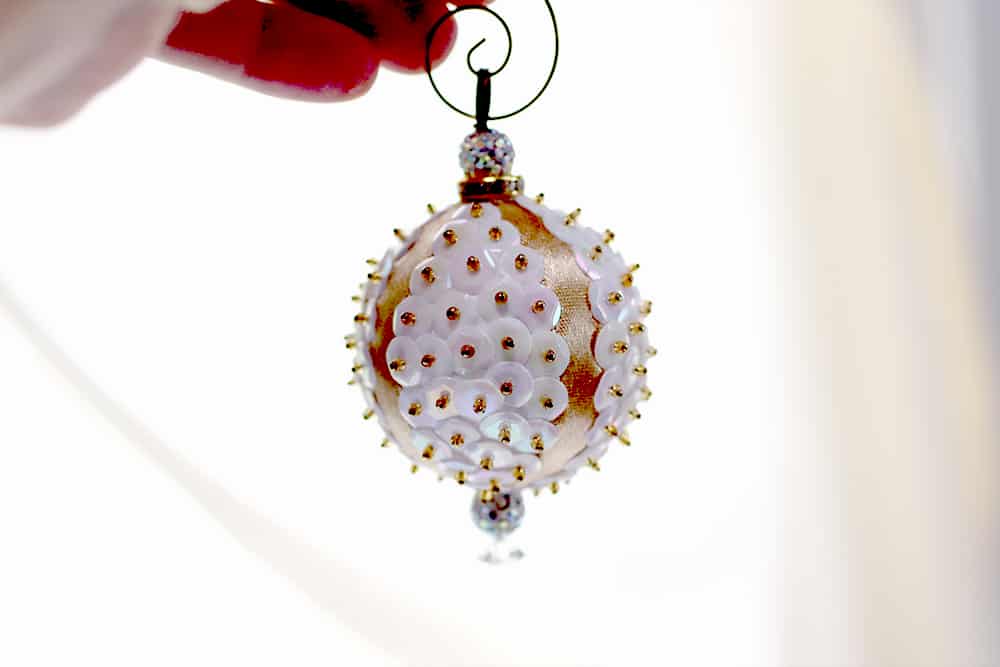
I chose the white version for a couple of reasons. First, I liked it, but I also figured that if I messed something up and didn’t cover the entire surface it wouldn’t be as obvious!
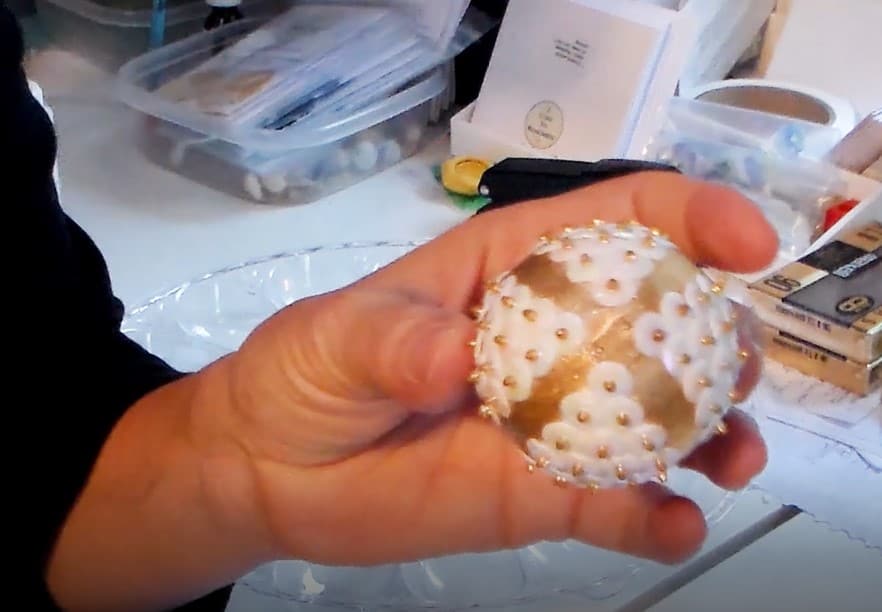
This ended up being a good decision, because my sequin-placing skills are not the best, apparently.
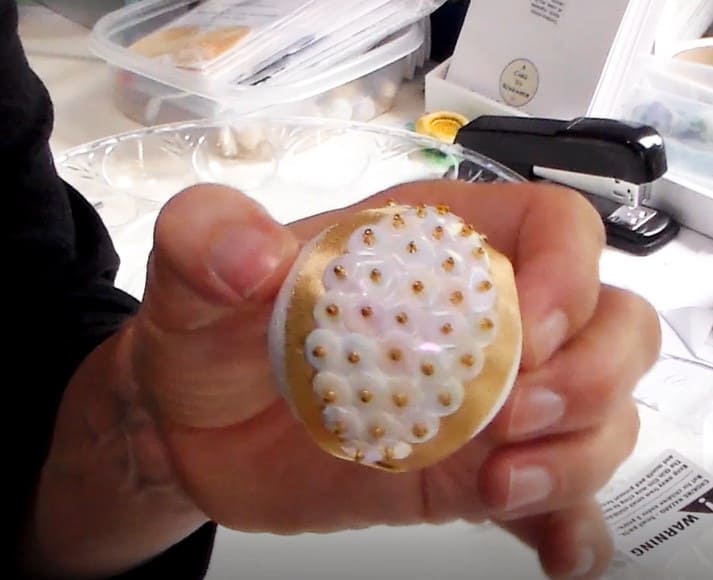
Mine weren’t nearly as straight as the ones on the instruction booklet, but because the ball was white too, it wasn’t easy to tell.
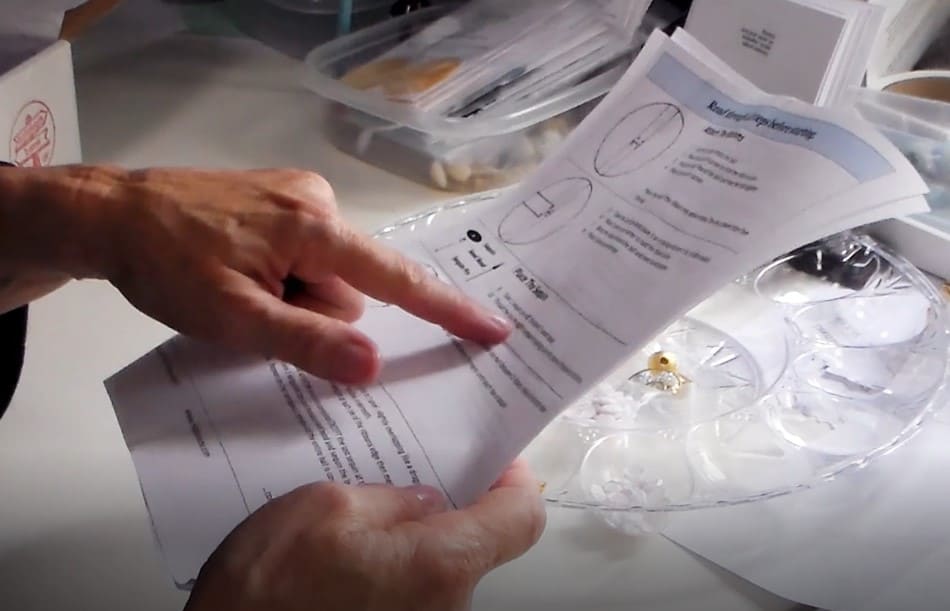
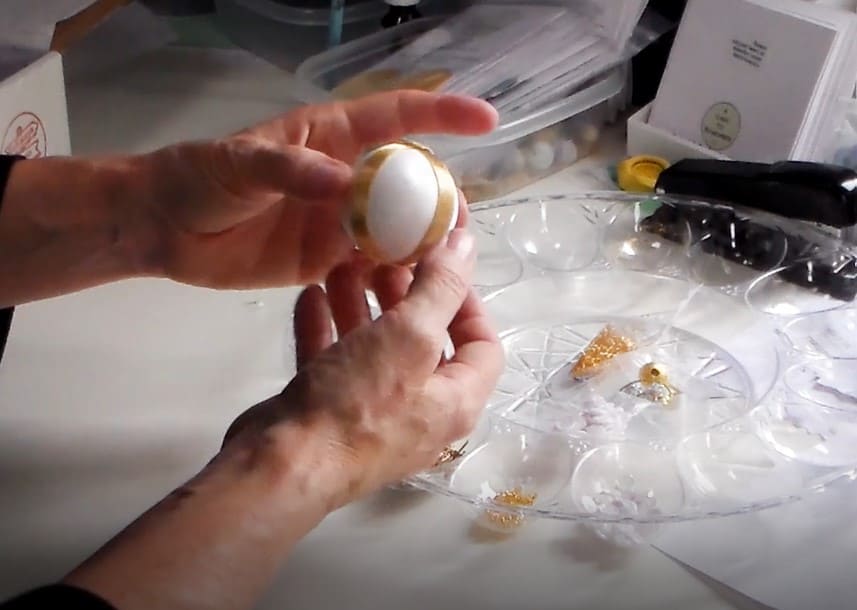
After reading the instructions, I put the individual components into a separator tray (it’s a plastic deviled egg plate I bought at the dollar store) and started putting the ornament together.
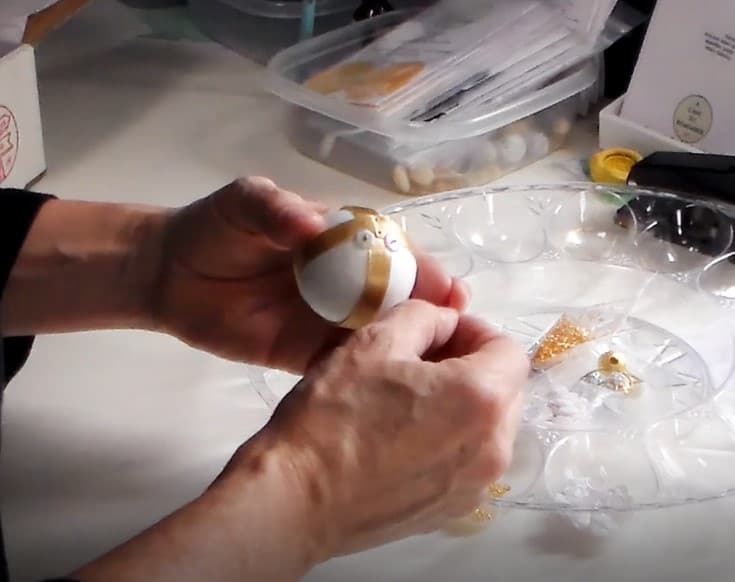
I started with the first sequins and beads, then did one section at a time as instructed.
I had thought that I might need to use glue on every single pin, but the only one it said it glue was the last one.
That saved some time, and the process of filling in the four sections went pretty quickly.
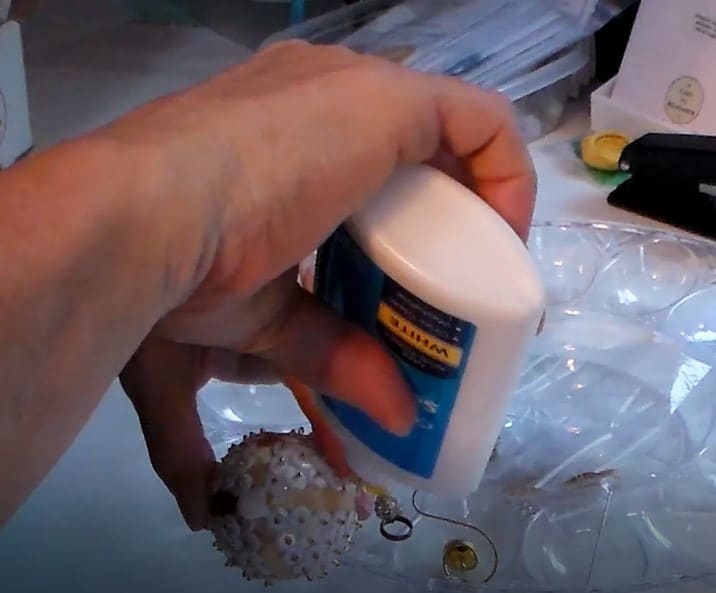
Now was the time to get the glue out. I used regular white glue and added it to the spots marked in the instructions.
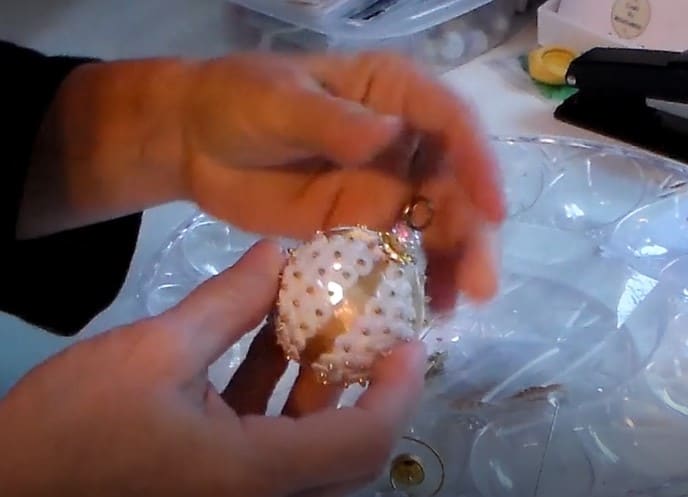
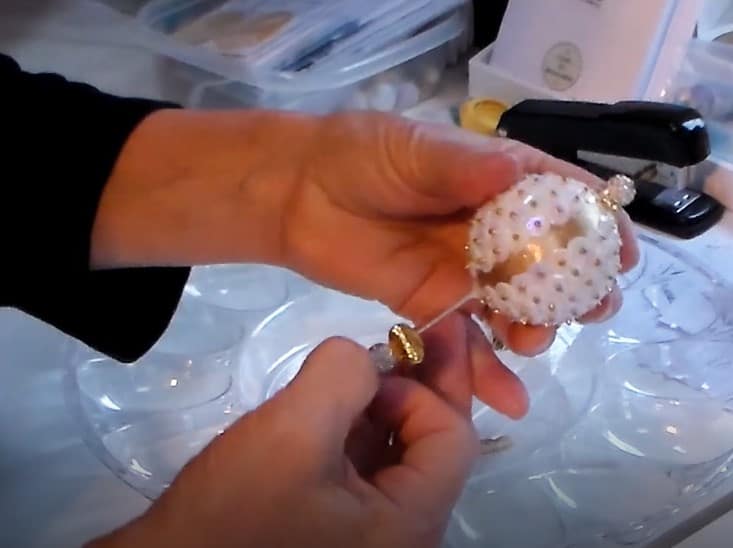
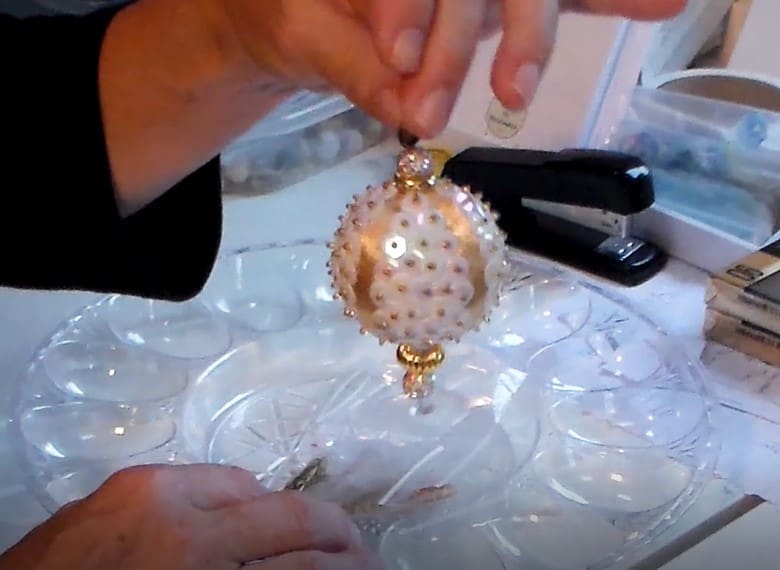
I attached the top and bottom pins, and then I repositioned them both multiple times because it was pretty crooked! It’s hard to line them up perfectly so that it looks like it’s one piece that goes straight through the ornament.
I ended up removing the large gold bead from the bottom section because that seemed to be making the crookedness more obvious.
Once I did that I was able to move the top and bottom a little to line them up more.
This was fun to make, and my tips for people who want to try making a bead and sequin ornament for themselves are as follows:
- If you’ve never done this before, start with a white sequin design so that any gaps against the white styrofoam ball aren’t obvious.
- When you put the ribbon on, make the sections as even as possible so that when you put the top and bottom pins in, they’ll be lined up correctly.
- Try to keep the rows of sequins as straight across as you can so that they don’t get crooked as you progress from top to bottom.
- When you place the first and last sequin on each section, try to center them around the top and bottom so that the open areas on the ribbon are located directly across from each other, and are the same size. This will make lining the top and bottom pins up much easier.
- If you want the sequins to be really secure, use a little glue on every pin or every other pin.
