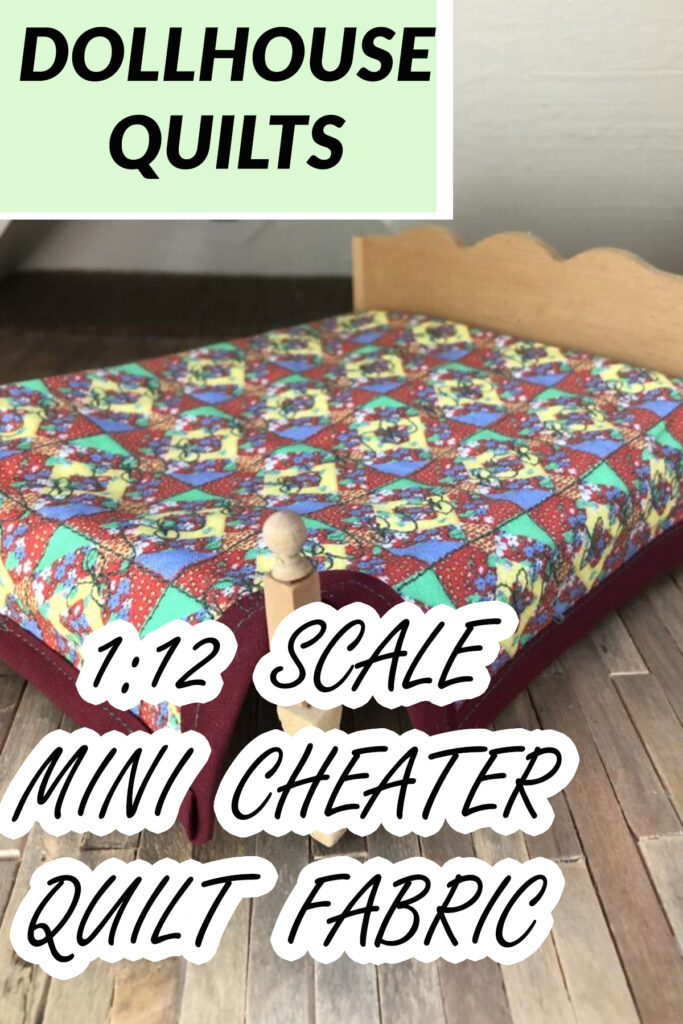
Making a quilt for a dollhouse can be something that you love or hate to do, since it will take some detailed hand-sewing or small machine sewing. I made one but I also designed the fabric that made it easier on me!
Some of the links in this article are affiliate links that will pay a small commission if they’re used to purchase something. To see the entire affiliate policy click here.
What is a cheater quilt?
A cheater quilt is a quilt that’s made from a fabric that has the pieced quilt design printed on it already, so you don’t have to sew little pieces together to make the quilt top to begin with.
Usually when you make a quilt you cut fabric into pieces then sew it all together to make a pattern. After that, you put a layer of batting between the quilt top (the pieced part) and a backing fabric, which is one large solid piece, and you quilt the three layers together.
With a cheater quilt fabric, you can skip the piecing part and go straight to the layering and quilting the layers part. The design will still look like it’s been pieced together, but you don’t have to do that part.
Now, I can hear a lot of quilting traditionalists screaming that using a cheater fabric isn’t “really” quilting, and I see the point. But for a dollhouse quilt the pieces for a real 1:12 scale (or smaller) are going to be so teeny, it just makes sense to use a cheater fabric.
Trying to piece tiny fabric pieces together is time-consuming ad will end up being really frustrating for most people. If you enjoy doing it, that’s great, but if a cheater fabric makes it possible for more people to have the fun of making their own little quilts, than I see nothing wrong with that!
The hard part will be finding fabric that’s small enough to use for a cheater quilt, since there aren’t a ton of them available in stores in a 1:12 scale.
Where to get the fabric.
You can find cheater quilt fabric in a mini scale every now and then at craft stores, but it is kind of difficult to find.
I decided to make my own, so I’m adding my own designs on Spoonflower.com. You can see my 1:12 scale patterns here, including the cheater quilt patterns: Miniature fabrics for dollhouses.
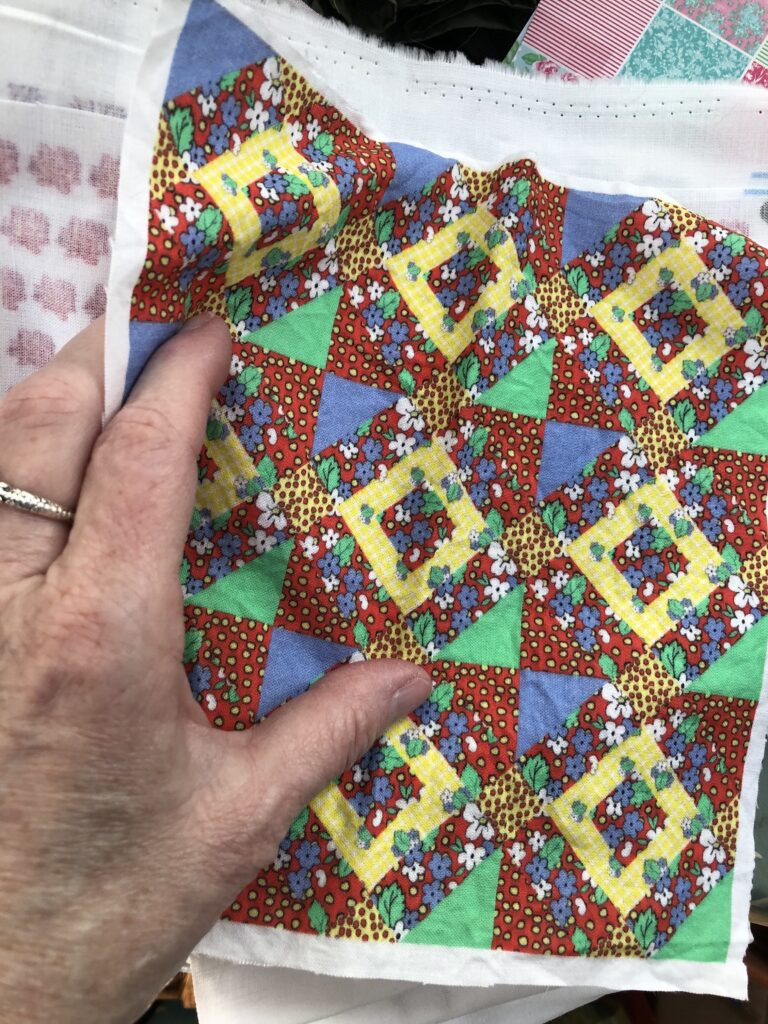
Keep your eye out for any miniature fabric patterns that have designs on them that make it look like pieced quilt tops. I found some once that had a red and green triangle patters, so you can find them if you keep an eye out and buy them when you see them.
You can also do a mini version of a whole-cloth quilt, which is basically two full pieces of a solid fabric and a layer of the batting in between. The focus on those is the stitching itself, and the quilted patterns on them are usually really elaborate.
What layers to use for the quilt.
In a real quilt the batting gives the quilt some thickness and makes it warmer.
The problem with adding a batting to a dollhouse quilt is that it can make it too fluffy, and since the quilt isn’t going to be heavy enough to pull itself down on the sides of the bed it will probably be too stiff to drape down the sides of the bed.
The little quilt that I made didn’t have a layer of batting, it only had the top and the backing, but I also put a layer of tinfoil inside instead of batting.
That might sound a little odd, but it gives you the ability to bend the quilt into position, and the tinfoil on the inside will help the quilt sit on the bed the right way.
Should you stitch it or tie it?
When you make a quilt you can either quilt it by sewing through all three layers of fabric and batting, or you can tie it, which means that you’re basically stitching through the three layers only in certain spots to attach the layers together.
Tying the quilt isn’t technically “quilting” it, but then you’re back to the question of if it’s a quilt or not if you piece the top but tie the layers together instead of quilting it. People will argue about this all day but if you end up with covers to put on the bed, it doesn’t really matter, IMHO.
The benefit to stitching it is that you’ll have a cuter quilted pattern on the finished piece, but the benefit of tying it is that it’s faster, and it won’t be as stiff when it’s done.
That’s the problem with quilting a tiny quilt…The stitching itself will make the fabric stiffer, so it’s going to make it even more difficult for the quilt to drape correctly on the dollhouse bed.
I took care of this by putting the tinfoil inside instead of batting, but the quilting definitely did make the finished quilt stiffer than it started out!
Sizes of the quilts at different scales.
Quilts can be off in size by a decent amount because they don’t have to fit the mattress 100% perfectly.
This chart from quiltdom.com shows the size of standard quilts, but you don’t have to make the mini versions completely in a 1:12 scale based on that. If you’re off a little it won’t make that much of a difference.
| Quilt size | 1:12 scale | 1:6 scale |
| Baby/crib quilt 36×60 inches, 91×152 cm | 3×5″, 7.6×12.7 cm | 6×10″, 15.2×25.4 cm |
| Twin 70×90 inches, 178×229 cm | 5.8″x7.5″, 14.8×19 cm | 11.6×15″, 29.6×38 cm |
| Double/Full 84×90 inches, 213×228 cm | 7×7.5″, 17.8×19 cm | 14×15″, 35.6×38 cm |
| Queen 90×96 inches, 229×244 cm | 7.5×8″, 19×20.3 cm | 15×16″, 38×40.6 cm |
| King 108×95 inches, 274×241 cm | 9×7.9″, 22.8×20 cm | 18×15.8″, 45.6×40 cm |
| California King 102×100 inches, 259×254 cm | 8.5×8.3″, 21.6×21.2 cm | 17×16.6″, 43.2x 42.4 cm |
To see the full directory of all of our verified members, click here.
How to make the dollhouse quilt.
I started by washing the fabric to remove the sizing, which makes new fabric stiff. Once I did that, I was ready to use the 1:12 scale on the bed that I had built from a miniature furniture kit.
I put the fabric on the dollhouse bed to see where it would have to be cut to fit around the posts on the bed. Since this bed is a four-post bed, I realized that I would have to cut it to fit it, so I needed to cut notches out.
If there were no posts, I would have left the corners without cutting them, which would definitely have been easier. If the bed you’re putting the quilt on doesn’t have posts, you can skip the notching-out of the corners.
I put the fabric on the bed upside down and marked where the posts were. That showed me where to cut the corners so that the quilt would fit on the bed around the posts.
I cut out the corners of the quilt top.
Tested the quilt top on the bed to make sure it fits…It does.
I cut out a piece of plain white fabric to match the top of the quilt.
I cut out a piece of tinfoil to match the shape of the quilt. Don’t worry, I used the old scissors that I bought from my craft thrift store haul.
Trim the edges of all three layers so that everything’s even.
Normally, you’d use a separate piece of fabric for the binding to create the edge of the quilt and enclose all of the layers. I used burgundy seam binding instead of making it myself.
Pin the three layers together and keep the edges clear of the pins.
Put the seam binding on the edge of the quilt.

When you get to the end, stop about 3/4″ before the corner to give yourself some room to work.
Open up the seam binding at the corner and fold it along the next edge, then fold it to make the corner. Fold the seam binding over the next edge to enclose the three layers.
Sew the corner and the next edge of seam binding into place.
Sewing the seam binding on the inside corner of the notch is more difficult because you have to curve the seam binding and fit it into the curve where there isn’t a curve. Try to get the angle as close to a 90-degree angle as possible, or cut the seam binding at the corner and start the next piece at a 90-degree angle.
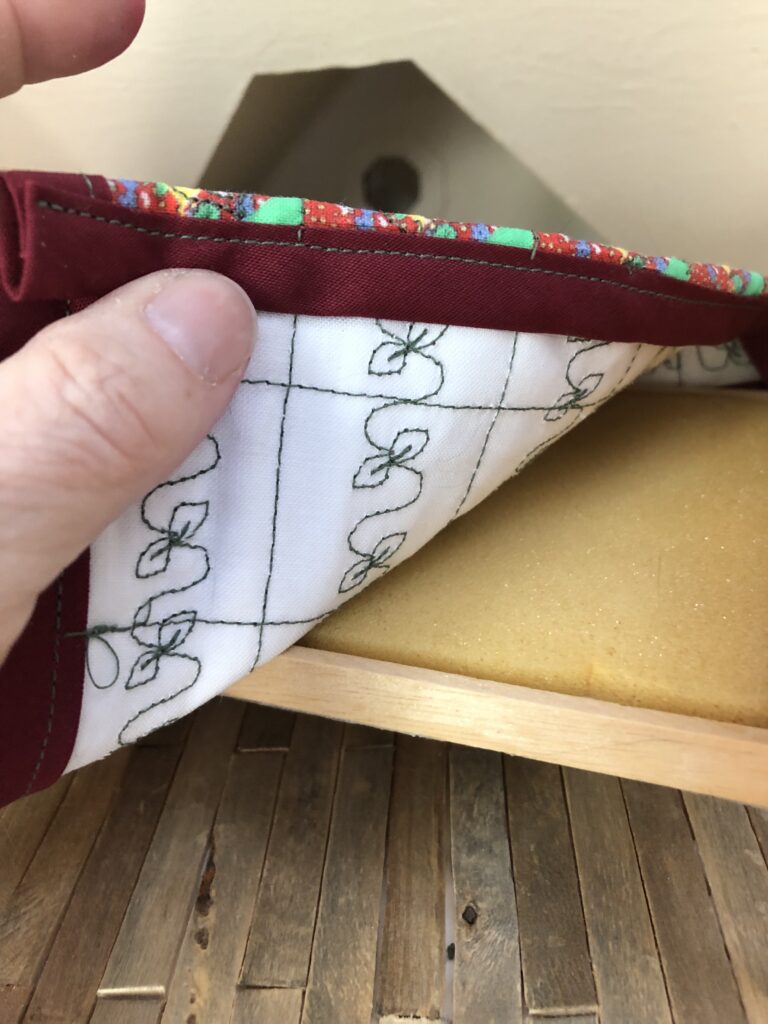
When the edge is done, start the stitching on the quilt itself. You can do whatever you want with the design. I stitched along the main squares in the pattern, then I added a leaf design using a decorative stitch on my sewing machine.

Here’s the back that shows the pattern.
You can see the pattern on the front but it’s not as obvious as it is on the back. If you want the stitches to be more obvious on the front, you can use a contrasting color of thread so that it’s more obvious against the pattern on the quilt top.
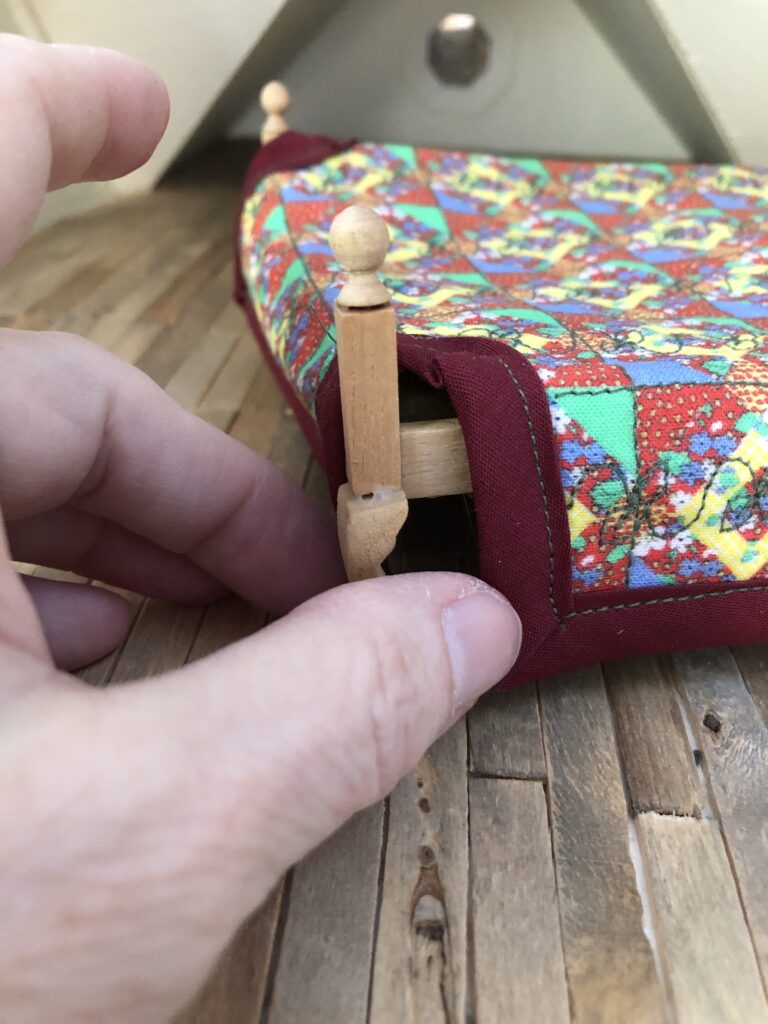
Put the quilt on the bed, folding it where you need to in order to get it to drape over the side of the mattress. I really had to pinch it and bend it under to get it to lay down, the tiny quilt just isn’t heavy enough to pull itself down over the sides of the bed.
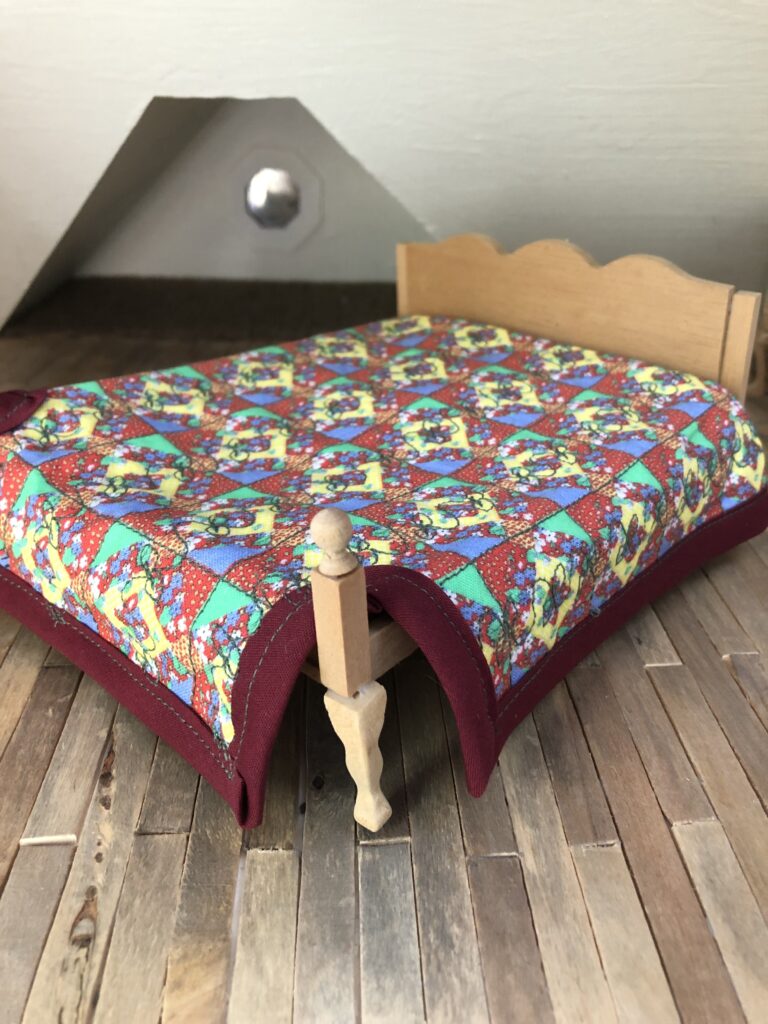
Having the tinfoil inside the quilt made it stay in place, but it took some manipulating. I think it tuned out well…If I would change one thing it would be to make my own seam binding and make it a little thinner. I know that you can buy a thinner width of commercial seam binding but that might be too thin.
This was a fairly easy project. It probably took an hour or so to make, so it’s not a huge time investment. If I had done the piecing myself instead of using the cheater cloth it would have taken a lot longer, but the printed fabric made it a lot faster.