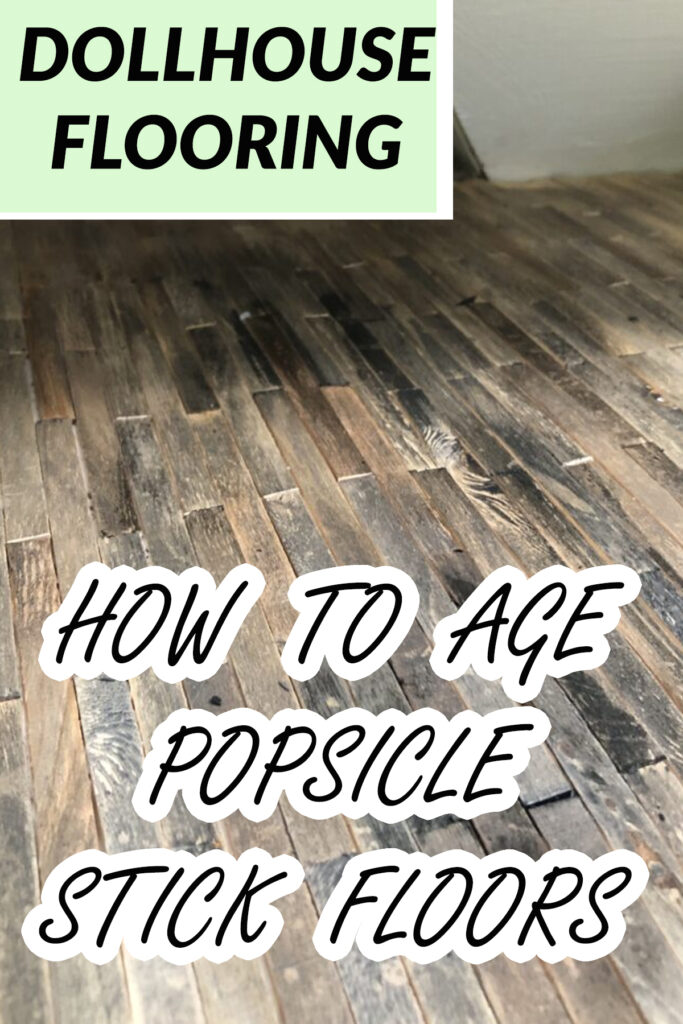
I made a popsicle stick floor in the attic of my doll house, and I wanted to make it look old and dirty because I’m going to make the attic haunted.
To do that, I decided to just rub it with black paint and then maybe with some other colors if need be.
Some of the links in this article are affiliate links that will pay a small commission if they’re used to purchase something. To see the entire affiliate policy click here.
Prep the floor.
Clean the floor that you’re going to be painting by dusting it off. You don’t need to be super thorough because this is going to be a very free-form technique.
What kind of paint to use to paint the floor.
After I flattened the floor out and put it back in the house to test it, I took some black craft paint and diluted it in a little bowl with water.
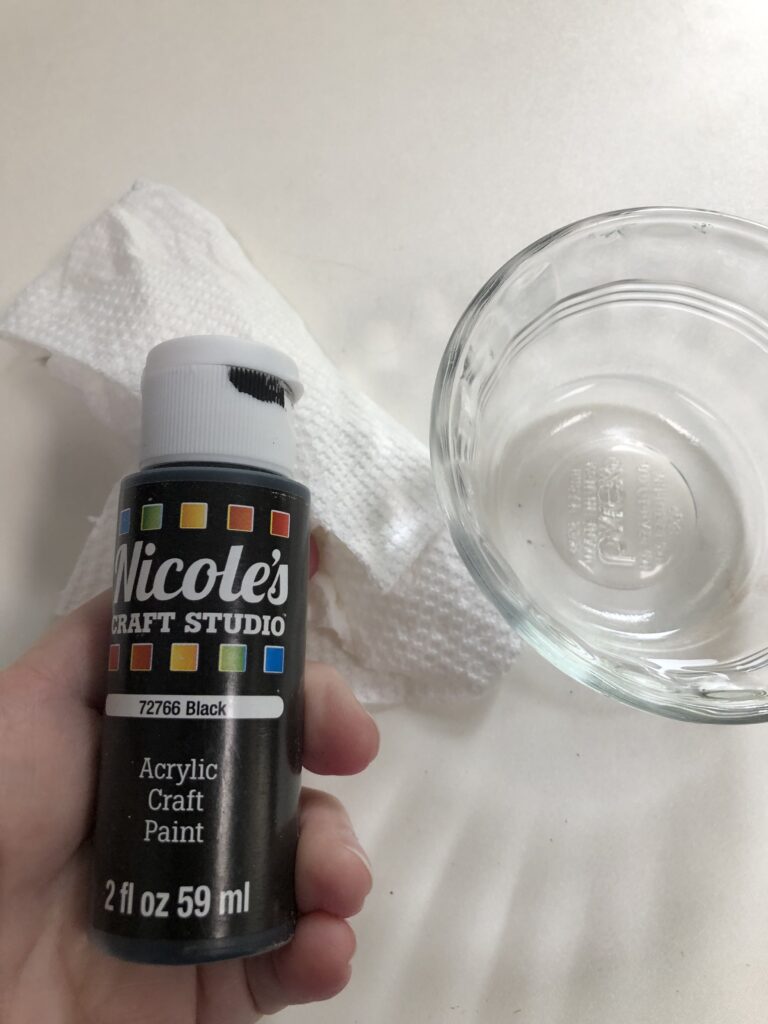
This was basic black craft paint, it wasn’t anything fancy, and as long as it’s water-based you can probably use any kind of paint to do this.
You might want to use different colors of brown and black, and maybe some gray, because that might give the floor some variation.
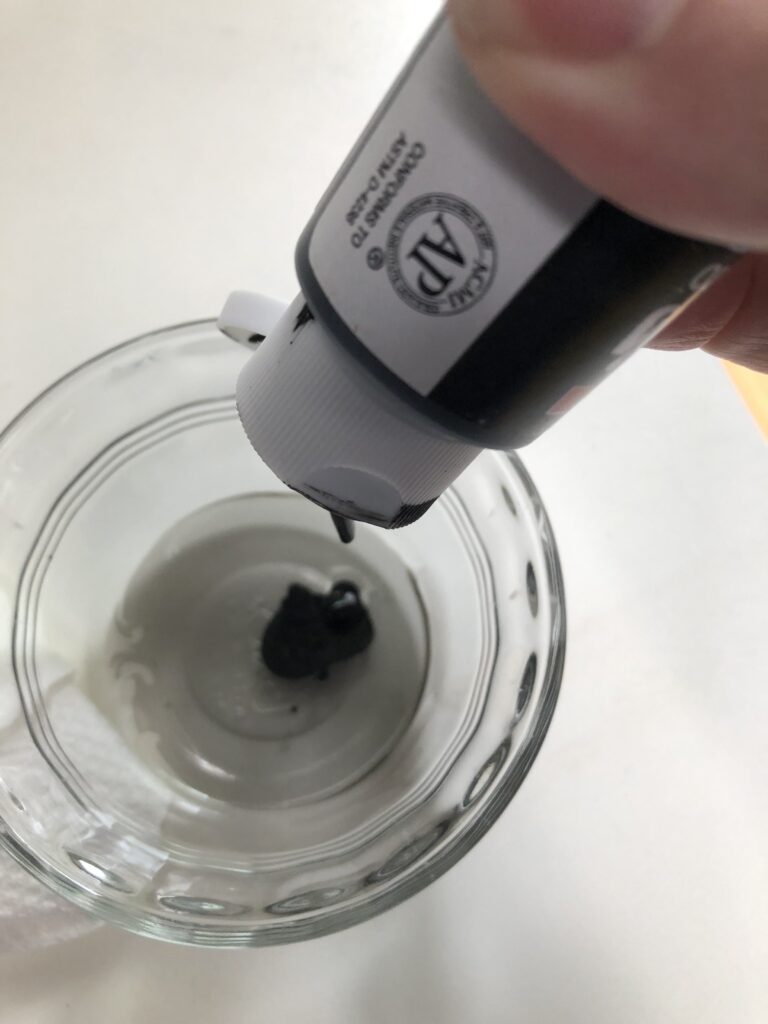
Add some black paint to a small dish of water. You might want to start with a little paint and get darker if you need to, because too much paint will give you a lot of color that you won’t be able to remove.
Painting the floor.
You can paint the floor with a brush or with a paper towel. The brush will probably put more color on it, so be careful.
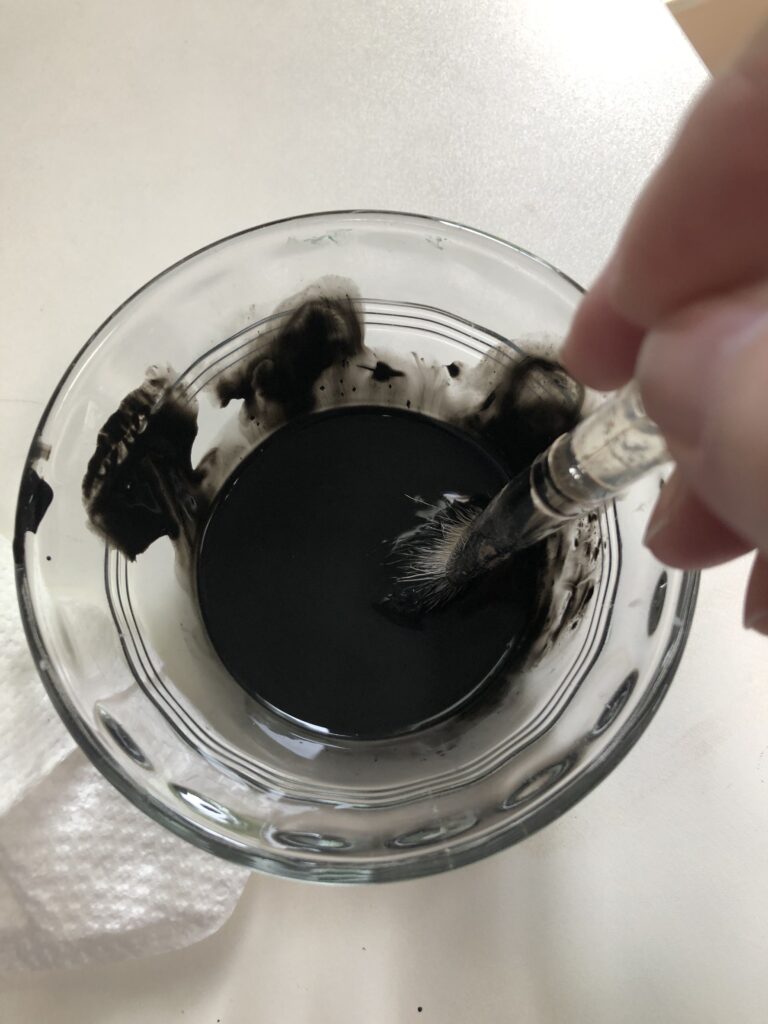
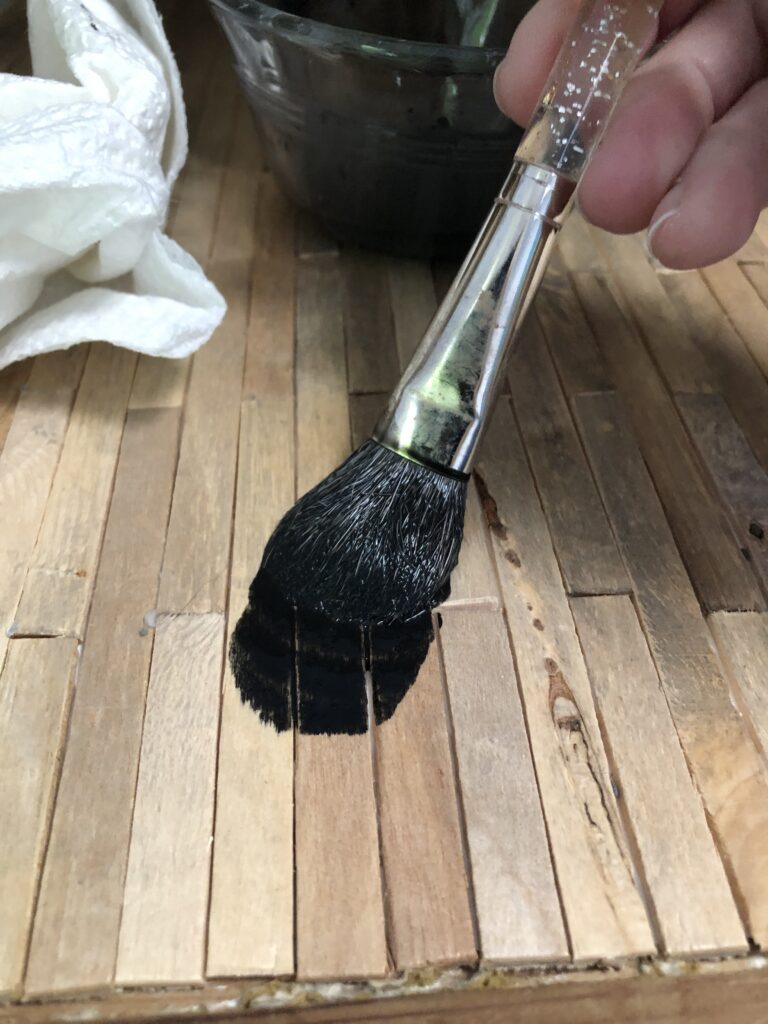
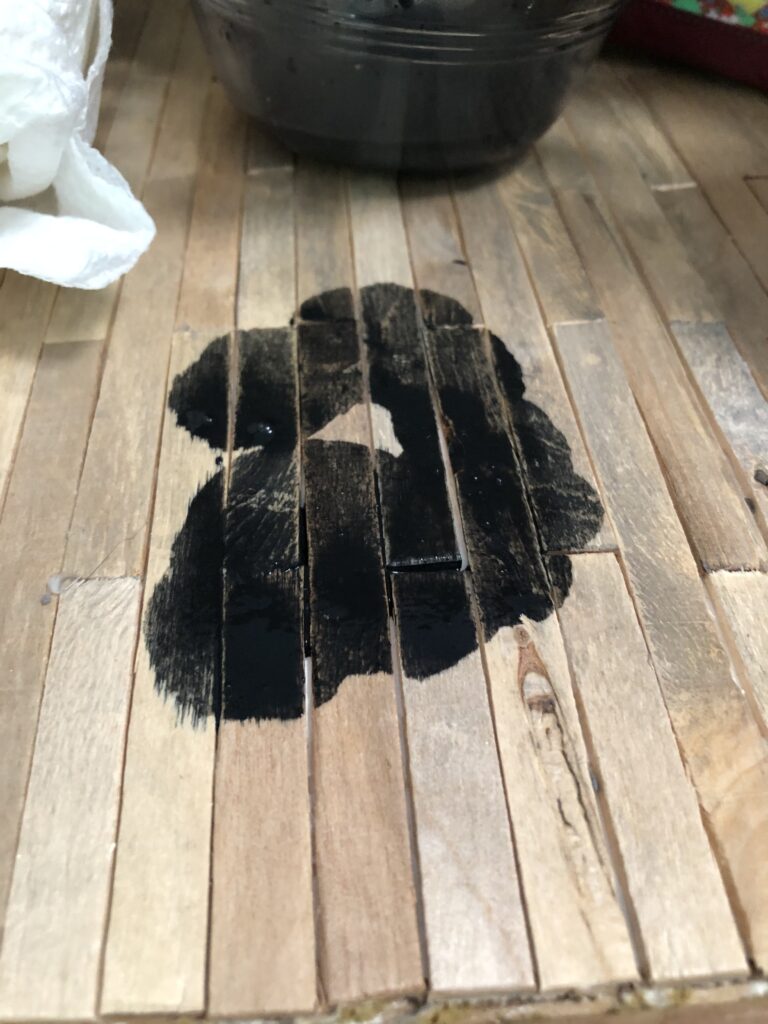
I started with a paintbrush, but that gives you a blob of darker color, and you have to really rub it off before it sets up and dries. For areas that you want to be darker that’s fine, but it can get too dark too fast, so be careful.
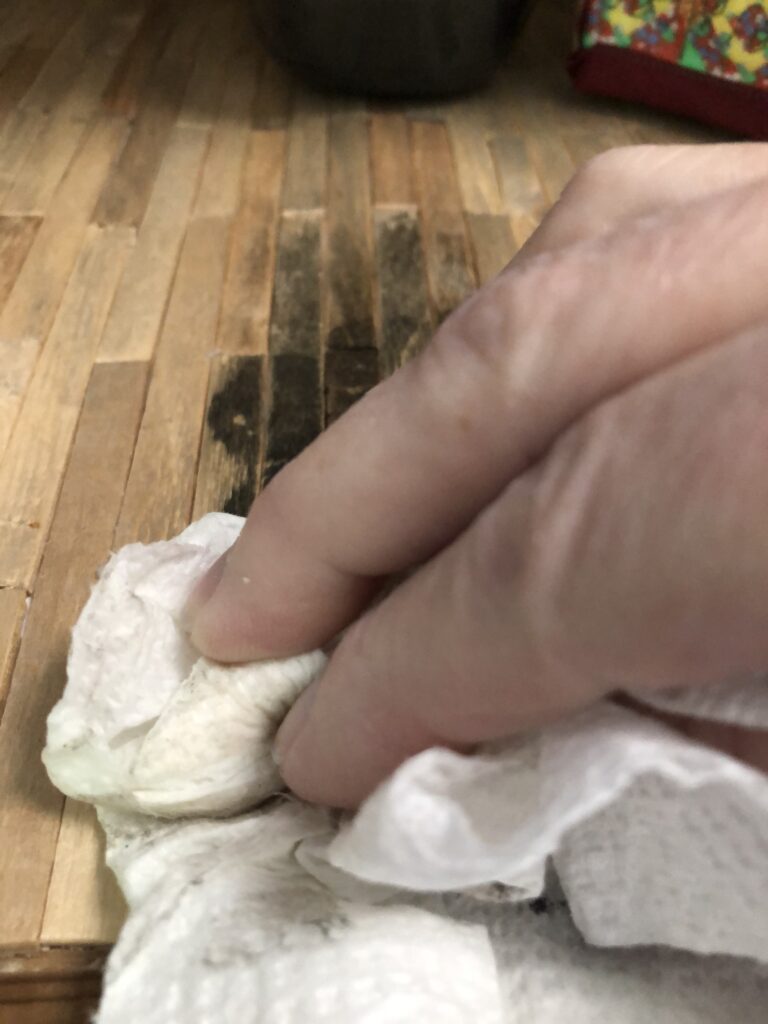
I rubbed the dark ares to spread it out and lighten it, then I switched to a paper towel and brush in combination.
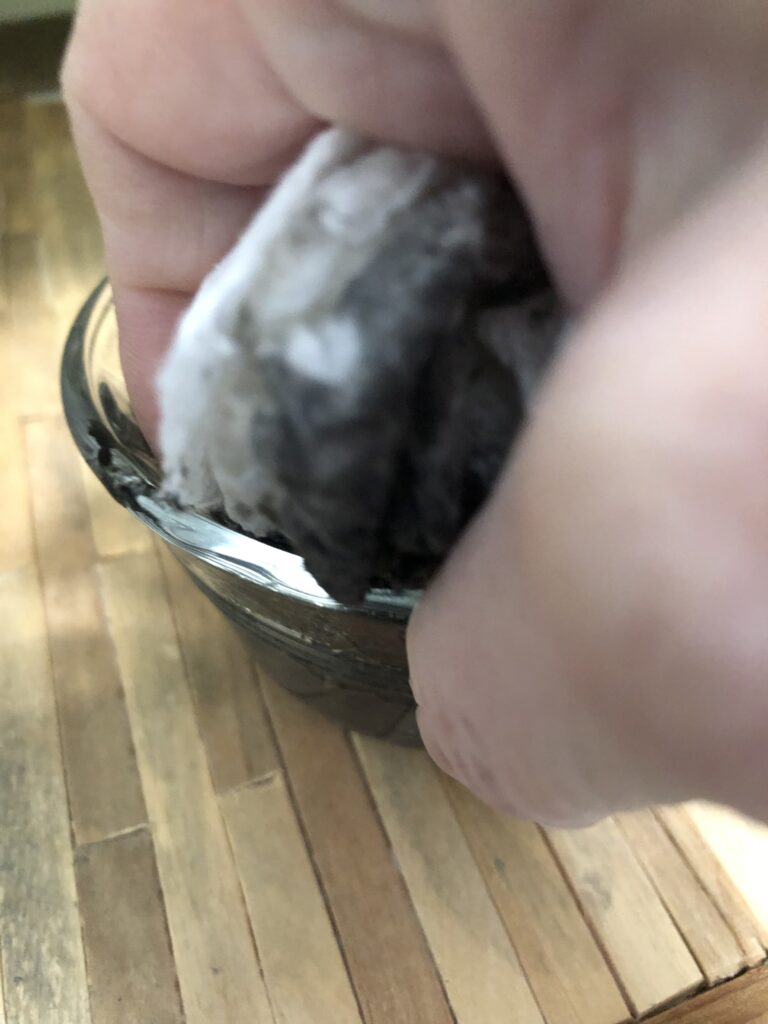
I took a paper towel and dipped it into the diluted paint, then rubbed it on the floor lightly to darken the boards a little bit.
Really squeeze the paper towel to get the water out, you want it to be pretty dry so that the floor doesn’t get too wet.
By working fast, I could remove some of the paint using the clean part of the paper towel, but it did soak the black paint water up pretty quickly, so if you do this, you need to work fast.
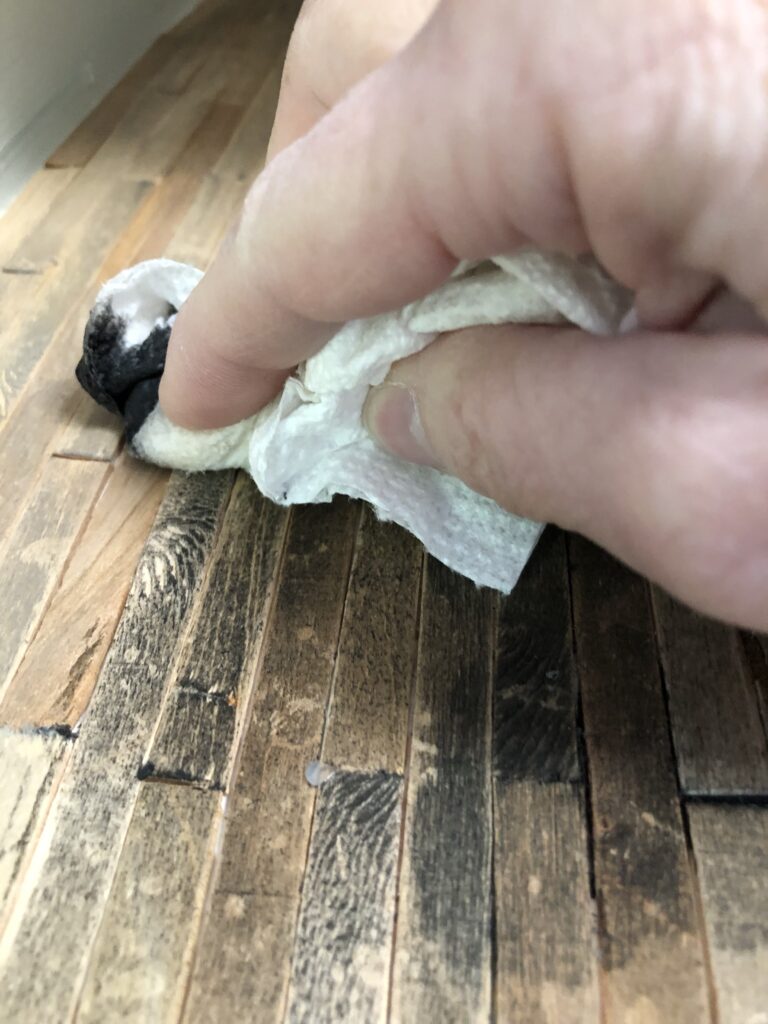
I thought that I would have to do multiple coats of different colors, but rubbing it with the black paint darkened the wood enough that I think that it looks fine for what I need.
If you don’t want to go as dark as black as your first step, you could always use a dark brown or a gray color, then get darker as you go.
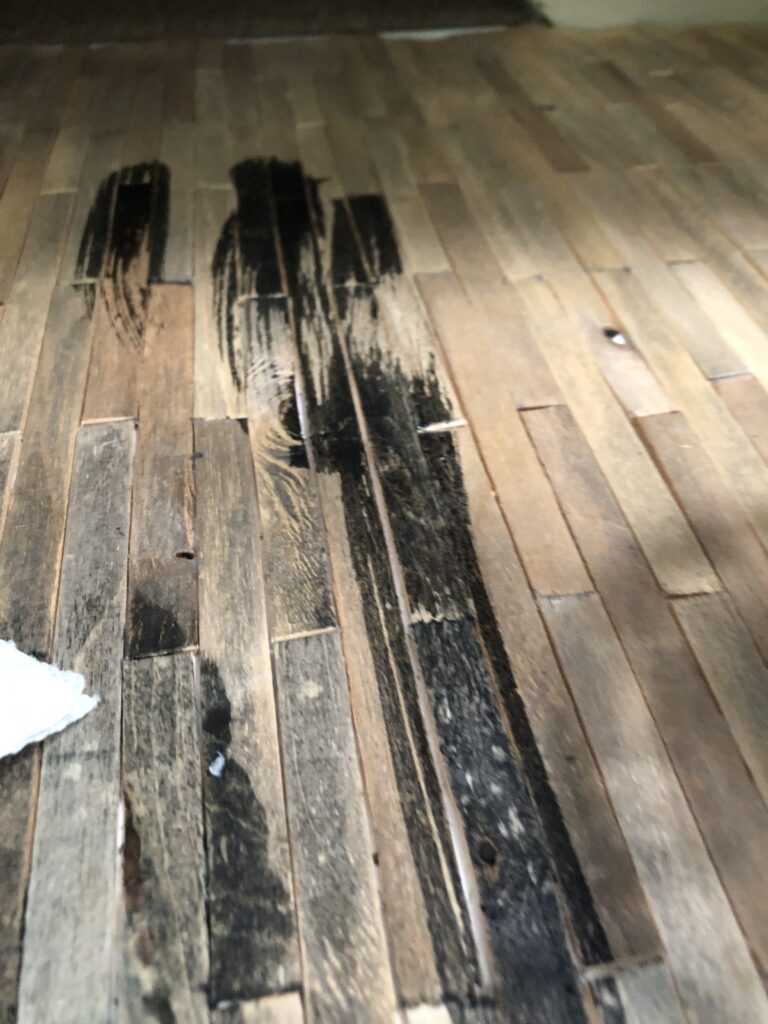
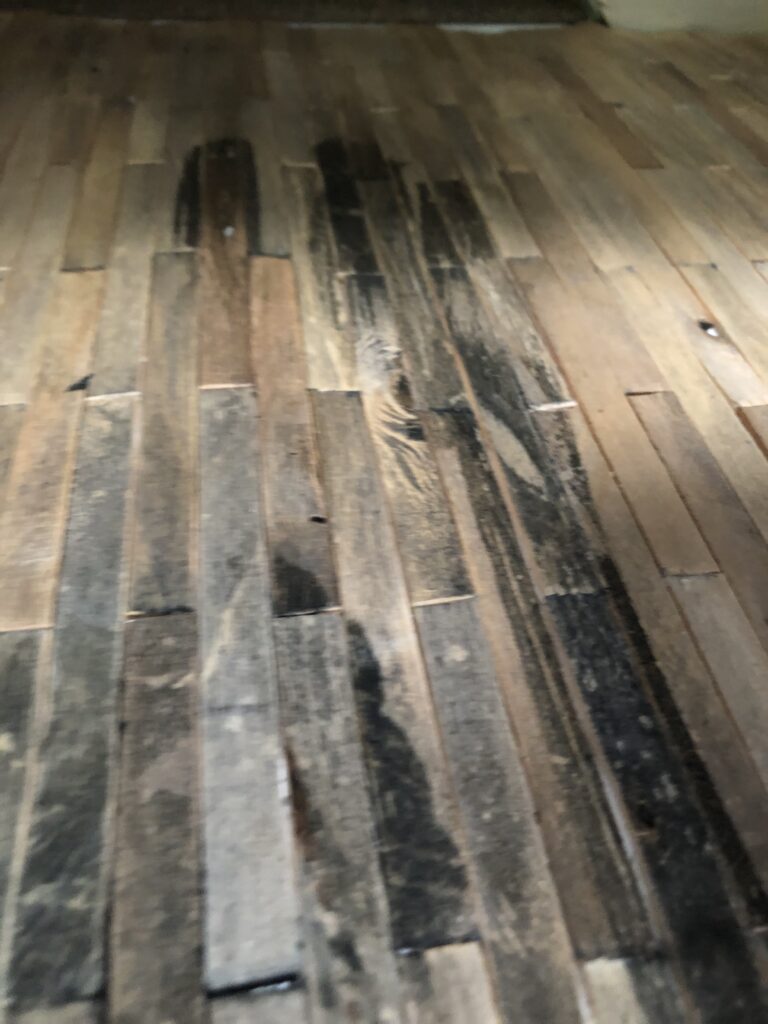
What I was going for was the look of old boards that have been in the attic getting dusty for quite some time.
This was a really, really simple way to achieve that look, and even though I might go back and make some areas darker, I think I could get away with leaving it like this with only one coat of the rubbed-on paint.
This literally took me about 10 minutes to do. The good thing about doing it after I had done the floor was that I could see what it was going to look like when it was completely assembled.
It definitely doesn’t have to be perfectly even, but if you can see where some of the floor looks too light you can make it darker pretty easily if it’s all assembled already.
I thought about painting the boards or staining them before I put the floor together, but if I did that I don’t think I would have been able to get the floor to look the way that I wanted to, which was dirty, not just painted.
I probably will go back in and make some areas darker to make it look like something was spilled on the floor, or that there’s water damage from a leaky roof.
Finished popsicle stick floor inside the dollhouse.
After I finished painting the floor, I put the floor back inside the dollhouse attic to see if it fit fine and if it was doing anything else with the warping.
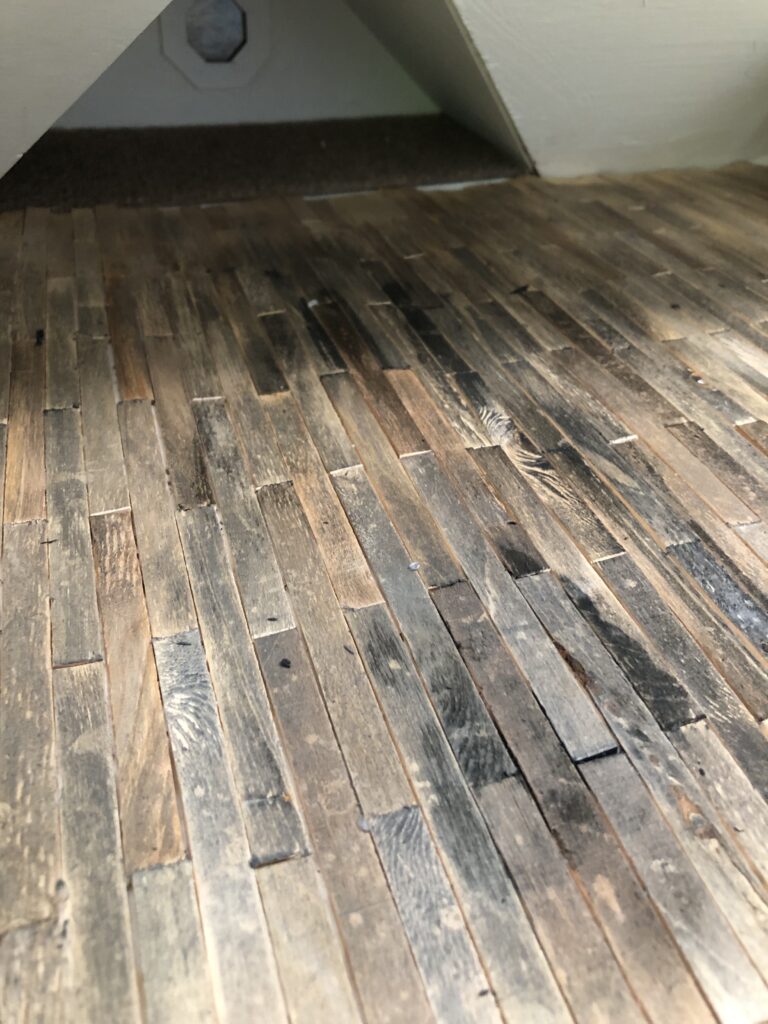
The strange thing about this is that it seems to have shrunk toward the middle of the house, which could explain some of the warping.
I think that if I did this method again I wouldn’t use watercolor paper for backing the sticks on the floor, because it does seem to absorb the water and it changed the size of the paper when it dried.
I ended up with two sections on either side of the attic floor that were larger than I remember them being when I first fit the piece of paper in to make the template for the floor.
I seem to remember leaving some space to give me a little wiggle room to fit the floor in, but not as much as I have now.
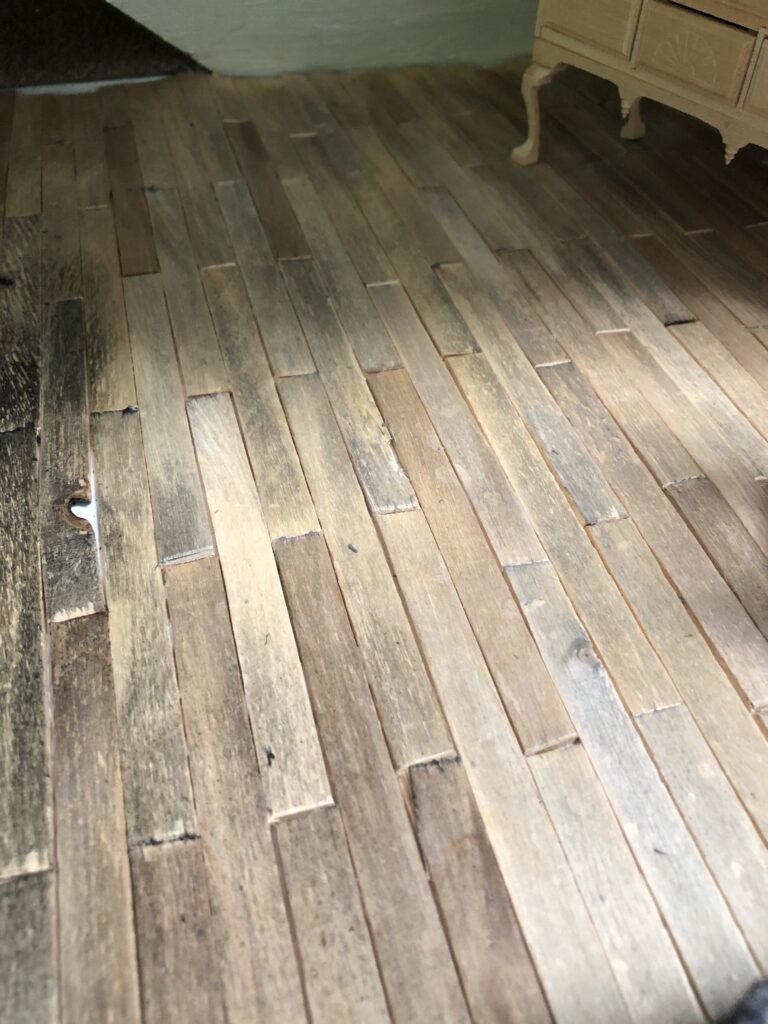
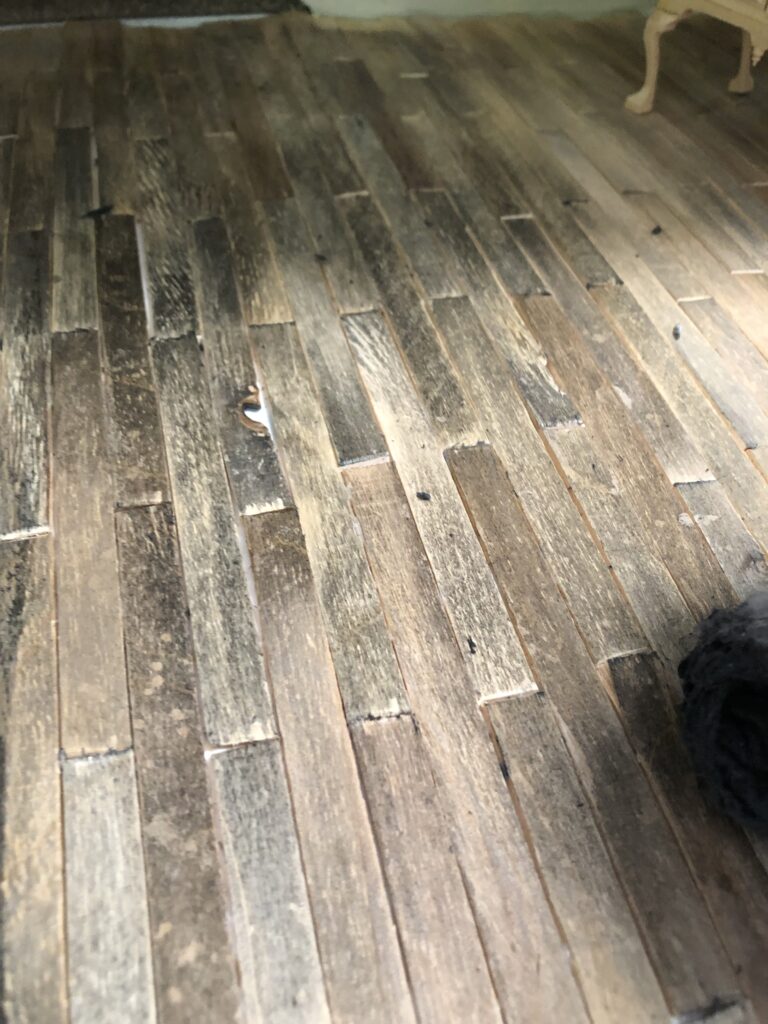
As it is, there’s a fairly large gap on either end of the room where there’s no popsicle stick flooring at all.
It’s not a big deal because I can cover it up with something, but it’s just strange that the paper would have shrunk that much.
In any case, I like the way that this floor turned out, and now I can continue decorating the attic since the flooring is done and I can work on the walls to match.

