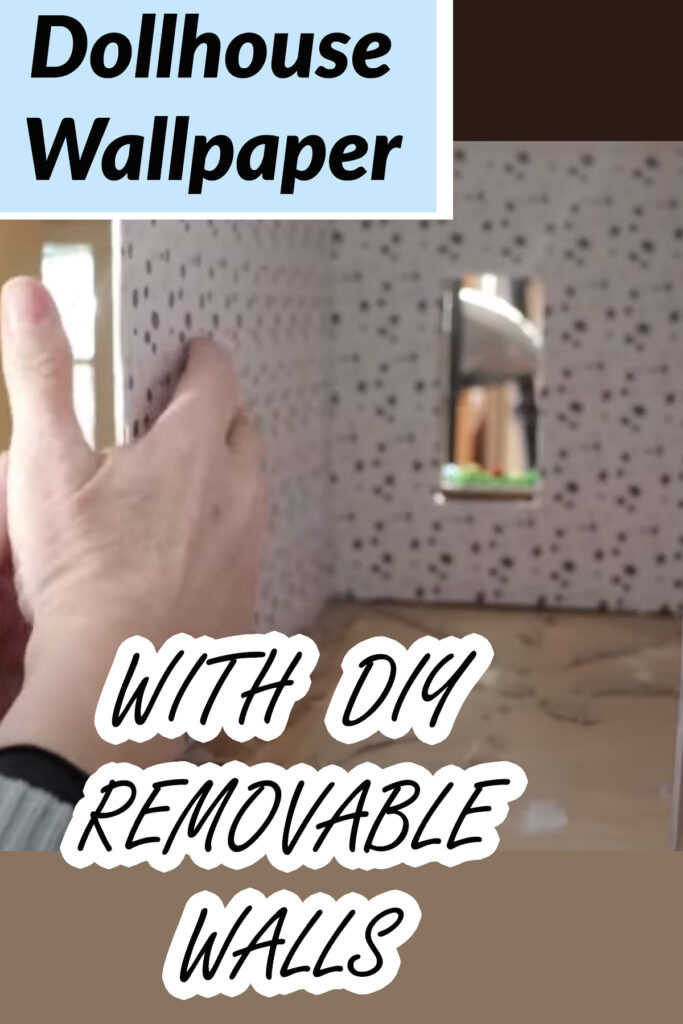
I’ve been thinking about how to do the wallpaper in the dollhouse that I got, and I decided to try a different approach.
I’d been researching ways to attach wallpaper to the house, and they all involved a lot of scraping and sanding.
However, the original wallpaper in my dollhouse had been attached with double-sided tape, so there’s adhesive involved instead of glue.
I decided to try an approach that’s basically like building a little room box that would fit inside the dollhouse room and would disguise the imperfect walls.
I started calling this “modular wallpaper,” but “temporary wallpaper” would also be accurate!
Some of the links in this article are affiliate links that will pay a small commission if they’re used to purchase something. To see the entire affiliate policy click here.
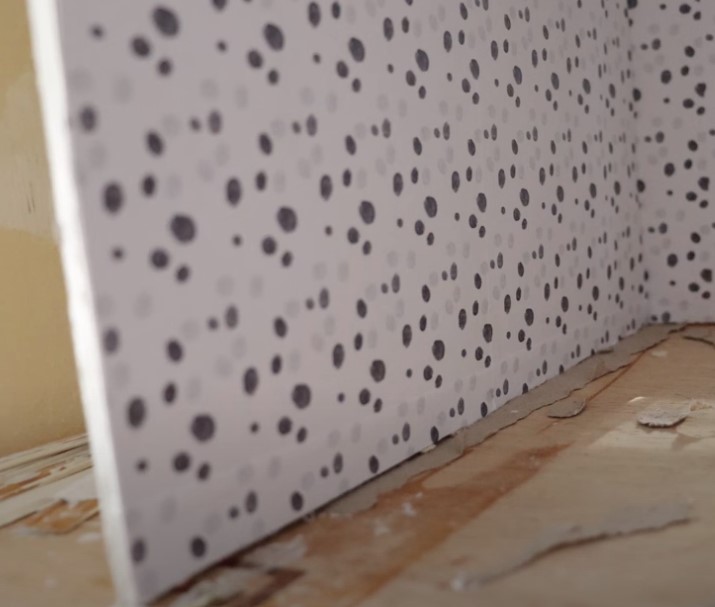
To make the removable wallpaper to fit inside the dollhouse room, you’ll create a template of the room made from a thin, stiff cardboard like mat board, or a heavy cardstock. This template will be covered with the wallpaper then inserted into the dollhouse room, and can be attached to the walls or left separate.
If the pattern is made to fit the walls correctly, the wallpaper will blend seamlessly with the shape of the wall and no glue will be needed to attach the paper to the walls.
Here’s the tutorial on how I did this. It was surprisingly easy, and the final result looks good and can be switched out if I decide to!

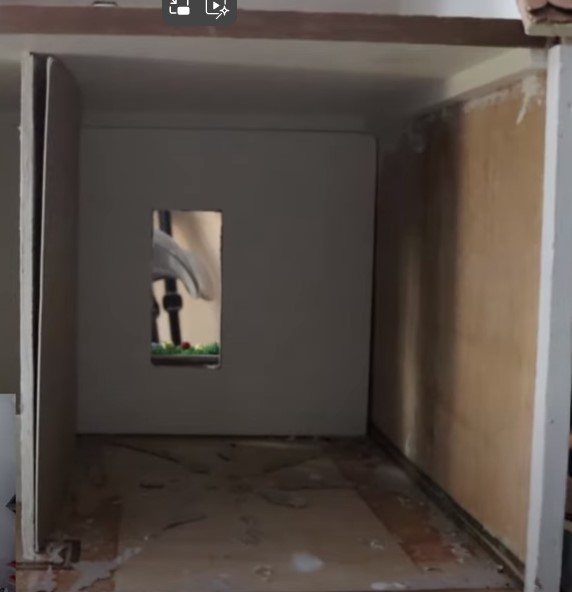
Measure the room to be wallpapered.
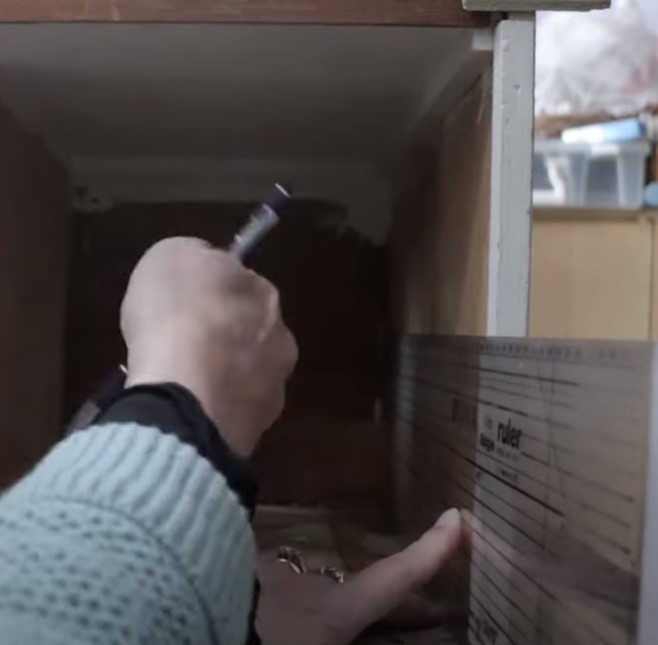
Carefully measure the room walls, being as accurate as possible.
It’s better to make the pieces a little larger than they should be because you can always trim them if you need to.
Make notes about all of the dimensions so that you can make a pattern with sizes.
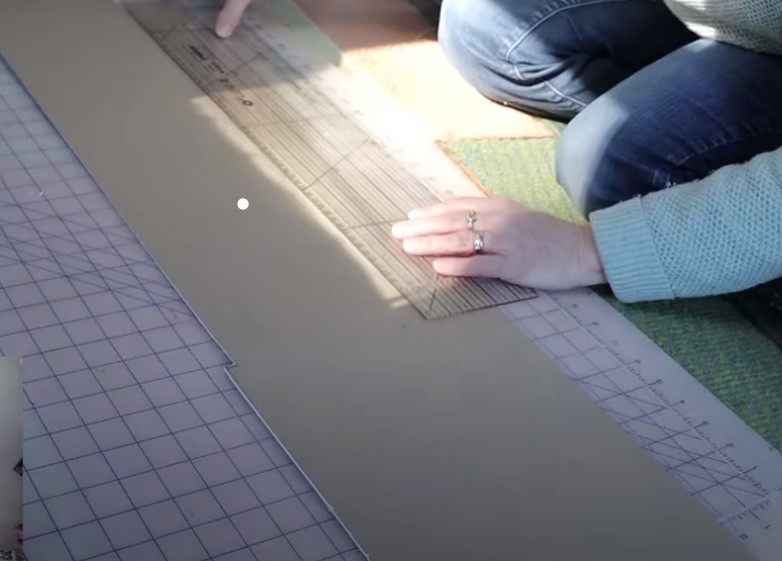
Make a pattern with mat board or heavy cardstock.
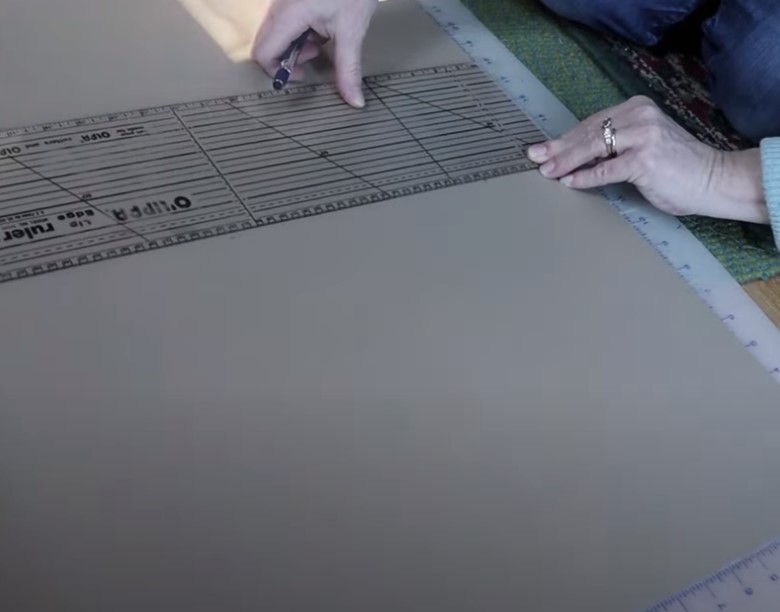
I used a piece of mat board from the craft store to make the pattern because it’s thin but also rigid.
Trace the outline of the entire room onto the board, or do each wall individually. I did them all in one long piece so that they would line up perfectly when I cut them out.
You could use any kind of thin, strong cardboard or thick cardstock for this, but you don’t want to use anything that’s going to warp or bend easily.
Cut out the pattern.
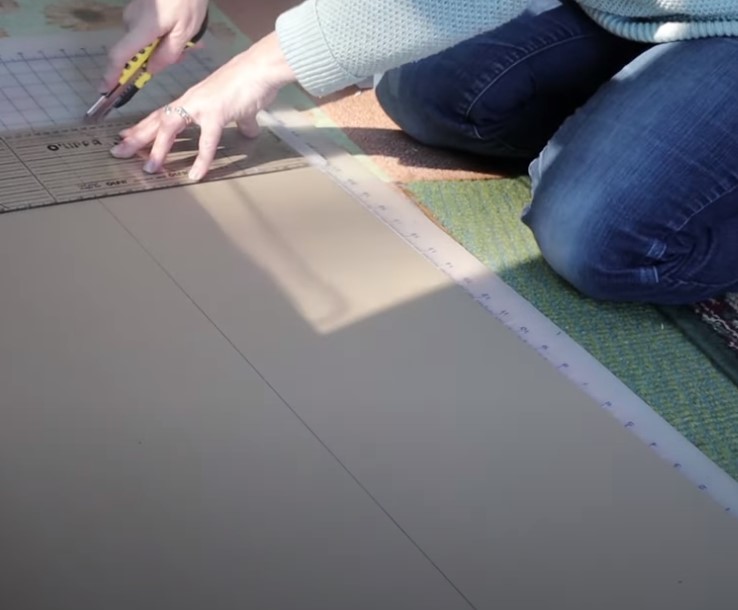
Using a utility knife and a straightedge, cut out the wall pattern from the mat board. Be as accurate as possible!
You can use scissors or a cutting machine if you can set it up to do the walls individually, just make sure that you keep the edges straight so that they line up well when they’re cut out.
Check to see how the pattern pieces fit.
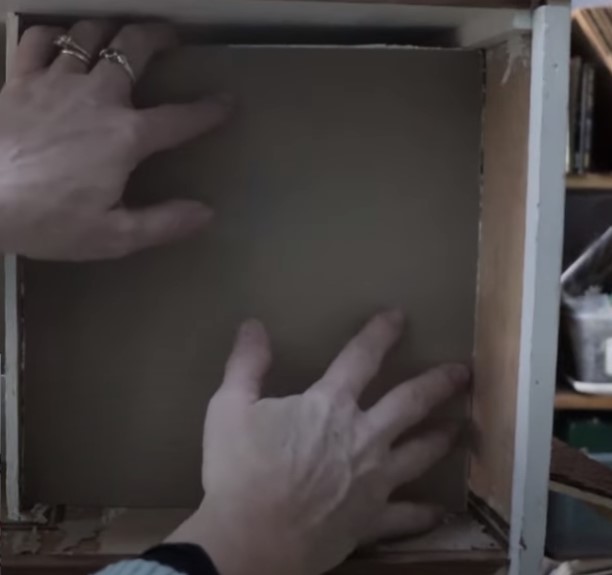
Test the pieces in the room to see how they fit. Make any adjustments that are needed, keeping the edges as straight as possible.
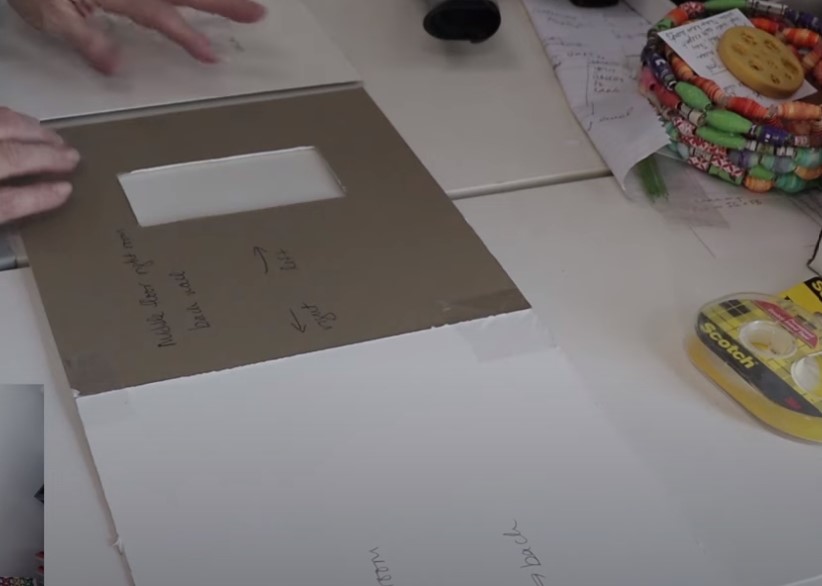
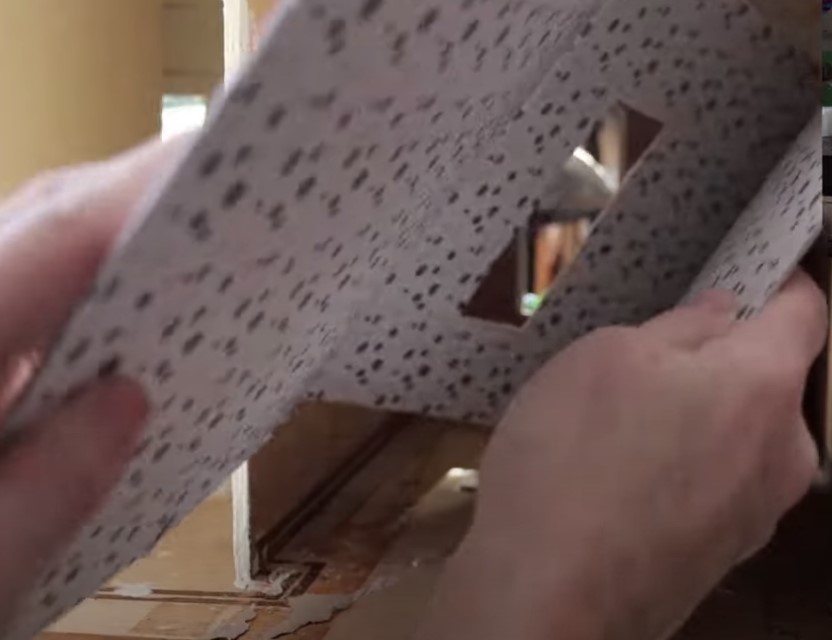
Trace doors and windows.
If there are doors or windows in the room, trace them on the back of the board.
Cut out the shapes using a utility knife or cutting machine.
Make sure the pieces all fit in the room.
Put all of the pieces into the room and make sure they line up together and fit snugly.
This is the point where you want to make sure that the pieces aren’t too big because they’ll bend out from the wall if they are. They should be either exactly the size of the interior wall or a little smaller.
Mark the placement of each section on the back.
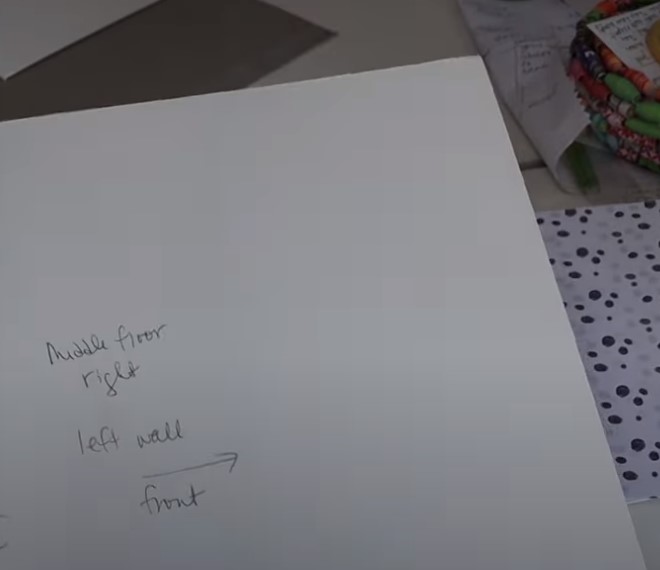
Write on the back of each piece to label where they go in the house, and in the room.
Make sure you’re writing on the back so that the writing won’t show through the wallpaper.
Tape the pieces together.
Tape the pieces together, putting the tape on the back of the pieces. That way they’ll stay together when you press them into the room.
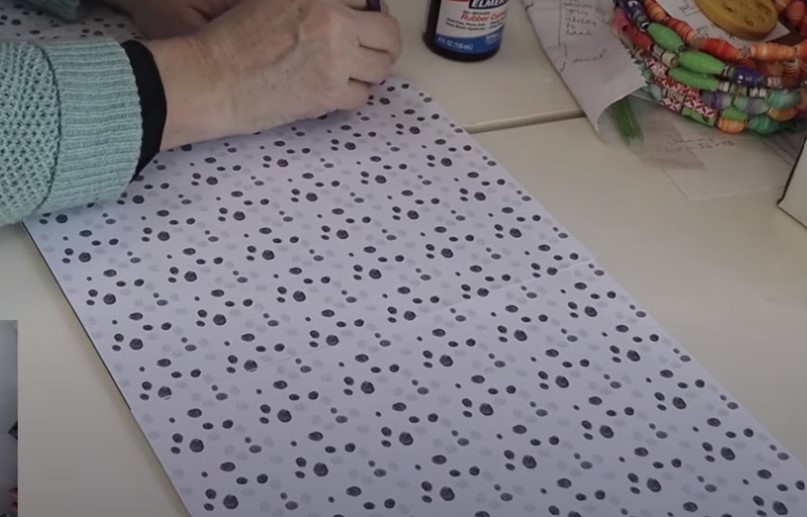
Apply double-sided tape to the wall pieces.
Attach double-sided tape to the edges of the FRONT of the walls where the wallpaper will go.
I had to use rubber cement when I ran out of the double-sided tape, but I don’t recommend using glue because it will be harder to remove the paper if you want to later.
Attach the wallpaper to the tape.
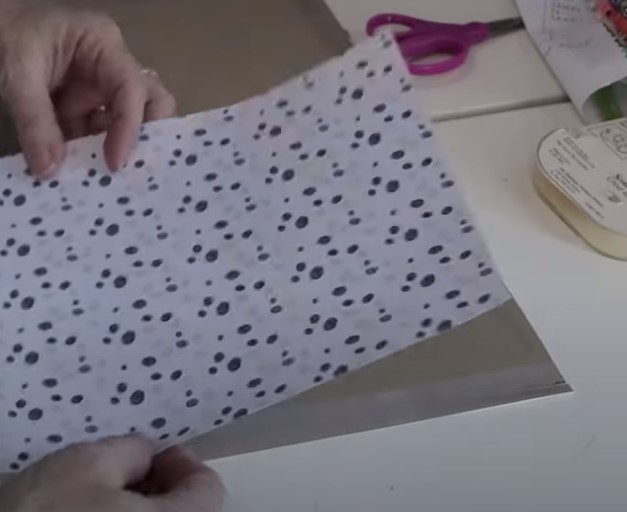
Attach the wallpaper to the board, lining it up carefully on the bottom of the wall edge.
Continue along the wall sections, attaching the paper as you go.
If you need to patch any sections, do that so that the entire wall pattern is covered.
Check the joins to make sure that the paper lies flat when the walls are bent into position. If the paper overlaps and creates bulges , trim a little off where the walls come together.
Trim off the excess paper.
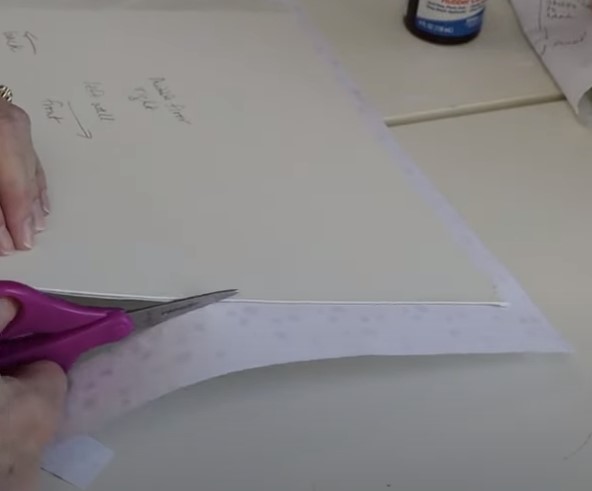
Cut off the extra paper so that the paper fits the board all the way around.
Trim out the windows and doors.
To see the full directory of all of our verified members, click here.
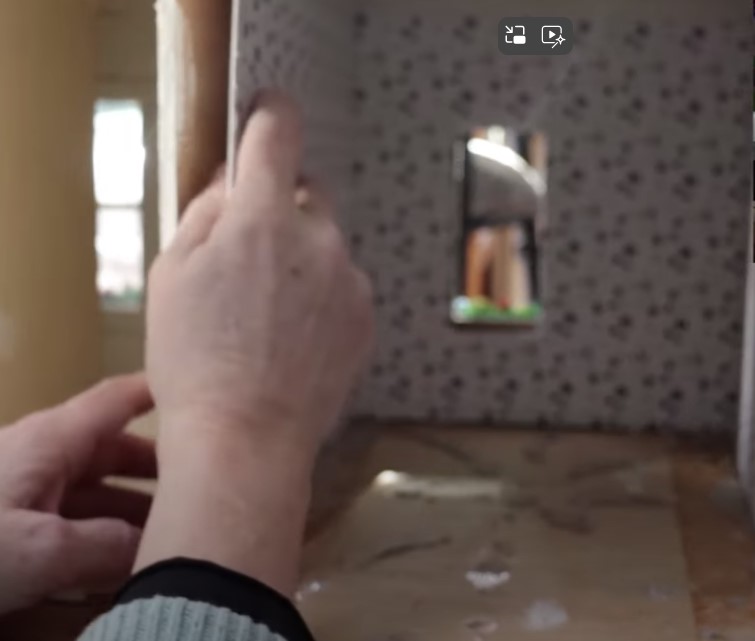
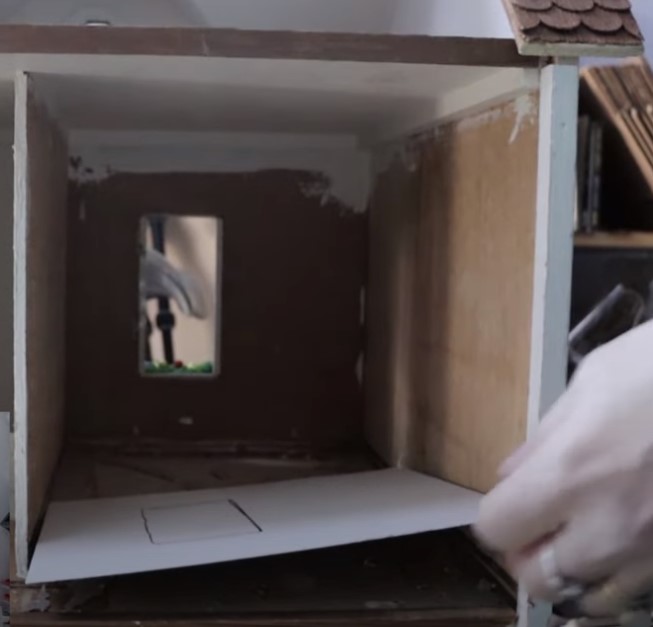
Insert the papered section into the room.
Turn the wallpapered board diagonally and insert it into the room where it’s going to go.
Open it up into the room and fit it into place.
Press the pieces against the walls to fit.
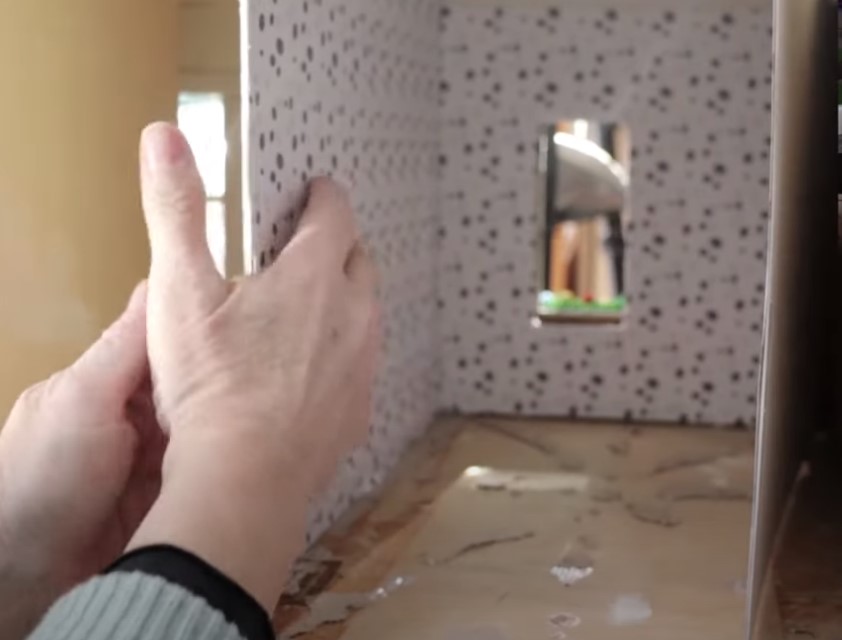
Press the papered sections up against the wall to make sure they fit snugly. If anything is too big, you’ll need to remove everything and trim off the piece that isn’t fitting.
Adjust the pieces.
Do a final check to make sure that the papered sections fit in the room.
If the pieces are cut to size correctly, they should fit into the room with a little pressure and stay in place on their own, but they shouldn’t be bent.
If any pieces are bending a little, they’re probably a little too large for the room.
Attach the board to the wall (optional.)

If you want to make the wallpaper less temporary and more permanent, you can attach the board to the walls by using double-sided tape or some type of glue.
If you leave the board completely unattached, you could make more boards that fit into the room to change the wallpaper whenever you wanted to.
Or you could just take the board out and re-wallpaper it whenever you want to.
This is a fun way to be able to change out the wall coverings in your dollhouse, and it’s a lot easier than having to scrape paper off the walls every time you want a different look!