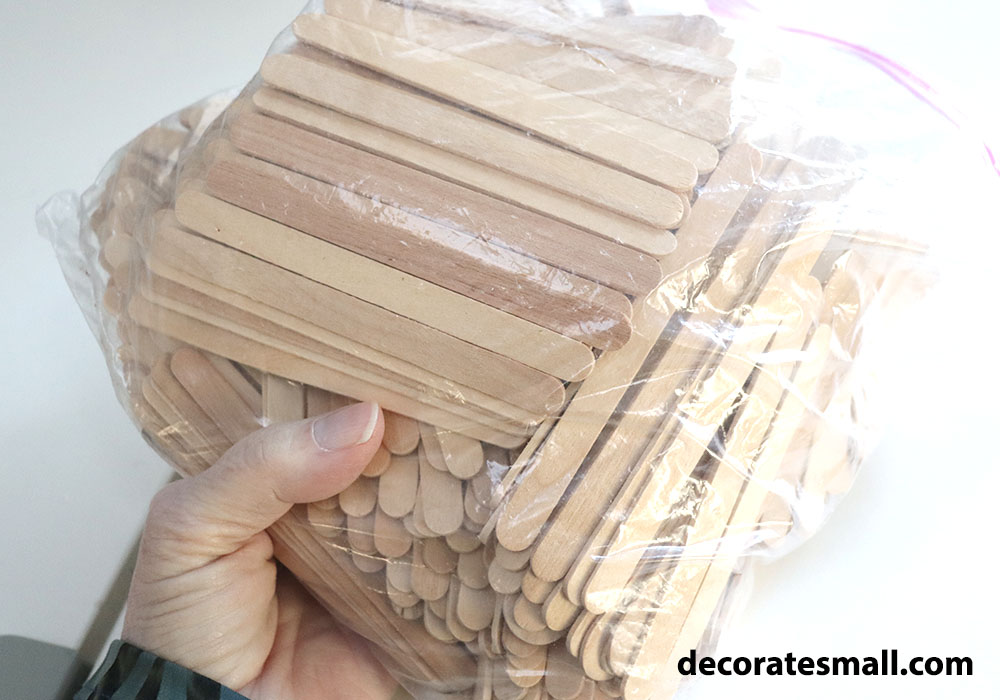
I decided that I need to start on the attic of my dollhouse because I keep saying it’s going to be haunted, but I haven’t made any progress on it at all. So I finally went ahead and got out the popsicle sticks to make the flooring for it, and started cutting them.
Cutting popsicle sticks to size would seem to be a pretty easy thing to do, but I tried a few methods and decided on the best one for my purposes after a lot of trial and error.
Some of the links in this article are affiliate links that will pay a small commission if they’re used to purchase something. To see the entire affiliate policy click here.
What’s the best way to cut popsicle sticks?
Since I hadn’t done any popsicle stick cutting before, I had to figure out the best way to cut all of the round edges off.
I did a little research in some chat groups online, and came up with these options for cutting popsicle sticks:
- Mini hand saw
- Mini bench saw
- Tape a bunch together and cut them all at once using a saw
- Multi Angle Miter Shear Cutter
- Small pruning shears
- Saw and miter box
- Dremel tool with a cutting wheel
- Mini chop saw
- Coping saw
- Nail scissors for pets
- Score the sticks with a blade and snap them.
- Heavy duty industrial scissors
- Exacto knife
- Narrow wooden coffee stirs- cut with scissors
Someone also mentioned a mini miter saw, and it introduced me to the Micro Mark website , which is full of tools for hobbyists, so I’ll be looking at that later.
Since I don’t have any mini saws, I couldn’t try those out, but they look intriguing. Maybe for future reference.
I do have a Dremel tool, and I have a pair of pruning shears that have a flat blade, so I got those out, too.
I also tried scissors since those would seem to be the easiest method, but I didn’t have a pair that would have been heavy enough for the wood.
I also have a saw and miter box now, since I got some dollhouse accessories recently and there was one in there.
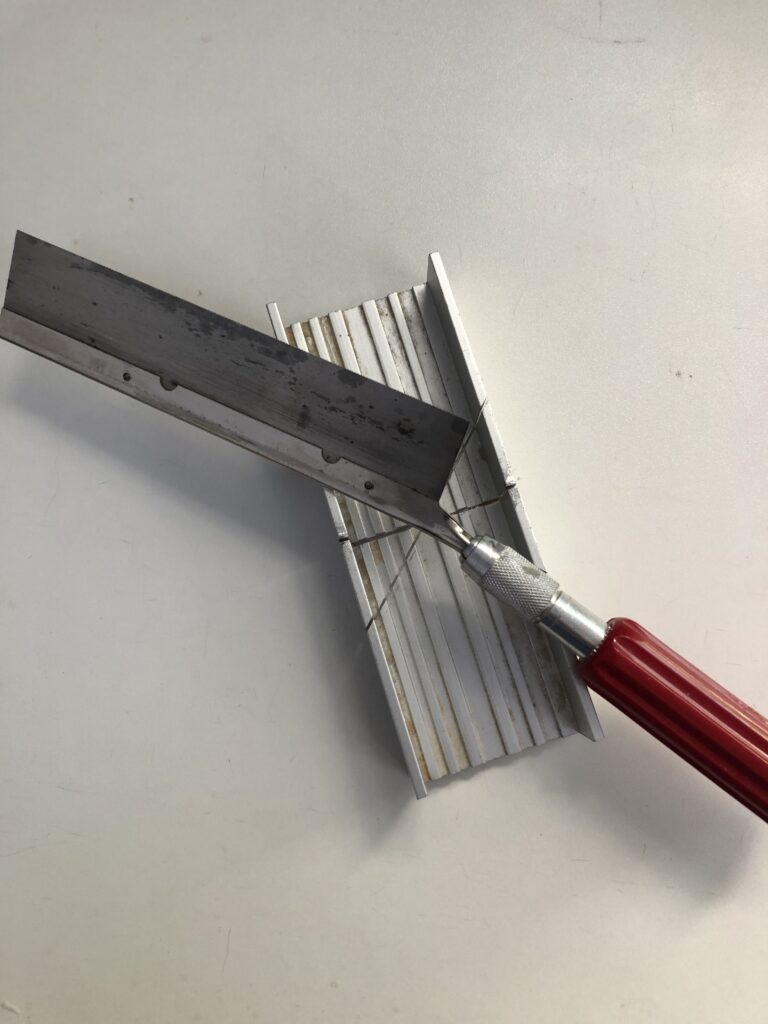
I tried that first, but that would have taken a really long time with a lot of sawing, based on how many sticks I was going to need.
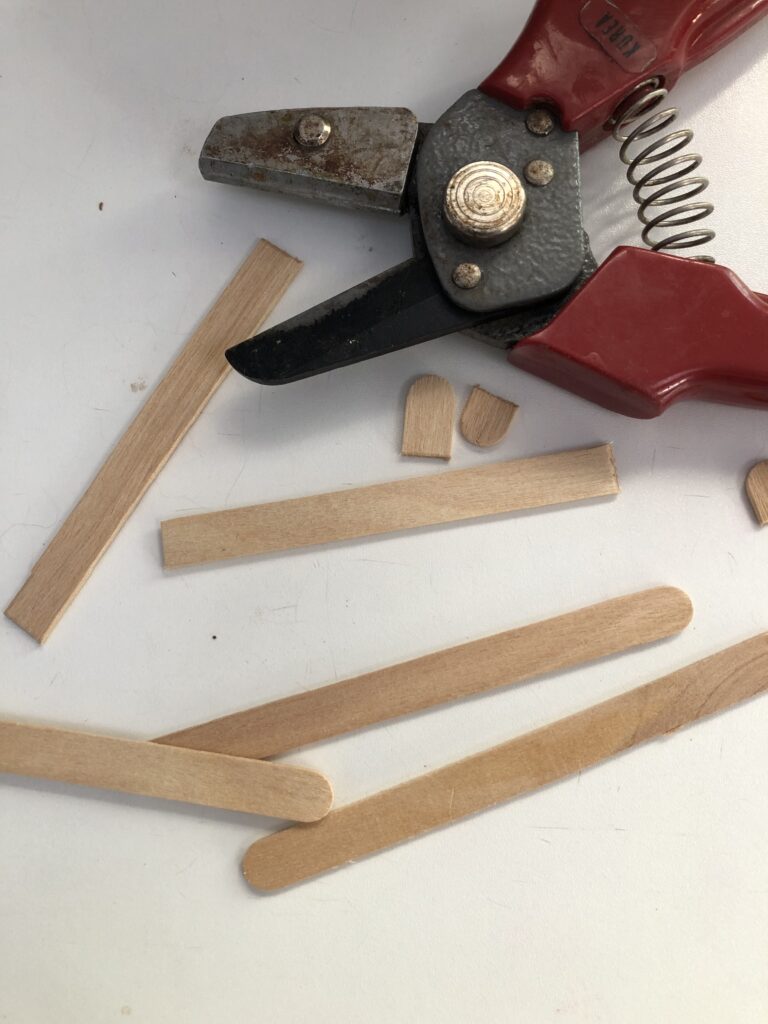
I tried the pruning shears and they were actually pretty easy to use. So that was a possibility.
The sticks didn’t cut 100% clean, though, so if you want completely splinter-free edges you’ll probably have to do some sanding to get rid of the fibers of wood on the ends.
It also shot the rounded ends across the room, so do this somewhere that you’ll be able to sweep!
Next, I tried the Dremel, but it took longer than the pruning shears did, and the amount of smoke smell and sawdust involved even with a few sticks was a little off-putting.
The cut-off ends were burned a little from the heat of the cutting wheel, but they were also nicely splinter-free, so that was the tradeoff there.
I decided to go with the pruning shears, since they were the fastest method of the three I tested.
I think I want to get one of the miter clippers, since it’s basically the same thing but it will give you the option to cut at precise angles.
Remove the existing flooring from the dollhouse.
To start, I took the flooring out of the attic. It was pretty simple to remove because it was just a printed cardstock-weight floor paper that had been taped on. (For an article about things that can be used for dollhouse flooring, click here.)
I was going to use the original to make a template for the new floor backing, but it had ripped enough that it wasn’t going to be usable.
It did show me that I probably didn’t need to worry too much about sticking the popsicle sticks to the floor super securely, though, since the original floor was so flimsy and had worked fine until now.
Make a template for the flooring to stick to.
I used a large piece of thick watercolor paper as the backing for the floorboards, because I didn’t want a totally solid floor that I couldn’t remove.
With the paper, I figured that I could glue the sticks to the paper and then move it around.
It ended up working really well, but I did have to weigh the sticks down while they were drying because the glue was absorbed into the paper and made it expand a little.
That makes the flooring warp, so you have to weight it down while it dries so that it will dry flat.
(You might want to use something that won’t expand and shrink as much, but if your floor does warp you can crack the bonds where the glue is, like I did when I painted the floor later.)
To see the full directory of all of our verified members, click here.
How many popsicle sticks do you need to cut?
To figure out how many sticks I needed, I cut a bunch then lined them up in the attic for a few inches, then calculated how many sticks filled up that amount of space.
For the 1:12 scale, the 1/2″ wide popsicle sticks would be about 6″ wide in real life, so I could have used 1″ wide tongue depressors to represent 12″ wide planks instead.
That would clearly have used fewer sticks, but I kind of like the look of so many boards, so I stuck with the thinner ones.
I figured that I would need around 450 sticks, so I started cutting.
Cut the sticks and glue them into the house.
I decided that marking the sticks to a specific size would be too slow, and I just started cutting them freehand.
Since the attic was going to be a rough floor it wouldn’t matter if everything wasn’t exactly the same.
Once I had enough to get started, I started gluing them into the attic on the paper floor template.
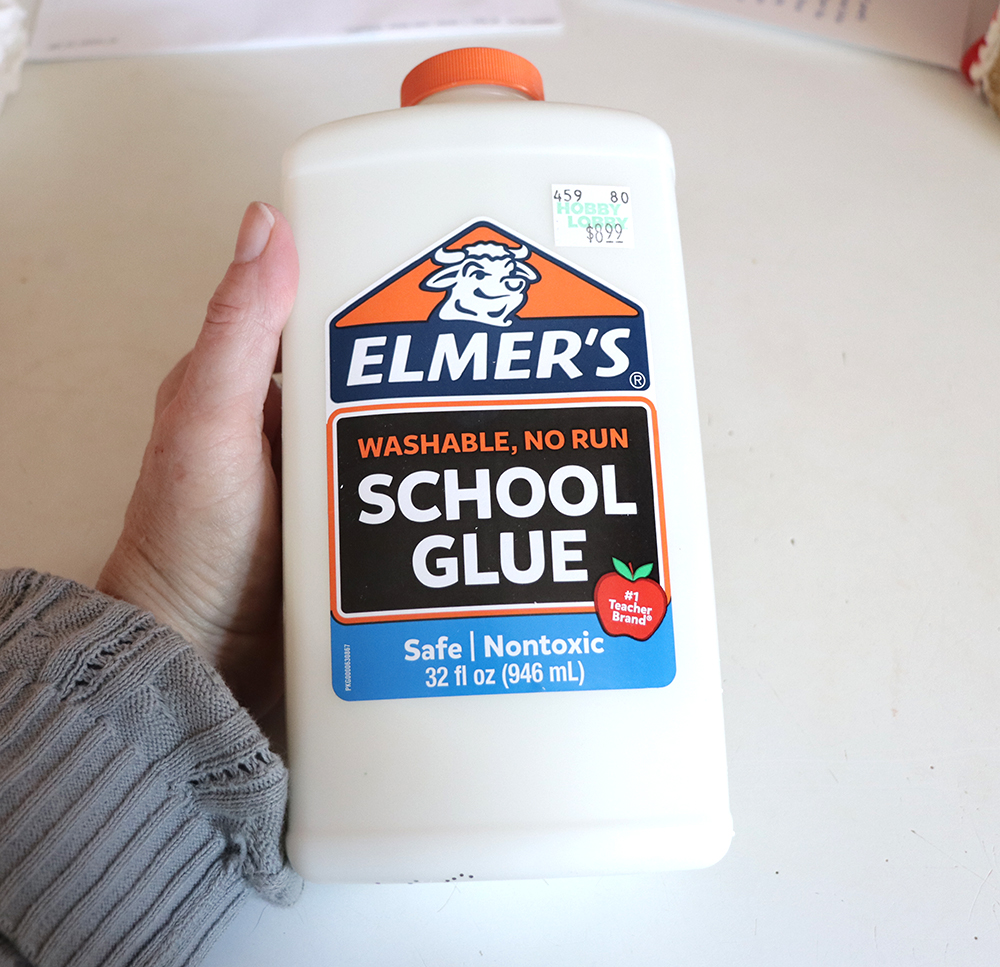
I used basic Elmer’s glue for this since it works on paper and wood if it doesn’t have to be super secure.
I was aiming for a rough look for this, so I didn’t need to be really precise and have clean edges and perfectly-textured wood boards.
I found a photo of an old attic that had rough floorboards and roof boards, and it wasn’t anywhere near perfect as far as the boards lining up evenly. That’s the look I wanted, so I just went for it and started gluing the boards onto the paper.
I glued the sticks in with an alternating pattern so that they wouldn’t line up exactly and the joints would be spread out evenly.
At first I was putting the glue on the boards, but it was messy and slow. I decided to try putting a thin bead of glue down right next to each previous row of popsicle sticks, then pressing the next row into those.
That worked really well but I had to be careful to wipe off the excess if it snuck up between the boards.
I figured that if the glue got onto the boards and dried it could keep paint or stain from sticking to the boards the right way later, so I was being really careful.
Then I decided that I was probably going to paint the boards if I did anything to them, and that I could sand any glue spots off, so I got less picky about it.
If you want to use stain on the floor, I would be really careful to keep glue off the top of the popsicle sticks so that the dried glue won’t prevent the stain from absorbing into the wood evenly.
If you’re going to paint it or sand the floor it might not be as important to keep glue off the top of the floor.
When I was finished for the day I weighted down the part that I had finished using some books and paint cans. That way, the popsicle sticks would dry flat and not wrap up from the moisture in the glue.
I would say to put something between the books and the flooring in case there’s some wet glue on the surface or in the cracks somewhere.
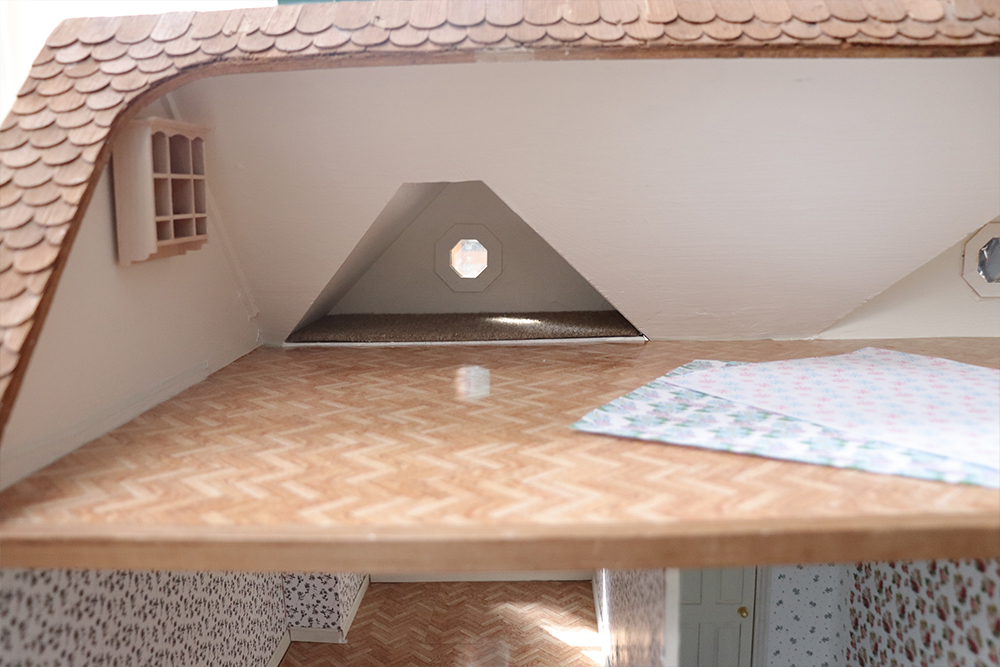
I kept working across and finished the entire attic, then I weighted down the floor to let it dry.
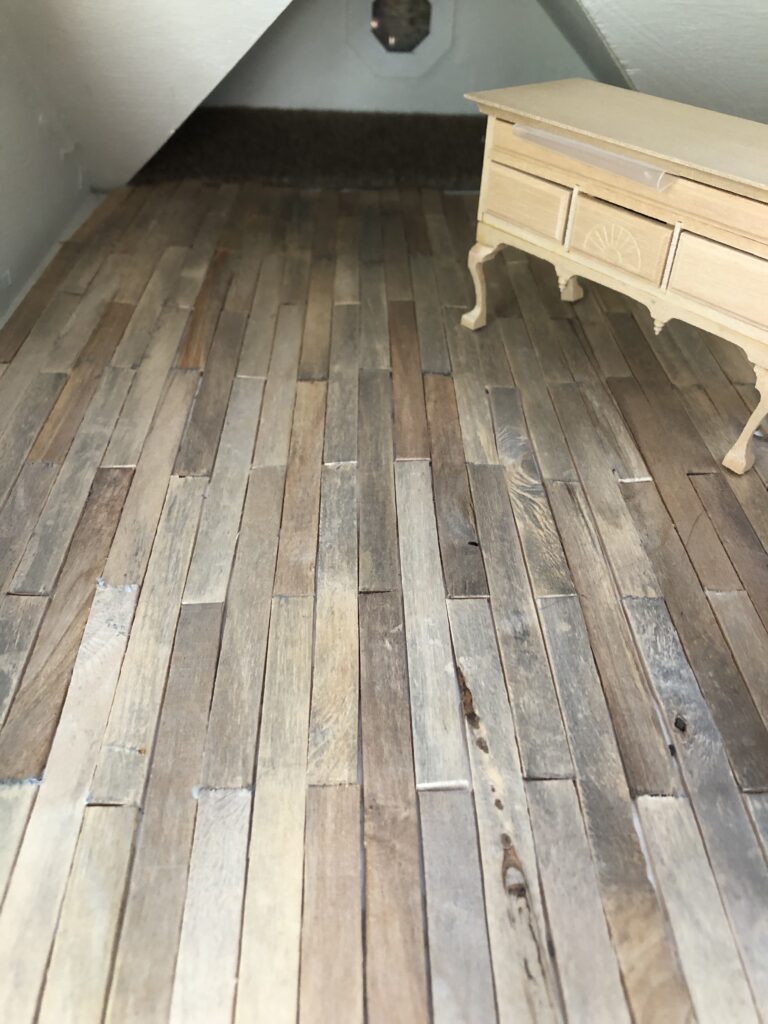
The finished floor is removable.
Here’s the finished floor, and it fit fine except it seemed like it was a little wide, like I had added one too many rows of boards.
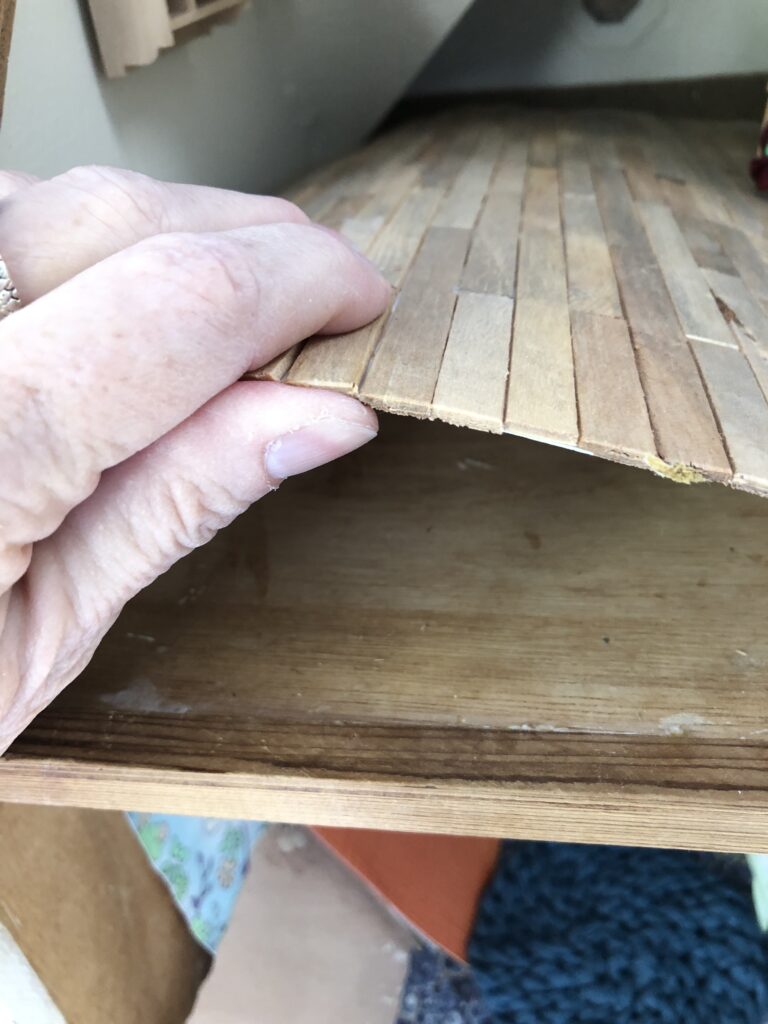
I decided to take it out and cut off one row, so I pried up the edge a little and was able to lift the entire floor up.
I turned the flooring over and cut along the seam on the last row of boards on the back of the paper.
After scoring the paper, I was able to bend the paper and make the seam more obvious, then I cut it off with a craft knife.
After trimming the last row, I put the floor back into the dollhouse attic and pressed it in place around the trim on the edge of the floor.
For an article about hos I painted the floor to make it look aged, click here.
Tips for popsicle stick floors.
- Use some type of backing that you glue the sticks onto so that you can remove it from the house if you don’t want it to be permanently attached.
- Be careful with the glue…The less, the better. Too much can ooze up between the sticks and dry on the surface of the wood, which will keep stain from sinking into the wood evenly.
- I thought that cutting the sticks with the pruning shears was the easiest way to do it, but it didn’t leave a clean cut most of the time. You’ll need to sand the edges if you want them to be totally smooth.
- Wear a glove or wrap your fingers with tape when you’re cutting the sticks, because the repetitive squeezing of the shear handles can give you a blister! I found that out the hard way.
- Avoid using popsicle sticks that aren’t flat or perfectly solid. If they’re warped or bent that will make it harder to line up a more formal floor arrangement, and they might not dry flat on the floor.
- If the floor curls up after it’s dried for a few days, that could be because the paper expanded then contracted when it dried, so the floor could look warped. One way to fix this is to crack the glue between the popsicle sticks by turning the floor upside down and cracking it along a line where the sticks line up. The edges of the floor did this in my house, but flattened out after I broke the glue bonds between the sticks.
- Wipe any excess glue off the floor using a damp paper towel before it dries. Try to get the glue off of the floor’s surface completely, but don’t get the sticks too wet or they can warp, too.
- If you want to smooth the floor out after it dries you can plan on sanding it lightly.
- If you put the boards directly onto the floor you can use wood filler to fill in any gaps between boards, then sand them down when they dry.
- Once the floor is totally dry and the boards are attached to the backing, you can attach the edges of the backing paper to the dollhouse floor with double-sided tape if it looks like it’s pulling up at the edges.