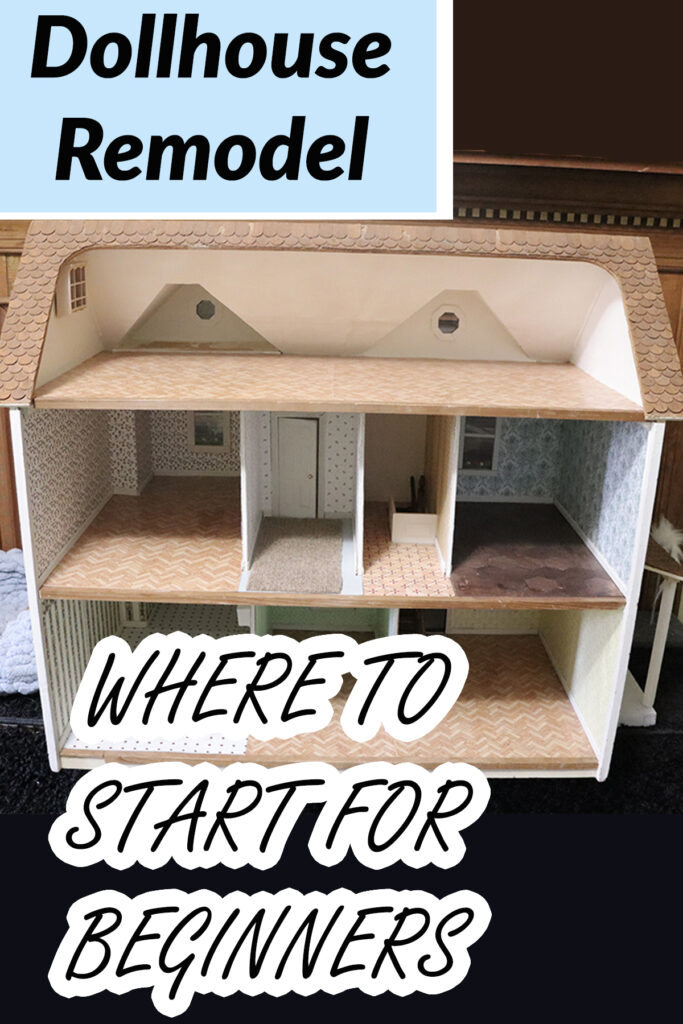
I decided to remodel a dollhouse for fun, but I had no idea where to start.
I am seriously clueless about the “right” way to do a dollhouse remodel, but hey, it’s supposed to be fun, so I decided to just jump in and see what would happen.
To start the dollhouse makeover, you need to remove all of the old wallpaper, flooring, trim, and anything else that you want to replace.
If there are parts of the dollhouse that are in good enough shape to keep, you can leave those intact or remove them temporarily to save them to use later.
Some people like to take the house apart first, but that’s a personal decision about what’s easier for you to do.
Some of the links in this article are affiliate links that will pay a small commission if they’re used to purchase something. To see the entire affiliate policy click here.
I used to have a Lundby dollhouse when I was a kid, and my mother gave it to my cousin to play with.
When she was too old for it they took it apart to send it back, and nobody could ever figure out how to put it together again.
Seriously, it was a mystery how it went together and nobody could do it.
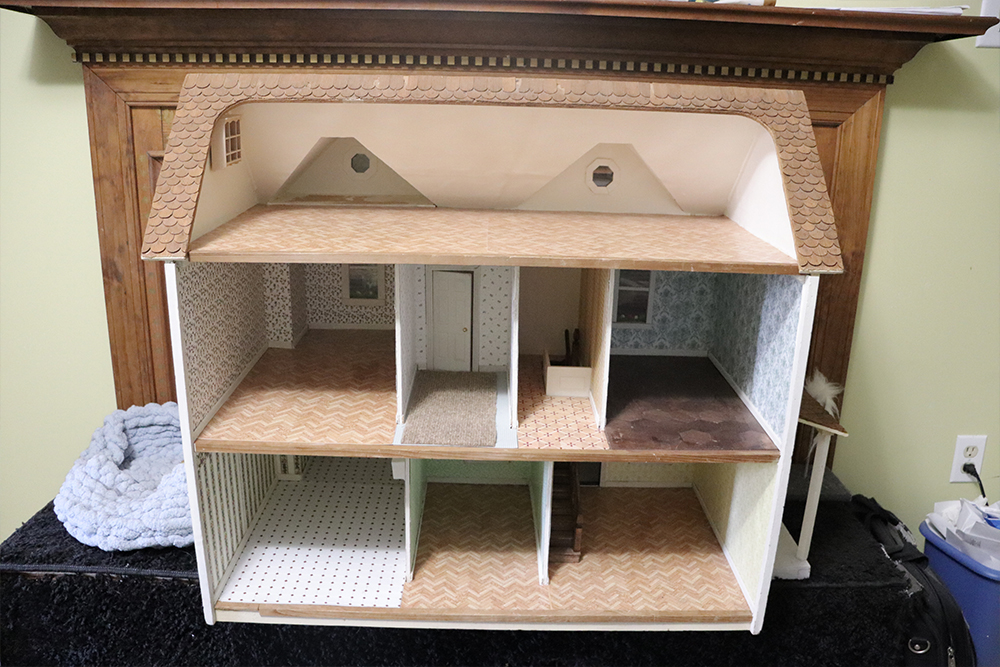
So I’ll be leaving my dollhouse in one piece because I don’t know enough about taking them apart, and I don’t know anything about how this one was built.
It seems pretty solid, so I’ll be working on it assembled!
I’m not sure how far I’ll go to strip off the original wallpaper and flooring, but I did start by removing the outer layers that had been added over the years.

Removing the outer layer of wallpaper.
I started by removing the outer layer of wallpaper in the house, which had been added to the house’s original surfaces.
The wallpaper in this house had been attached with double-sided tape, but there was also a layer under the outer layer, and that had been applied with adhesive.
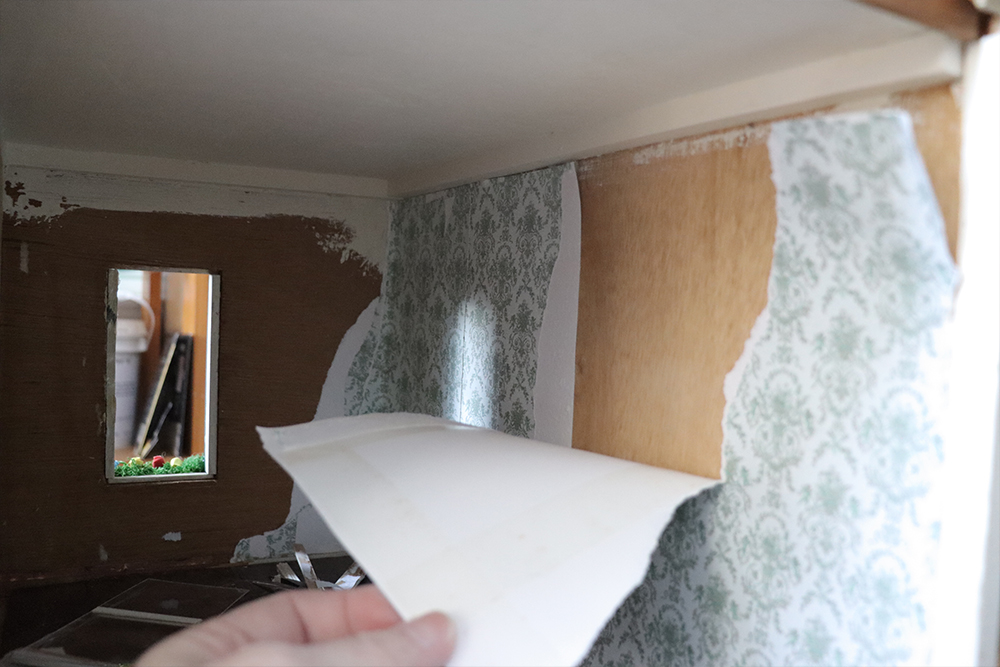
I wasn’t able to peel all of the wallpaper off of the house at that point, but I got most of it off by pulling it.
Since the double-sided tape wasn’t all over the paper, it was fairly easy to remove.
The layer of paper that was under the outer layer was securely attached to the house, so I’ll have to go back to remove that if I decide to completely strip the walls.
I might not need to do that, but depending on how thin the wallpaper that I apply will be, it might look better if I do.
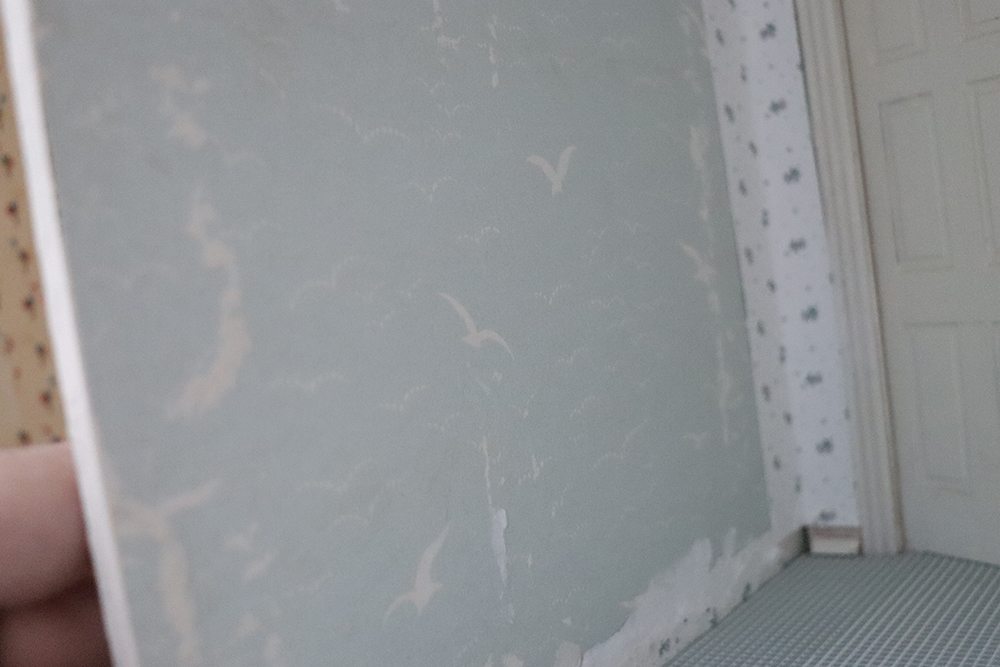
I did manage to get some photos of what I think is the original wallpaper.
Based on the colors and the patterns, I’m thinking that the dollhouse was originally made in the late 1950’s or early 1960’s.
To see the full directory of all of our verified members, click here.
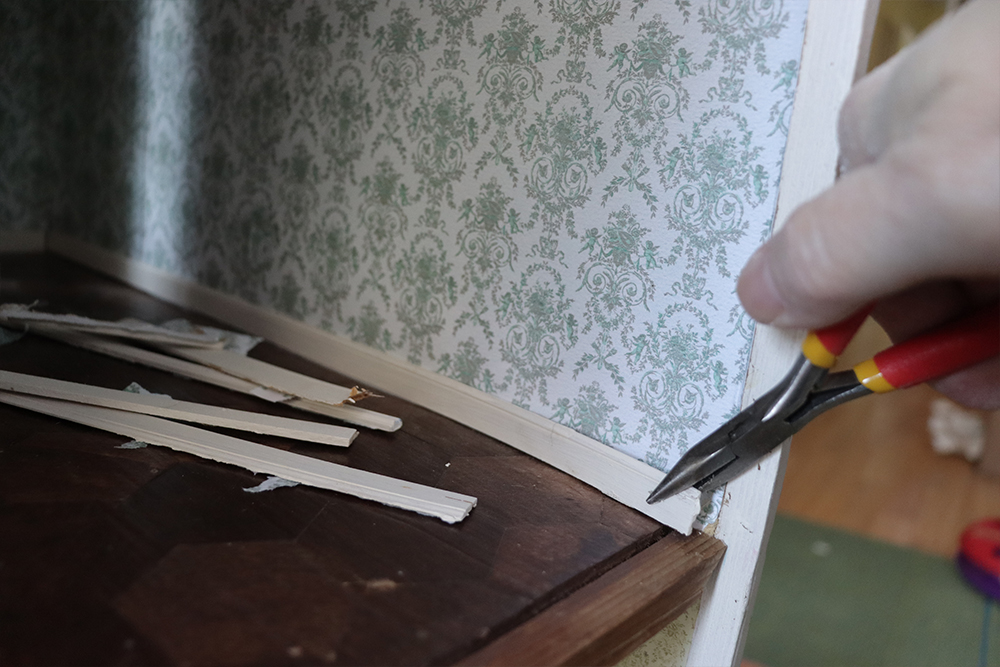
Removing the trim and window surrounds.
While I was removing the wallpaper I was also removing the trim and all of the molding that went around the windows.
Most of the trim was attached to the wallpaper and didn’t take much effort to remove because they weren’t attached very securely.
Most of the pieces came off without breaking, but some of them did crack or splinter.
I kept the pieces that I could use as templates for new trim if I decide to put more in.
I stacked each room’s trim and window and door surround in the room that they belong in to keep them sorted out.
I used a pair of pliers to help yank the trim off of the walls in some places where it was really stuck.
Most of it came off fairly easily, though, so I think I was lucky.

After getting off as much of the wallpaper and trim that I could without using water or solvents, I still had the original wallpaper stuck to some of the walls, and I was ready to move on to the flooring.
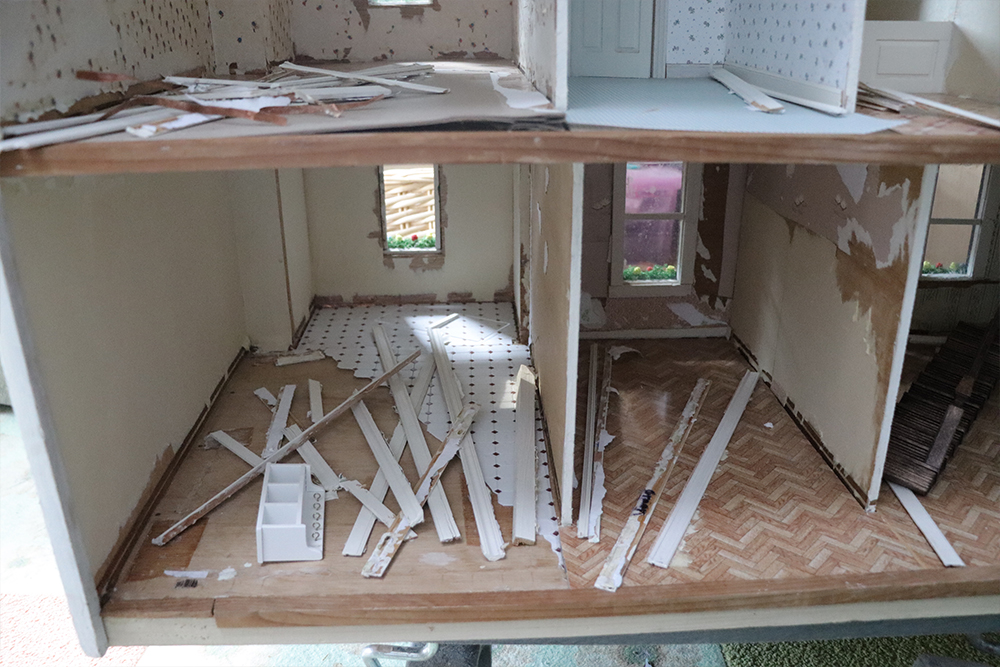
Removing the flooring.
After I removed the wallpaper I started on the flooring.
The house had several different types of flooring and methods of it having been attached, so it was a strange assortment to take off.
Some of the floors had cardboard bases that had the floor paper stuck to it, then stuck to the floor of the dollhouse.
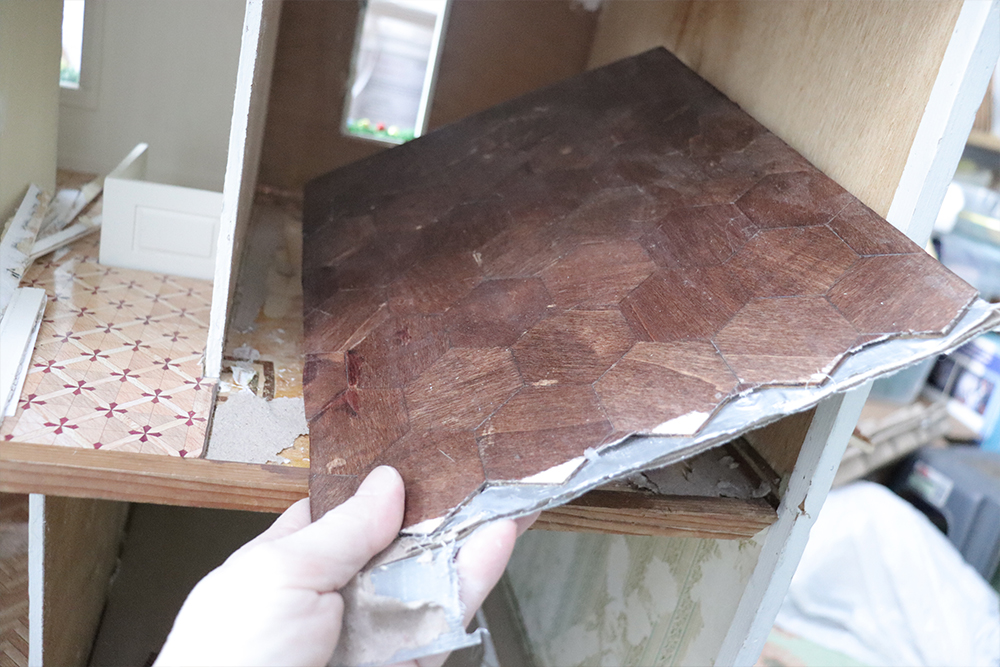
Some of the rooms had thicker boards with actual wood parquet pieces, which made the levels of the floors different for each room.
There were also some rooms that didn’t have any baseboards under the floor paper at all, so the paper was attached directly to the wood floor.
It was a weird combination of different flooring methods, but I was able to get most of them up and detach them from the house.
Most of the floors were attached to the house with either double-sided tape or some kind of rubber cement-type adhesive.
I’ll have to go in and scrape the floors to get everything level, but that’s going to take some work.
There was also some copper tape in the house, and I didn’t know what that was for.
I had to look it up and found out that it was a way of wiring the dollhouse for lighting.
I removed some of the copper tape but I think I’ll look up the ways that it’s used to see if I can leave some of it in place in case I can use it in the future.
I don’t have any plans to wire the house at this point, but if it will save some time down the road I’ll leave the tape in place and figure it out later.
Once you have all of the surfaces cleaned off and as smooth as possible, you can start decorating the house the way that you want to!