If you’re a junk journaler or you just like unique notebooks, you can make your own for very little cost.
Cindy from The Scrapologist put this together and shows us how to use paper pads or leftover paper from other projects to make pocket-sized notebooks that you can make yourself for under $1.
Some of the links in this article are affiliate links that will pay a small commission if they’re used to purchase something. To see the entire affiliate policy click here.
Video Tutorial:
You can watch the full-length video here, it has three design ideas.
Following are two of the three designs that Cindy demonstrated.
For an article with junk journaling tips and tutorials, click here.
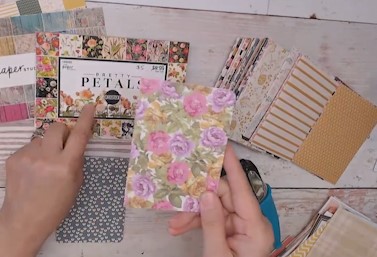
Simple mini notebook with cardstock cover.
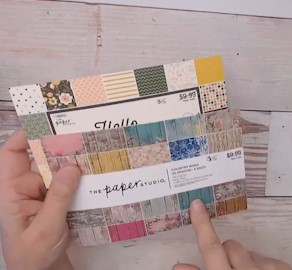
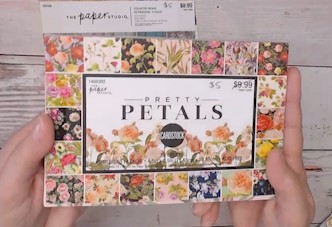
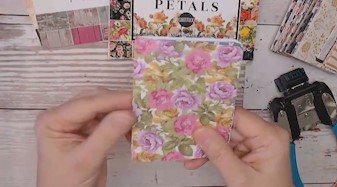
Start with paper that’s 4 1/2″ x 6 1/2″. Small paper pads are a good start since you can get them in that size, and they also come in cardstock in the same size, and you’ll use that for the cover.
You can also cut paper scraps to size for this, so it’s a good project to use with your scrap paper from other projects.
This pad of cardstock is the same size as the paper, so it works well for the covers. If you don’t have small paper pads like this, just cut lightweight cardstock to the right size.
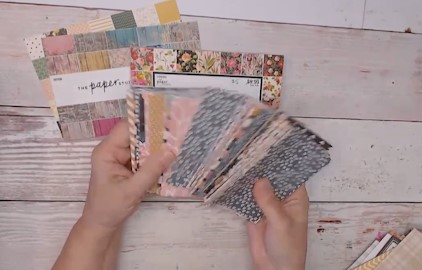
Fold the sheets of paper in half to make the inner pages. Round the corners of the paper and the cover if you don’t want the edges to be totally square.
Fold the cardstock in half to make the covers (Cindy used a tool to do this, check the video for details.)
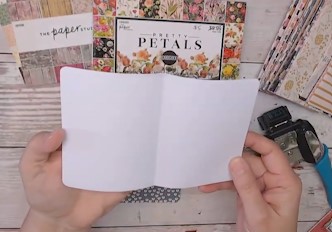
Open the cover and insert the pages into it, stacking them all up with the folds matching.
Put about 5-6 pieces of paper in each notebook, or as may as you want as long as it’s not too thick.
Unfold the cover and the pages and make sure the crease in the center is lined up. Staple the center crease in two places to attach the pages to the cover.
The finished mini notebook!
For an article about making your own punching trough for book binding, click here.
Chunky mini notebook.
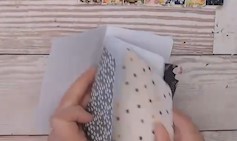
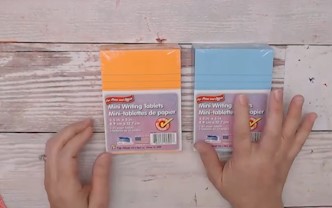
For this little notebook you’ll use some mini lined notepads with 5 sections. Cindy got hers at the dollar store. You can also use paper that you have left over from other projects.
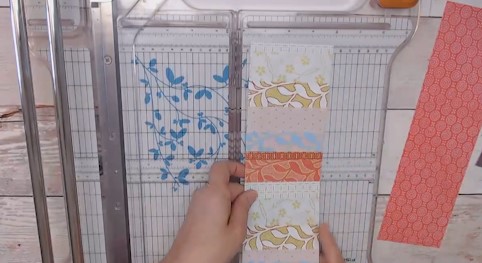
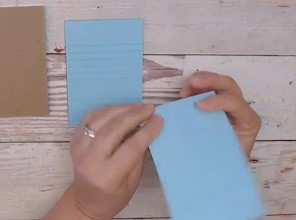
Start by cutting a strip of paper for the cover, trimming it to 3 1/2″ x 10 1/2″.
Cut two more pieces to 3 1/2″ x5″.
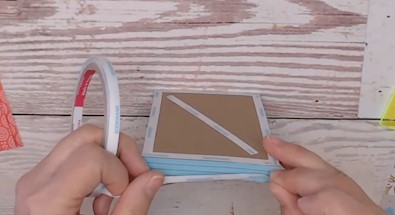
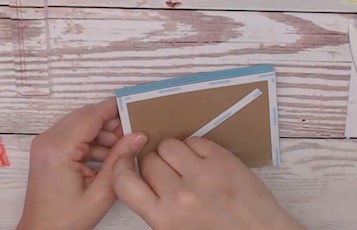
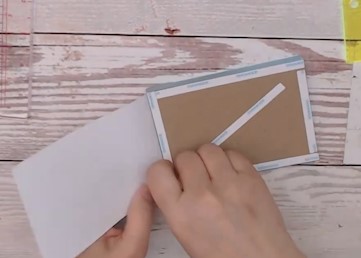
Use a mini notepad that can be separated into 5 sections, and that have cardboard dividers. Make sure that you’re following the instructions that follow to keep the piece that you’re going to use set up correctly.

First, tear off one paper section but leave the chipboard on the pad.
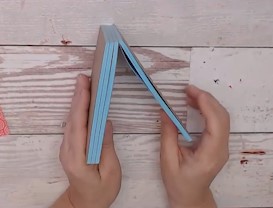
Separate the section on the other side and remove it, but make sure that you end up with a piece of chipboard on each side of a section of three paper sections.
Set the two sections you pulled off aside to use for another project.
The piece that you have with the three paper sections and chipboard pieces on both ends is going to be the inside of your mini notebook.
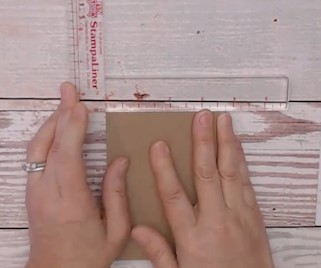
Use a T-Square to even up the notebook by pressing it into the angle. Make sure it’s as square as possible so that the cover goes on evenly.

Put double-sided tape on the front and back covers.
Put double-sided tape on the edges of the spine of the notebook.
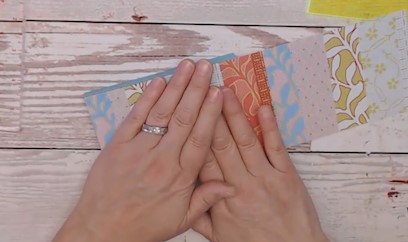
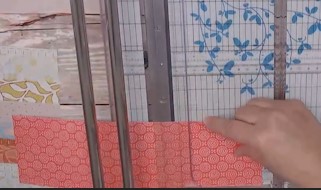
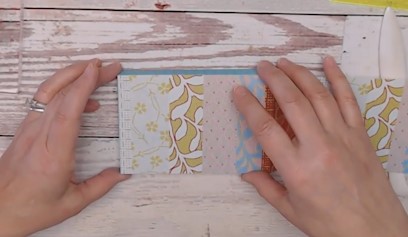
Before you remove the tape covers, put the paper on the notebook and line it up.

Crease the paper around the spine of the paper pad using a burnishing tool.
Fit the paper around the notepad and make sure that it fits and isn’t crooked. Use the T-Square to straighten the notepad if you need to.
Fit the paper around the notepad, and crease the spine. Adjust it as needed.
When the paper fits the notepad straight, remove the tape backing from one side of the notepad.
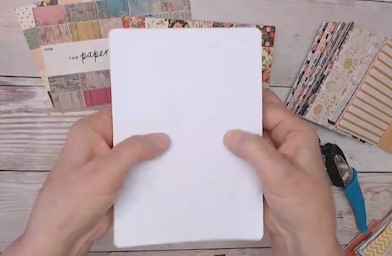
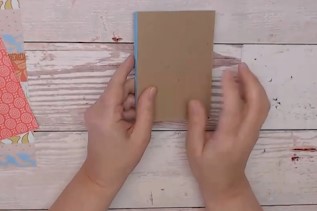
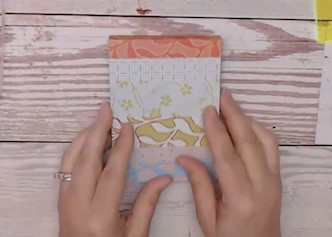
Press the paper carefully onto the cover, starting at the bottom and working toward the spine.
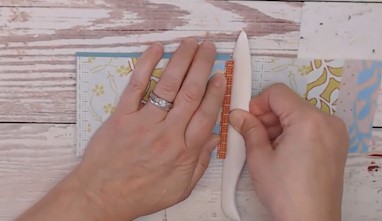
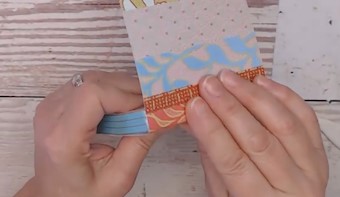
Remove the tape on the spine and fold the paper over the spine, pressing it with the burnishing tool.
Without removing the tape from the last side, press the paper down to make sure it fits and doesn’t need to be adjusted.
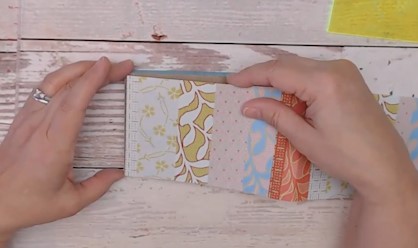
Remove the tape from the other side and press the paper onto it.
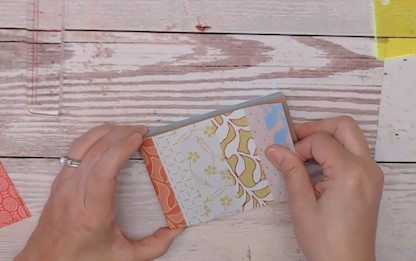
Press the paper onto the chipboard to finish covering the notepad.

Take the extra pieces of paper that you cut and trim off a tiny piece on the short edges so they won’t prevent the notepad covers from folding down evenly. Put double-sided tape or glue on the chipboard and attach the paper to the inside covers of the notepad to cover it up and finish it.
These are a cute way to use up extra paper from other projects, and they also make a useful gift or something that you can throw into your purse to carry with you. The video shows a third type of notebook to make, so make sure to check that out!
To see more craft project articles, check out the craft ideas section of this website: Craft Ideas and Online Selling