If you want to use wrapping paper for wallpapering your doll’s house, there are a few things that you should think about beforehand!
I used wrapping paper to wallpaper a room in my dollhouse and I ran into a few sticky situations (no pun intended!)
Here are some tips that will help you to wallpaper your dollhouse with wrapping paper and be successful the first time.

Some of the links in this article are affiliate links that will pay a small commission if they’re used to purchase something. To see the entire affiliate policy click here.
1. Use good quality wrapping paper.
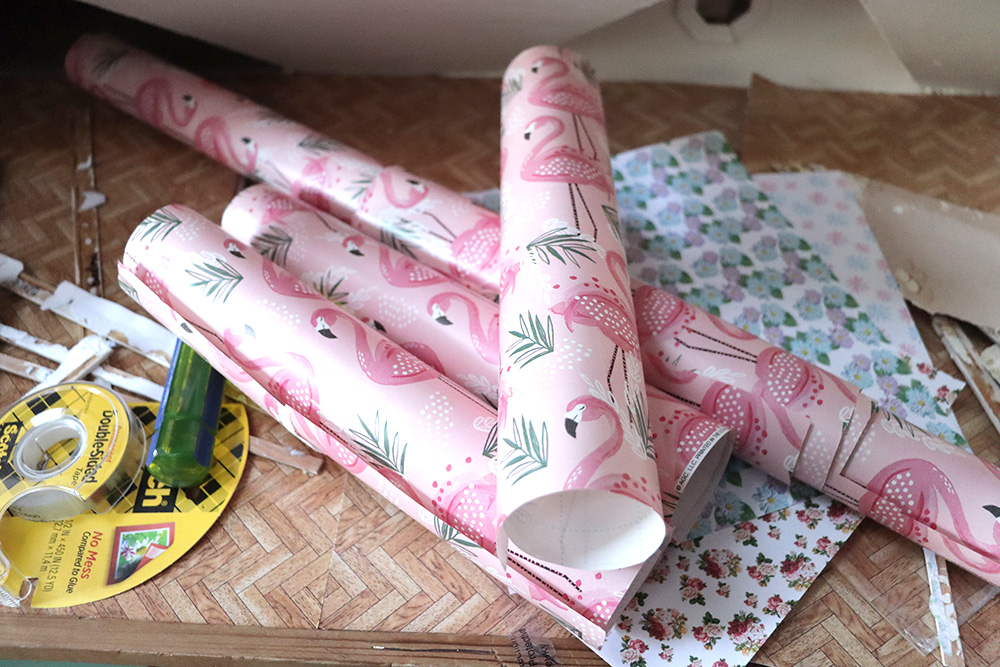
Gift wrap comes in a lot of different weights, and it can be tempting to buy one based entirely on the price. Be aware that if you do that, it can make it a little harder to reposition the paper if something goes wrong.
I bought a roll of cheap paper from the dollar store and it was cute but really flimsy. I ended up having to redo it because once it stuck, there was no way to unstick it without ripping it to pieces.
Luckily, it was cheap, so that’s the trade-off. Just be aware that cheaper paper can tear easily and can also be slightly transparent, too!

2. Make a template for the wall first.
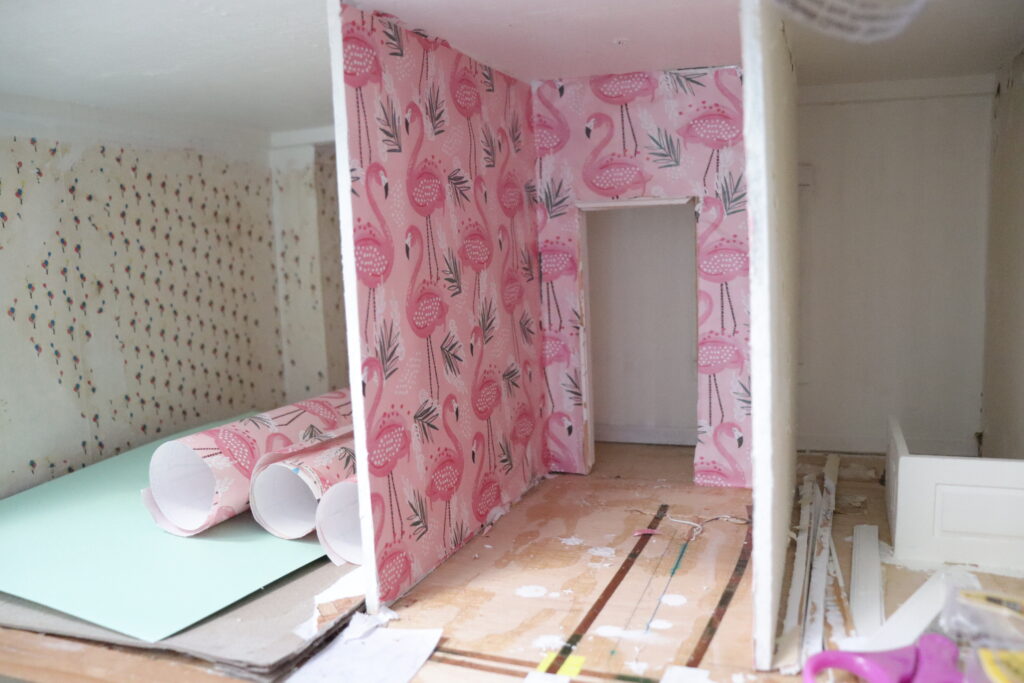
When I did the paper in this room, I just estimated the size of the wall and pressed the paper onto the wall, but I should have created a template first so that it would fit exactly.
Because I did use lightweight wrapping paper, it started tearing on the edges when I pressed it onto the walls.
It would have been better to have it cut to size beforehand so that I didn’t have to do any fitting as I went.
3. Put the adhesive on the paper, not the wall.
This will depend on what kind of adhesive you’re using, but I would think that the best option for gift wrap would be double-sided tape, not liquid glue.
Liquids are going to make the wrapping paper bubble as it absorbs moisture from the glue, so the tape will avoid that.
However, if you did what I did and put the tape on the wall, any false moves will mean that the gift wrap grabs onto the wall and it might not want to come off.
I had to tear my first attempt off the wall and start over, so I think that putting the tape on the paper, then sticking it into the house, would be a better way to go.
4. If you can do the paper flat, do it that way.
Putting wallpaper on a dollhouse wall is difficult because you’re working in 3D, not flat.
Pressing paper onto a surface is a lot easier if the walls are flat and you can fit everything perfectly to the surface.
A lot of people take the house apart when they renovate it, and one of the reasons is that it’s a lot easier to paint and wallpaper when the house isn’t assembled.
This isn’t always possible, but an alternative to papering the dollhouse walls when the house is assembled would be to use the removable walls.
I put the wallpaper on this house while it was put together, and the combination of the thin weight of the gift wrap and working in an upright position made it a lot more difficult than it probably should have been!

5. Do the side walls first, then the back.
I think it would make sense to do the side walls, then put the back wallpaper on after that.
By doing that you can make the side wallpaper a little longer and maybe overlap the corner a little bit, then put the back wallpaper over that.
You could cover up the corner and any gaps in the corner of the room if the walls aren’t completely square.
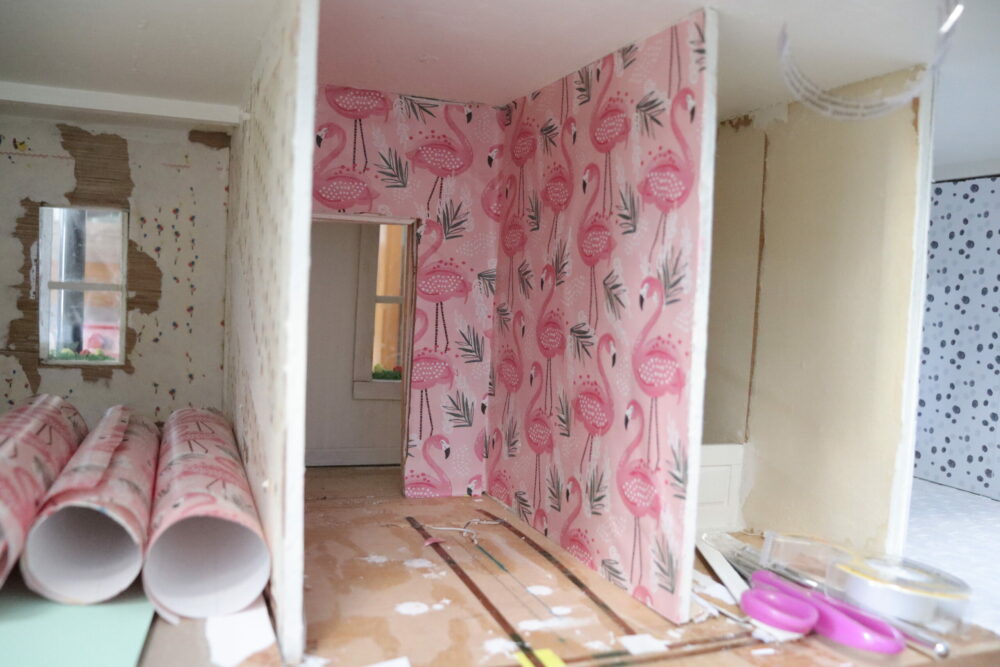
I did the room in my dollhouse starting on one wall and working my way around the room, but I think it would have been better to do the sides, then cover the back.
I’ve discovered that the house isn’t perfectly square, so having a little extra length to the side walls’ paper would have been good to cover up the little gap at the back of the room.
Since the gift wrap is on the thin side, having the extra paper would be easier than trying to match up the angles and maneuver around while trying not to tear the paper.
6. Start at the front and work back.
The wrapping paper had to be trimmed at the front because the piece that I cut to use was larger than the space.
If you have a side that will line up with the front wall, you can always trim the extra on the top and bottom edge using an Exacto knife.
If you can make a template for the shape of the wall, then attach it at the front edge so that it lines up, it should be easier to attach it to the wall smoothly.
The problem with wrapping paper is that it is thinner than real wallpaper or scrapbook paper, so you can’t always guarantee that you can reposition it without tearing.
If you start at the front and press the paper onto the wall as you go toward the back, you should be able to work carefully to avoid wrinkles and folds, and you’ll be able to control it better than you would if you stick the whole piece into the house to start at the back.

7. Make sure that the walls are clean and flat before papering.
Wrapping paper is thin, so if you have bumpy walls to begin with, those bumps will telegraph through and you might be able to see them.
Whether this matters to you or not will be up for debate, but it’s going to look better overall if you have walls that are flat before you attach the paper to it.
If your walls are bumpy and you also end up with a wrinkle in the paper, it will be a double bump.
The walls in the room that I papered were pretty flat to start with, so I didn’t have that problem to contend with.
There are other rooms in the house that have more wallpaper shreds still stuck to it, so I might not have papered directly onto those.
If you do have a room that has walls that are really uneven, the removable wall method that I linked to above will work to cover those up.
I like gift wrap for dollhouse wallpaper because it’s pretty cheap, but I would do it on the removable walls that I could put flat if I was going to do it again.
If you do make mistakes, though, you’ll have the rest of the roll to try again!

