If you have some old sheets and some leftover fabric from sewing projects, consider repurposing them into an improv crazy quilt!
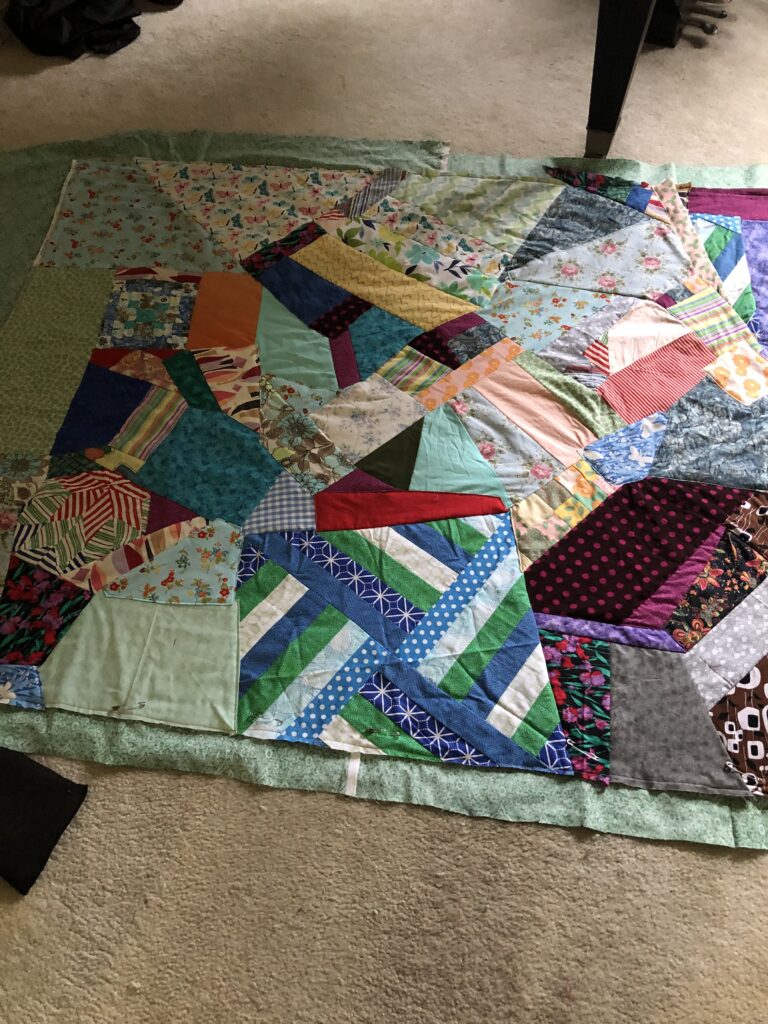
I used an old flannel sheet to make a crazy quilt from a bunch of scrap fabric that was left over from projects that I’d made over the past 30 years (yes, I’m a fabric hoarder) and it made a nice, heavy lap quilt.
It wasn’t hard to do, and since you have the sheet to use as a base to sew onto, it can be a really freeform improv quilt sewing project that you can do without a pattern.

Some of the links in this article are affiliate links that will pay a small commission if they’re used to purchase something. To see the entire affiliate policy click here.
What is an improv quilt?
“Improv quilt” was a new term to me, but I came across it when I was looking up crazy quilt info. It seems to be basically the same thing as a crazy quilt as far as how people make them just by sewing fabric together in whatever random way they want to, and making design choices as they go.
It does seem to have a lot of overlap with a crazy quilt, but at the same time, it seems to be a little more regular as far as sticking within a square or using an idea of a template.
I found a few different ways to describe it, but the basic premise is to just do what you want to do as you go, which is perfect for a bucket of fabric scraps.
I didn’t have an overall design plan, so I started with dumping out my fabric basket and taking out the pieces that would be good for this kind of project.
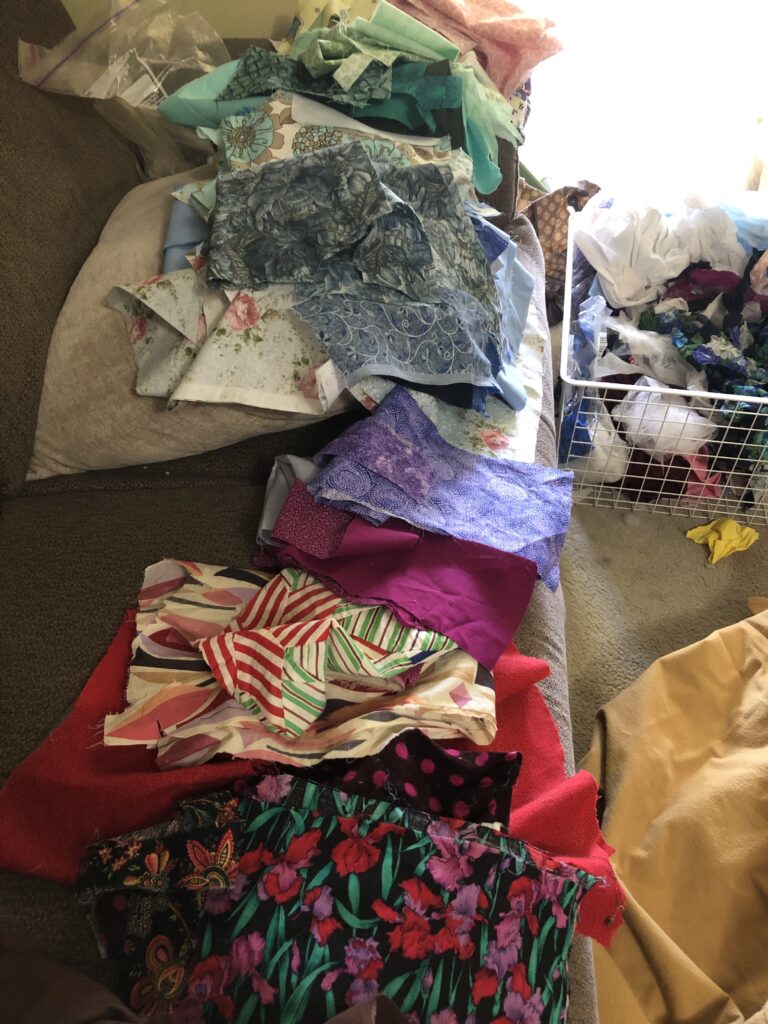
Sorting out fabric scraps.
I took out all the fabric pieces that would work for a quilt (cotton, mostly) and sorted then out by color to see what I had to work with.
At first I thought that I would do some kind of a spectrum design using patches of different colors that blended into each other, but when I started sewing the fabric onto the sheet I realized that I didn’t have enough of each color to make it look cohesive, so I decided to just mix it up.
There were also some quilt squares that were left over from other projects, and some pieces of an old quilt top that had been cut up for a different project, so I added those into the pile.

Can you use old sheets for a quilt backing?
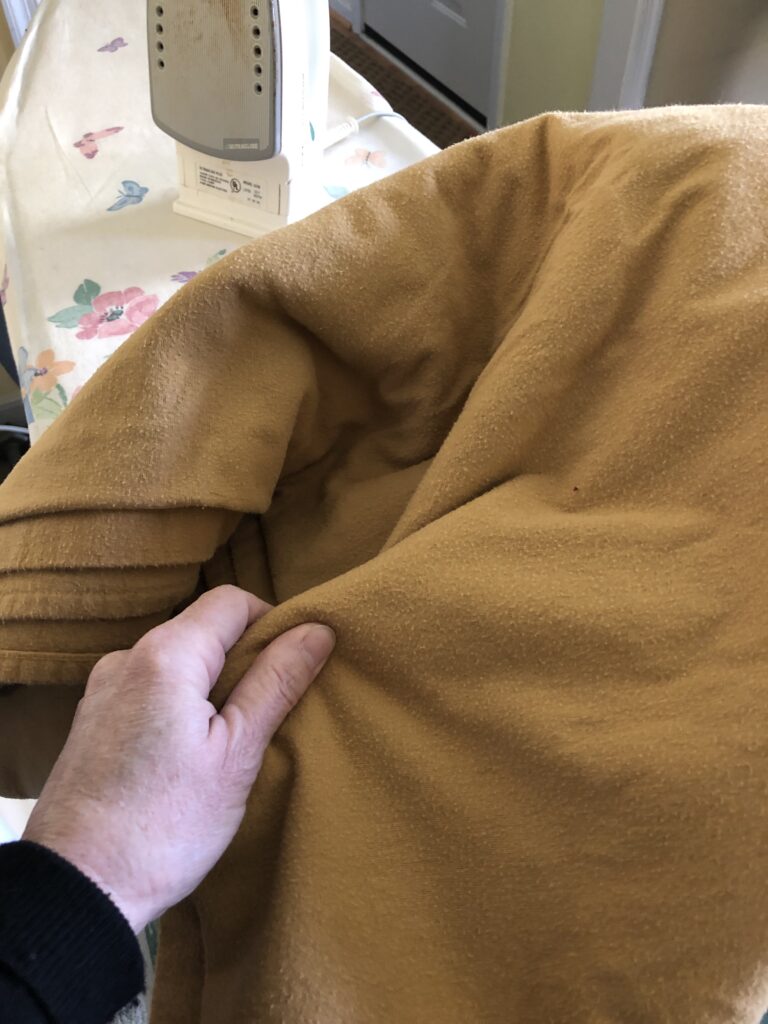
Of course you can upcycle old sheets and use them for quilting! I had an old flannel sheet that was a weird color, and I decided to fold it in half to use it for this project.
This was a twin flannel sheet, and when I folded it in half from top to bottom it ended up being a good size to use for a throw blanket.
It was also as thick as a traditional cotton quilt batting, so I would be able to sew the fabric scraps directly onto the sheet and then add a backing to the whole thing before quilting it if I didn’t want the sheet to be the back of the quilt.
I sewed the edges of the flannel sheet together after folding it so that I would be able to move it around and keep the shape intact.
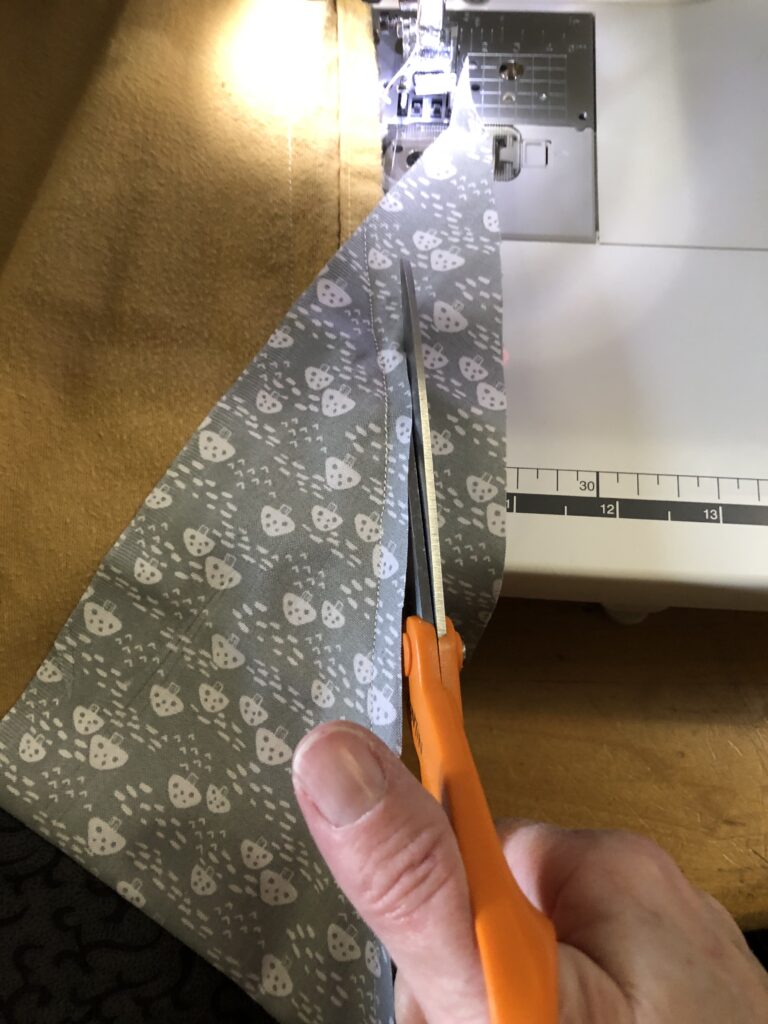
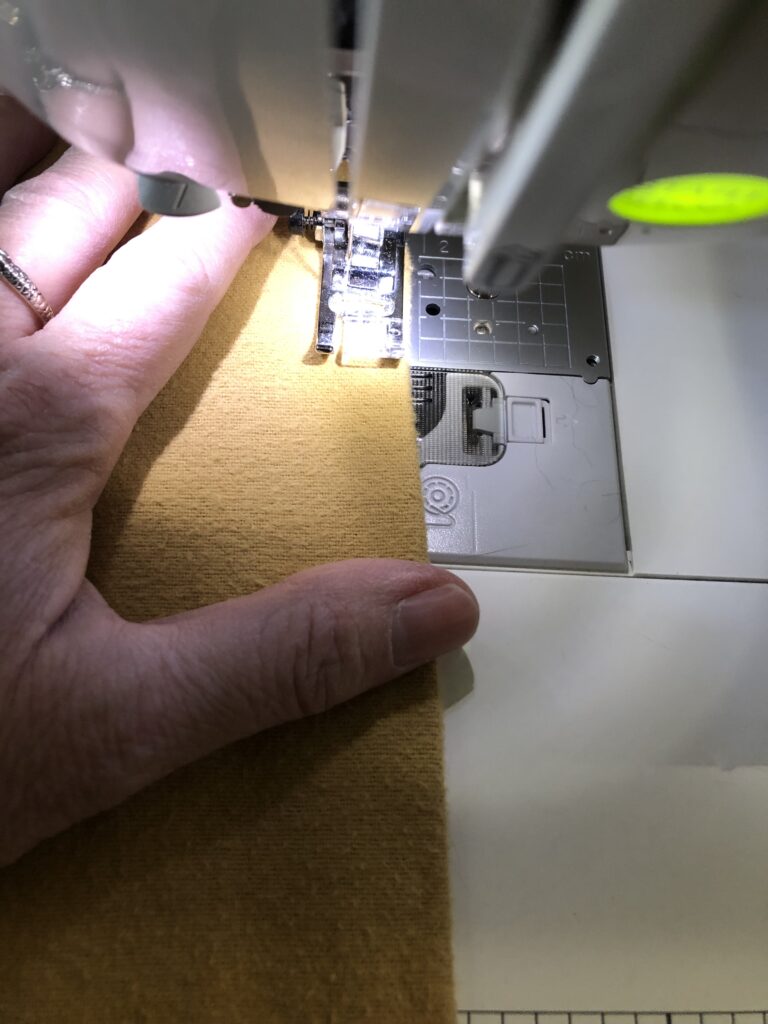
Start sewing the fabric onto the flannel sheet by sewing it right onto the top. Trim it along the edge so that you can keep it neater as you work.
As you add the next pieces of fabric, sew them on right sides together, then fold them back to show the pattern.
Work your way across the sheet or just wander around, putting color where you want it to go.
As you sew the pieces on and fold them back, you’ll start to create weird angles. Thats fine, but you might have to do some topstitching to attach pieces if you have to cover irregular spaces.
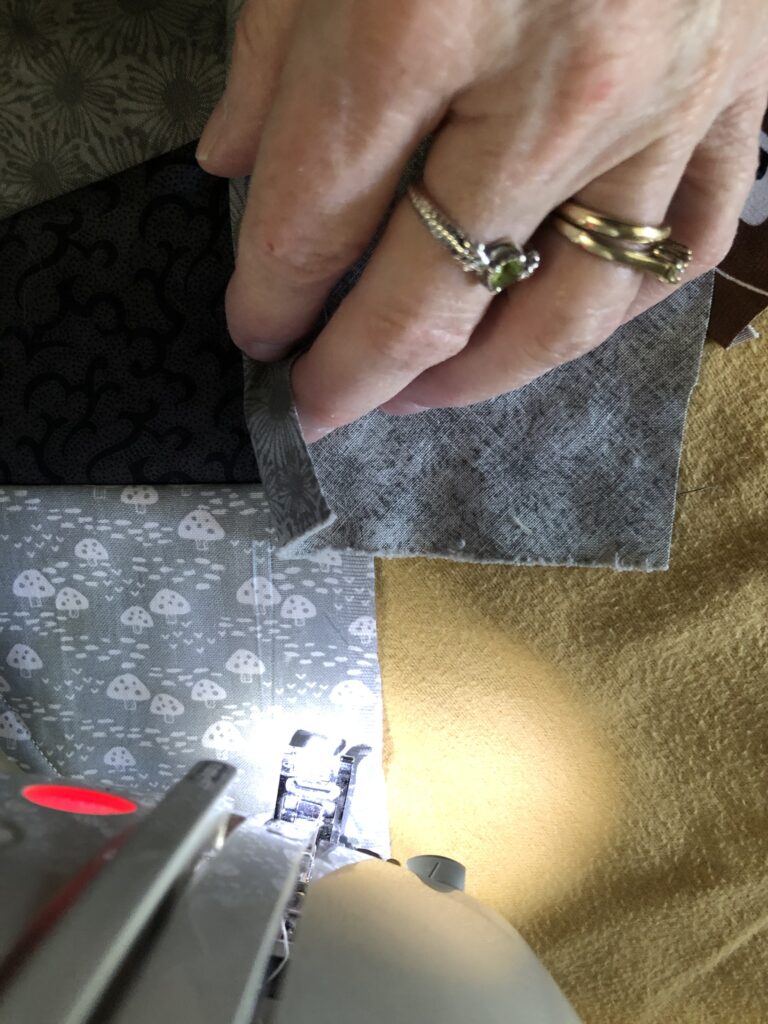
This is an example…The piece that I’m sewing on was shorter than the grey one, so I had to do some piecing at angles and topstitching things instead of just stitching straight lines then turning the pieces right side out.
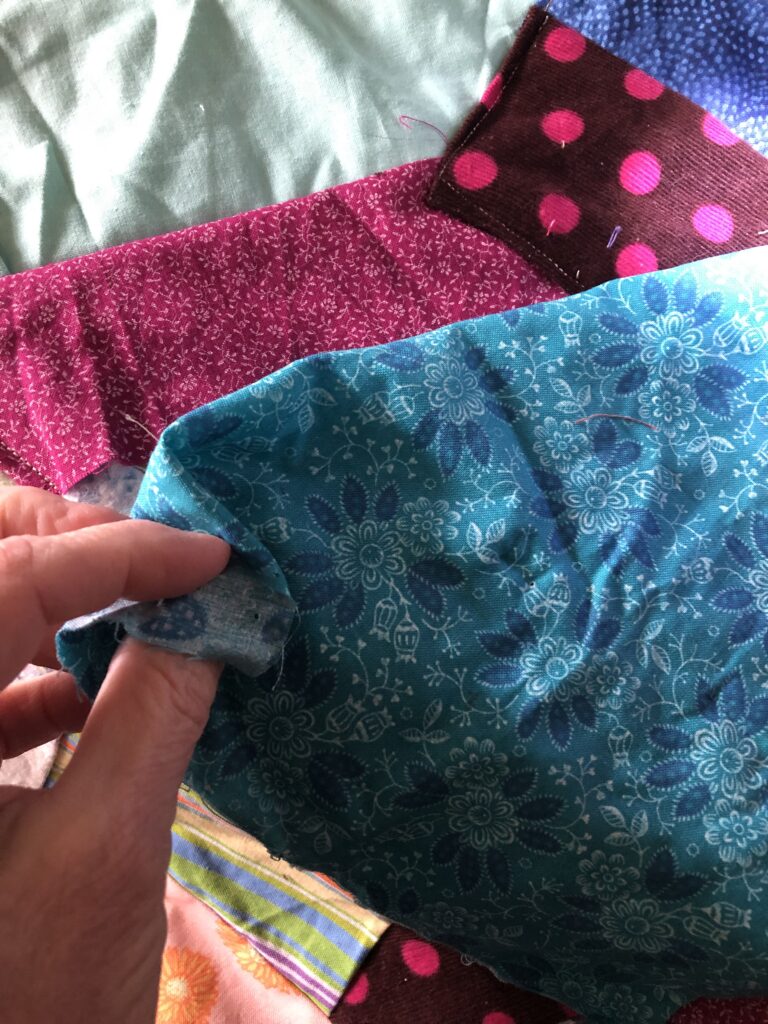
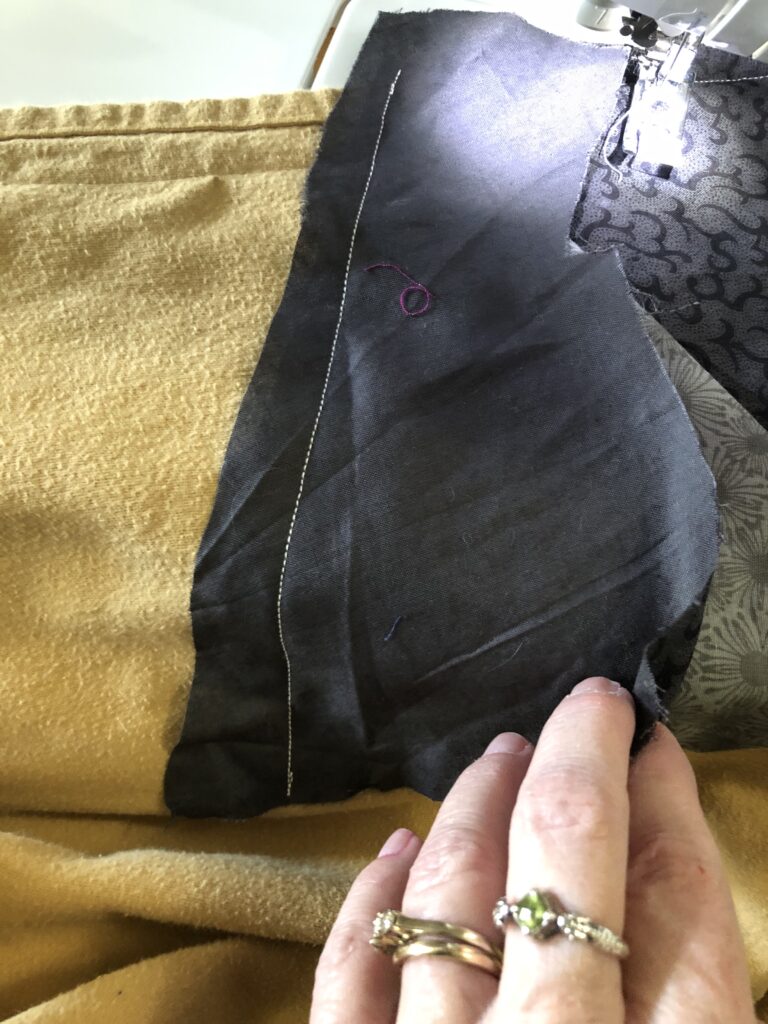
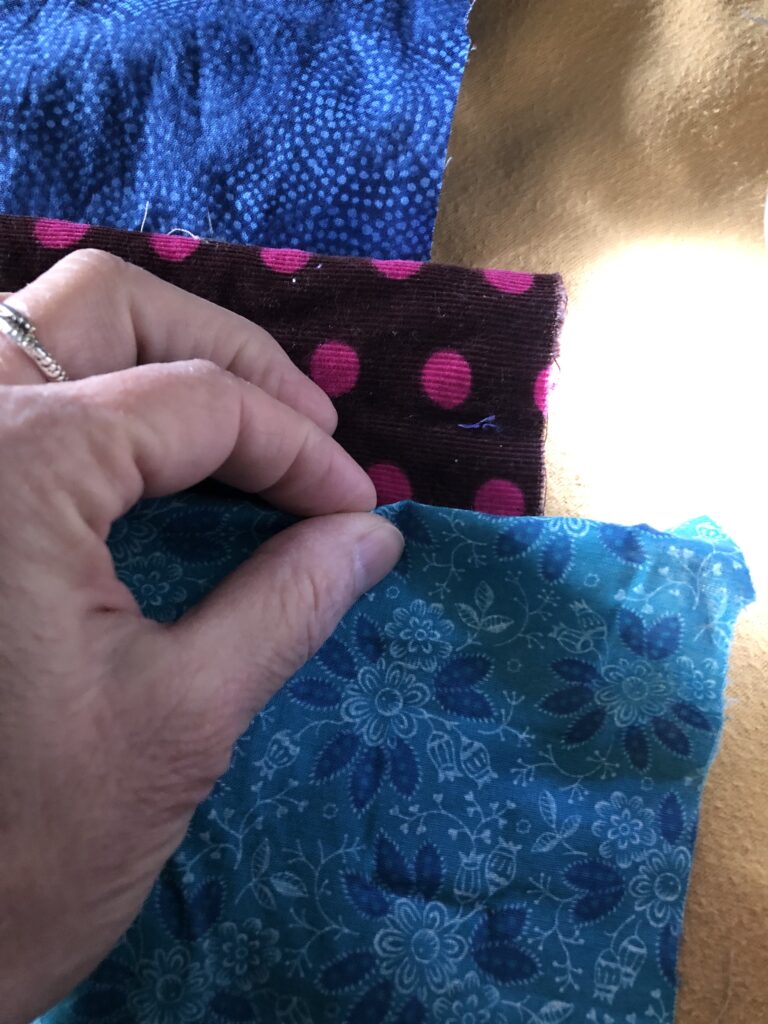
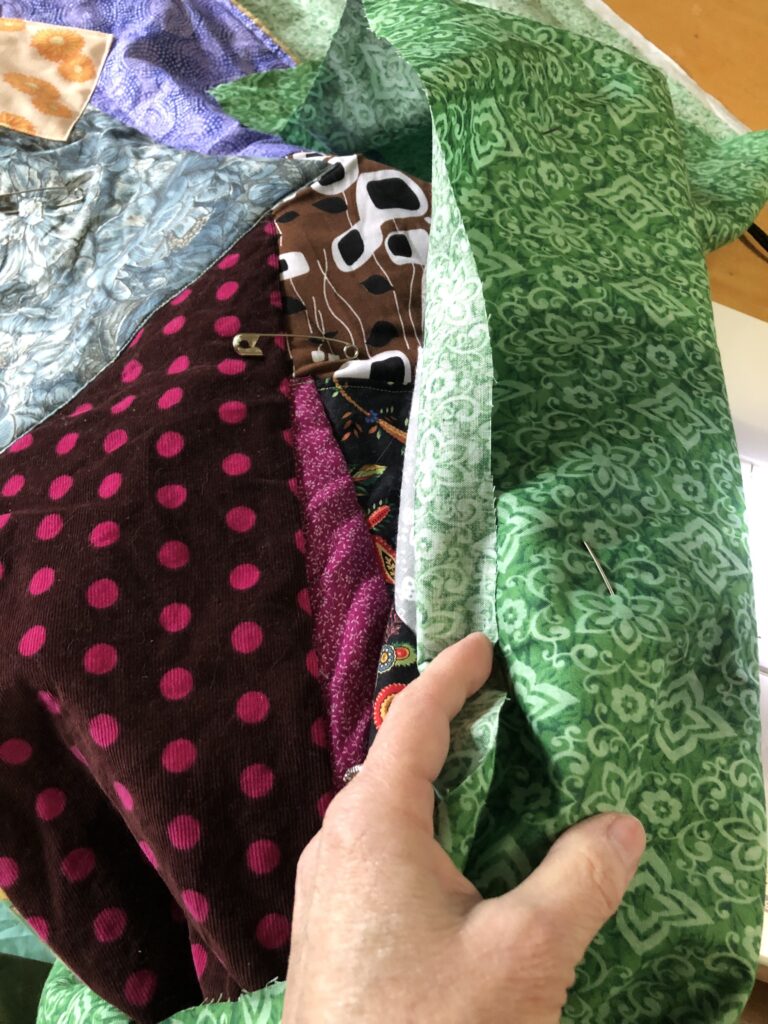
Here’s an example of this kind of piecing. I placed this blue piece over an irregular open section. then turned the hem under to show where I would need to stitch it and flipped the fabric over so that the wrong side was showing.
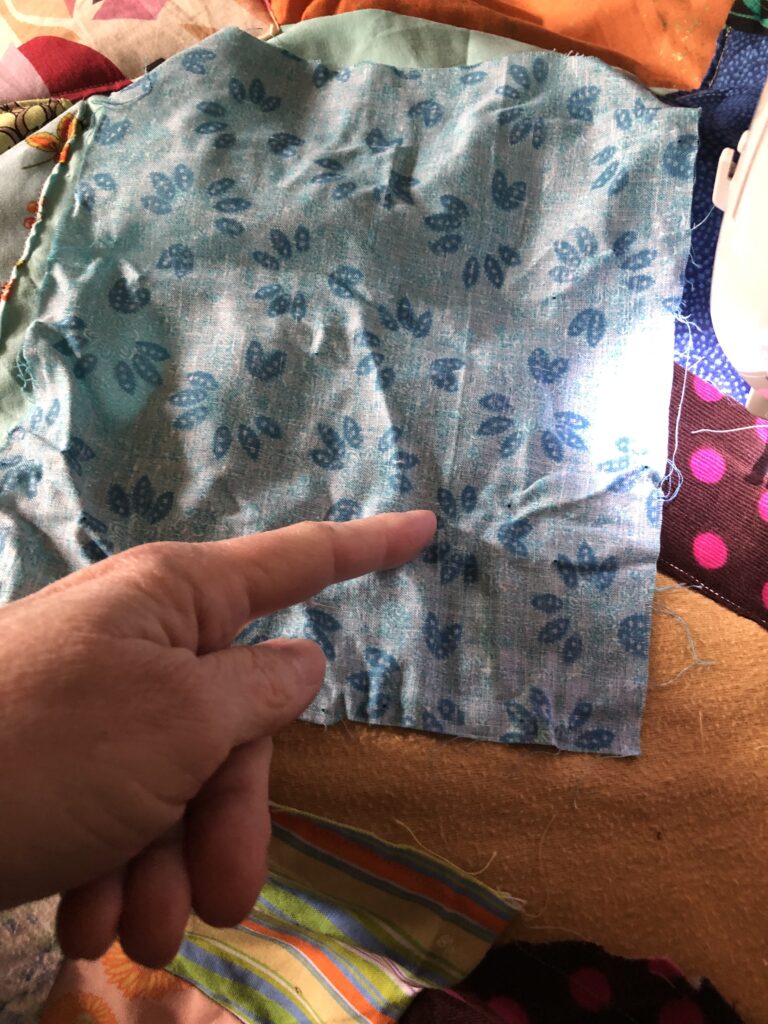
Here’s the fabric turned over and the stitching line is where I’m pointing (where the hem was folded.)
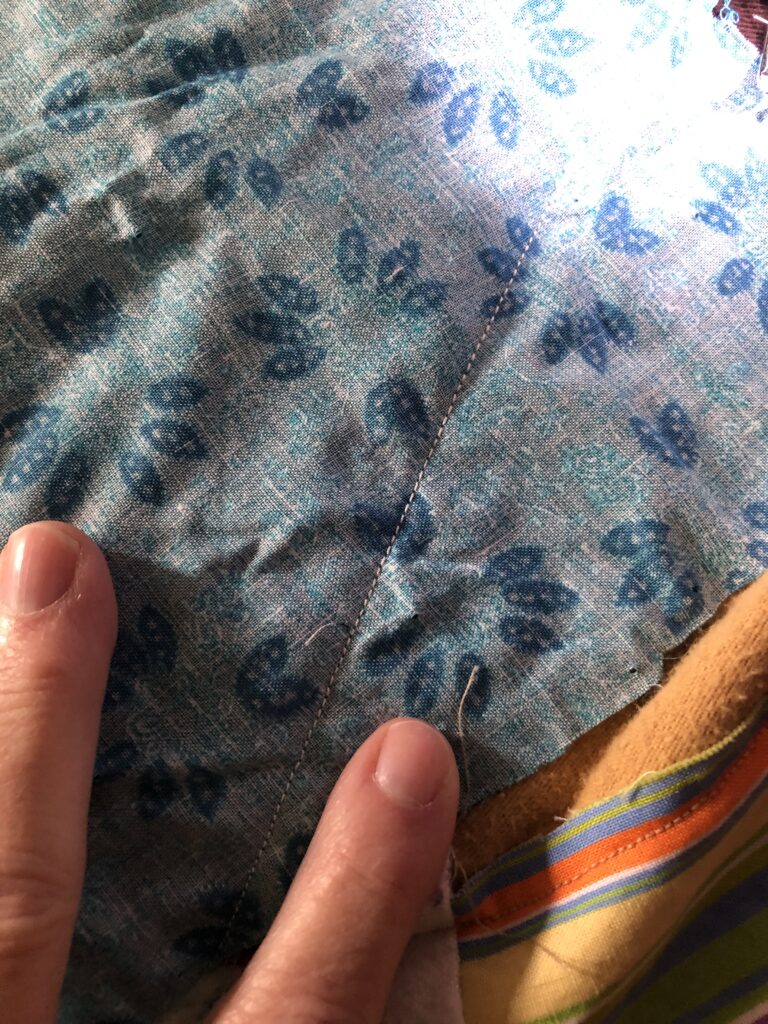
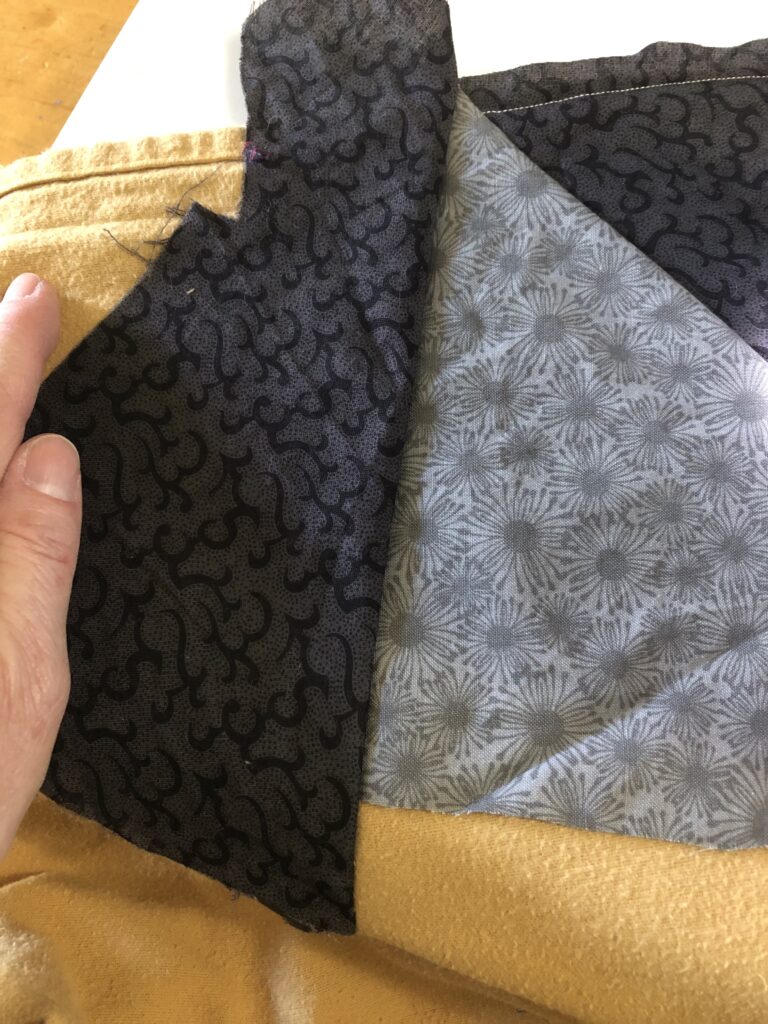
Here’s the stitch line after the fabric was sewn on.
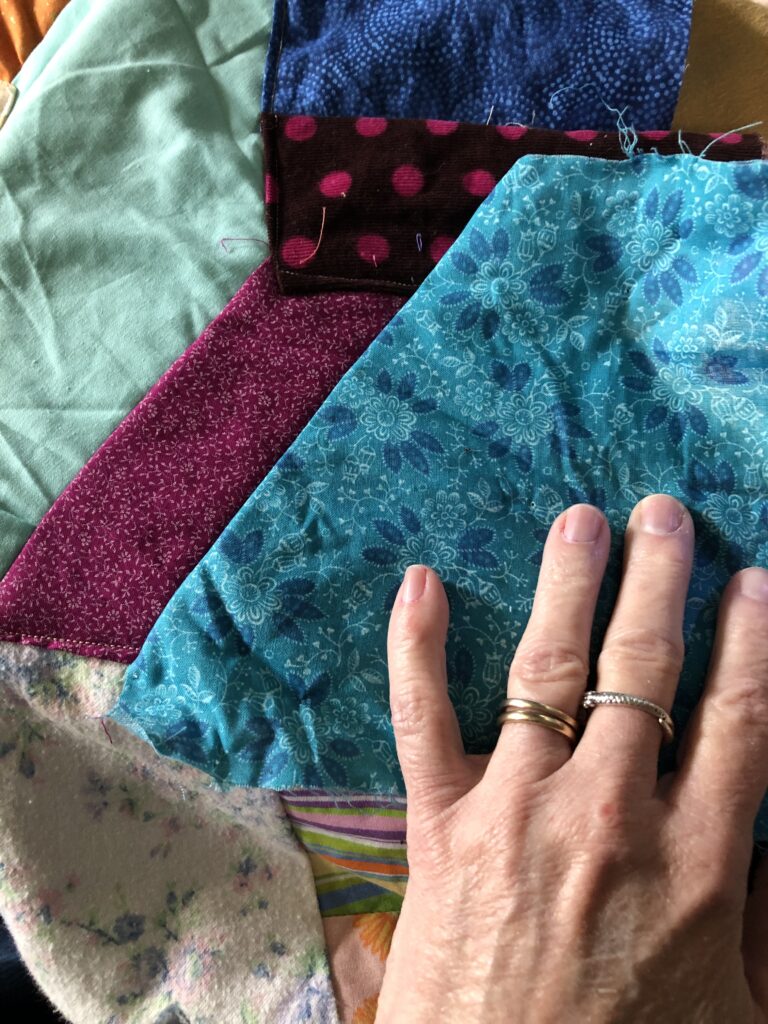
And here’s what it looks like when I turned it back over to cover up the section.
On the other side, I now fold the raw edge under to create a hemline that won’t unravel.
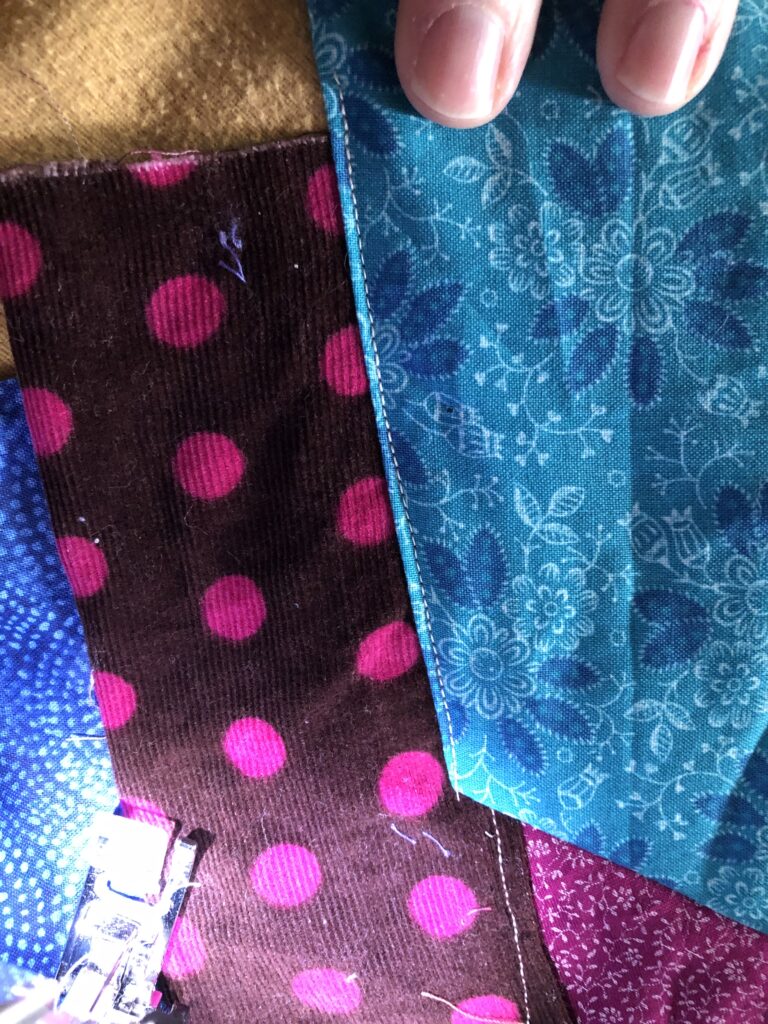
After that. I topstitched the blue piece into place.
Add the backing fabric.
When you’re done covering the entire sheet with the patchwork, you can either use the flannel sheet as the backing, or add a different backing to the quilt.
I got some green fabric that I had sitting around for YEARS and made a backing piece for this one.
Iron the backing and lay it down flat on the ground with the right side facing down, then put the quilt on top of it.
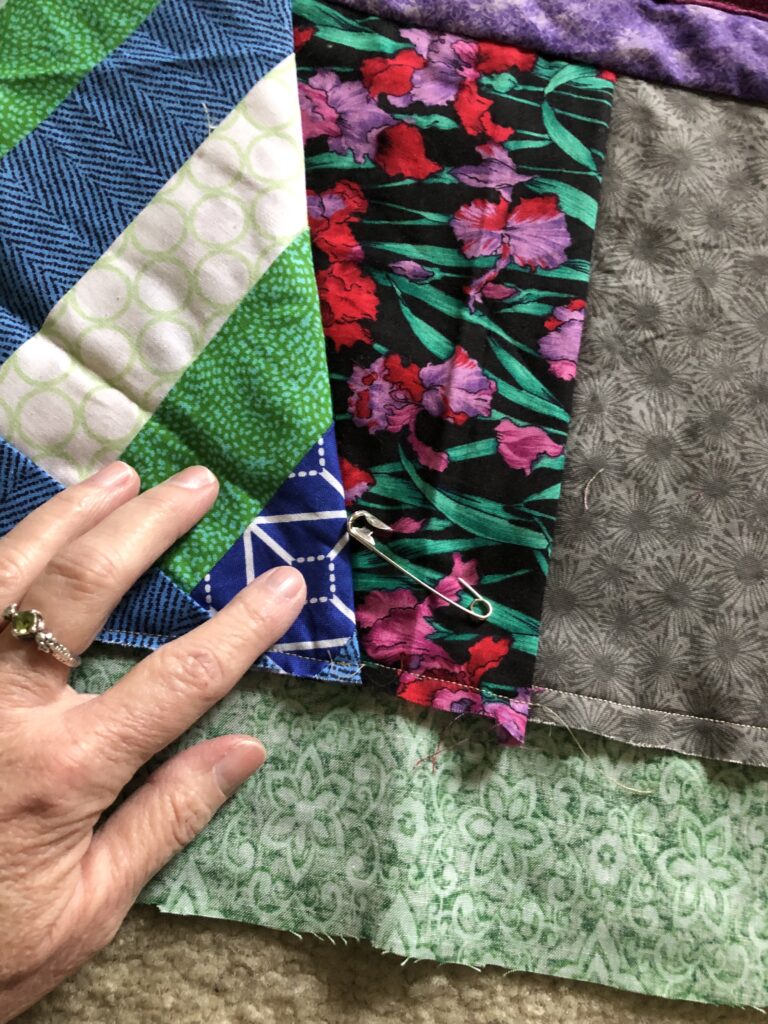
Pin the quilt top to the backing so that you can move them around as you quilt them together.
Since the flannel sheet was pretty thick, I didn’t add any batting to the inside of this quilt. If you want to add batting you can check out this article showing how I did that on an Irish Chain quit that I made.
When you put the quilt on the backing fabric, leave a little extra backing around each edge so that you can make it into the binding, or trim it to match the quilt top once the quilting is done if you want a separate binding.
Start quilting the design.
At this point I started sewing wavy lines across the quilt length and width to make a random grid-type pattern. This was just straight stitches since I’m not good at free-motion quilting and I wanted to keep it simple.
This is also when my sewing machine broke and I had to stop and take it to the repair shop, so I don’t have photos of the process of doing the actual quilting.
But I basically stitched wavy lines all the way across the width, then all the way across the length, it wasn’t anything tricky.
If you want some tips on free-motion quilting, you can take a look at this article with some advice from the members of the Artisan Shopping Directory who sew professionally: Quilting On A Regular Sewing Machine: Tips For Beginners
To see the full Artisan Shopping Directory sections, including signups for discounts, click here.
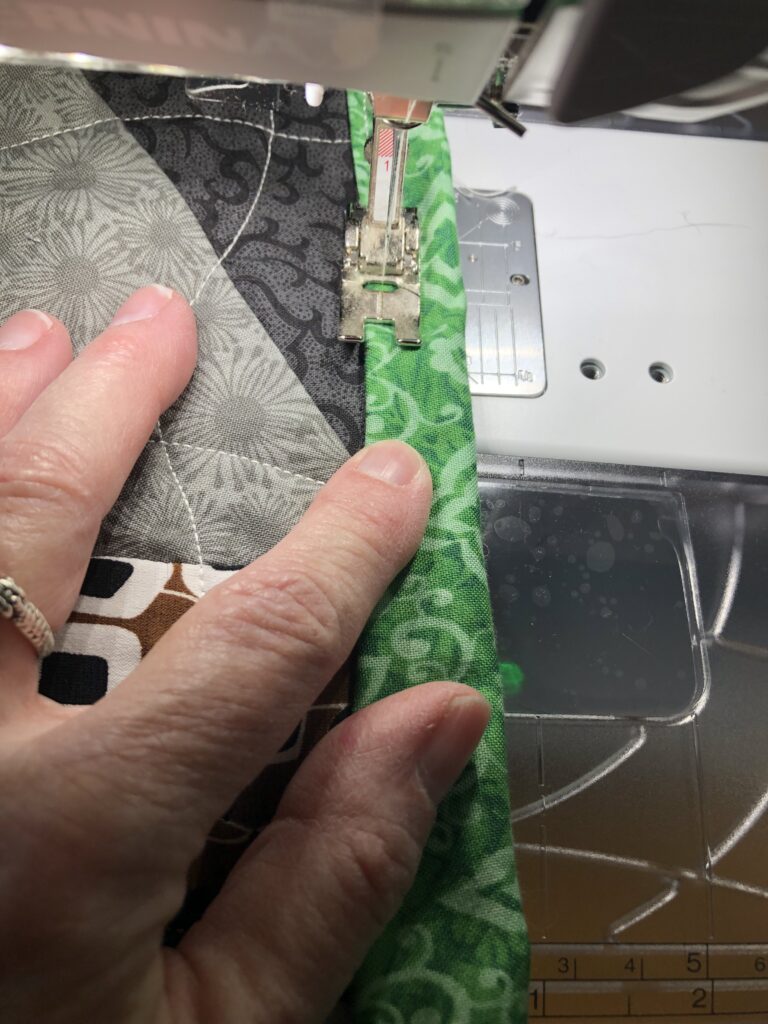
Sew the binding and trim the extra threads.
I do the binding on my quilts by turning the extra backing fabric over and stitching them on the edge of the quilt.
I did a narrow binding on this one.
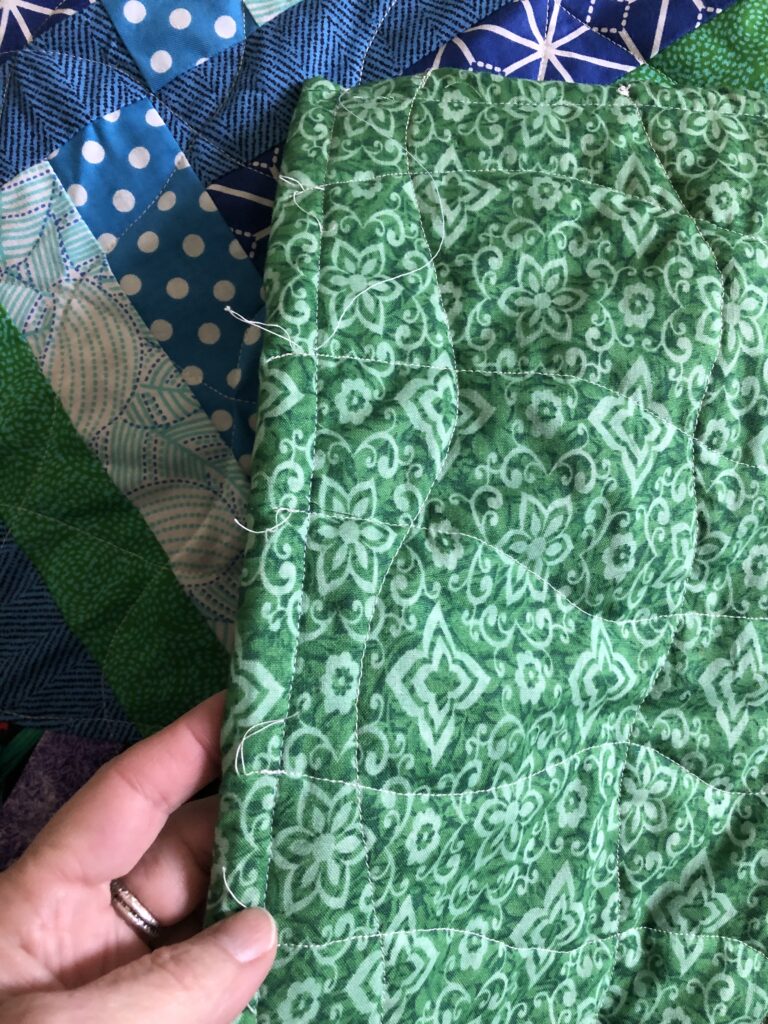
When you’re done with the sewing, trim off any extra threads that you didn’t cut off while you were sewing.
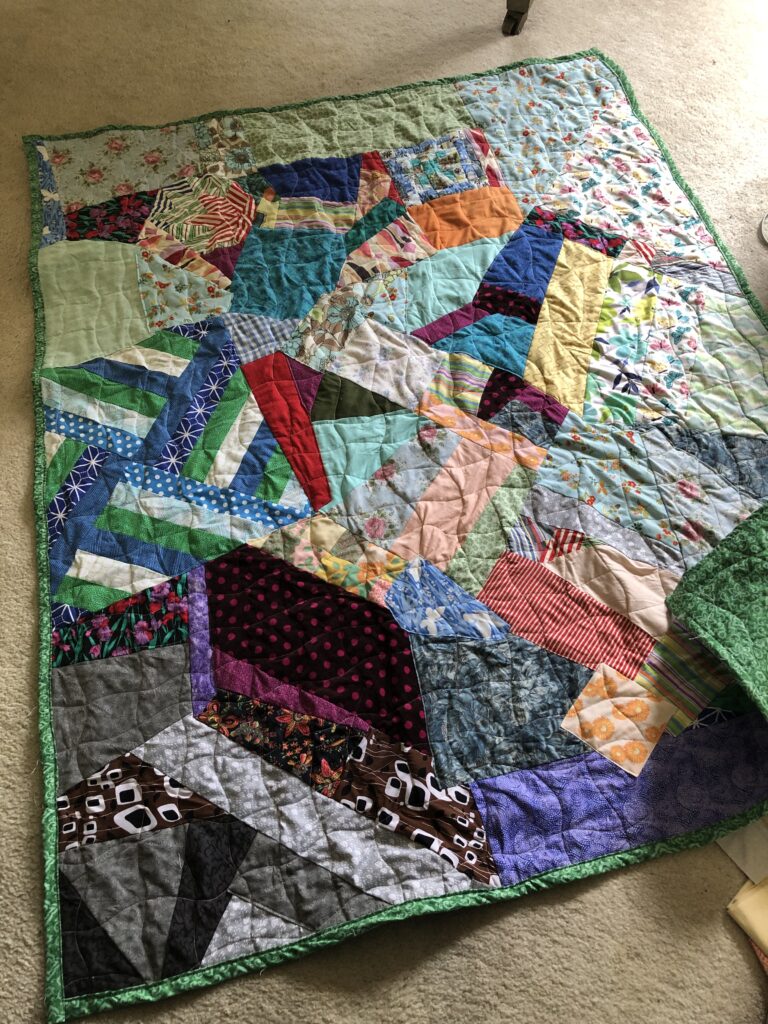
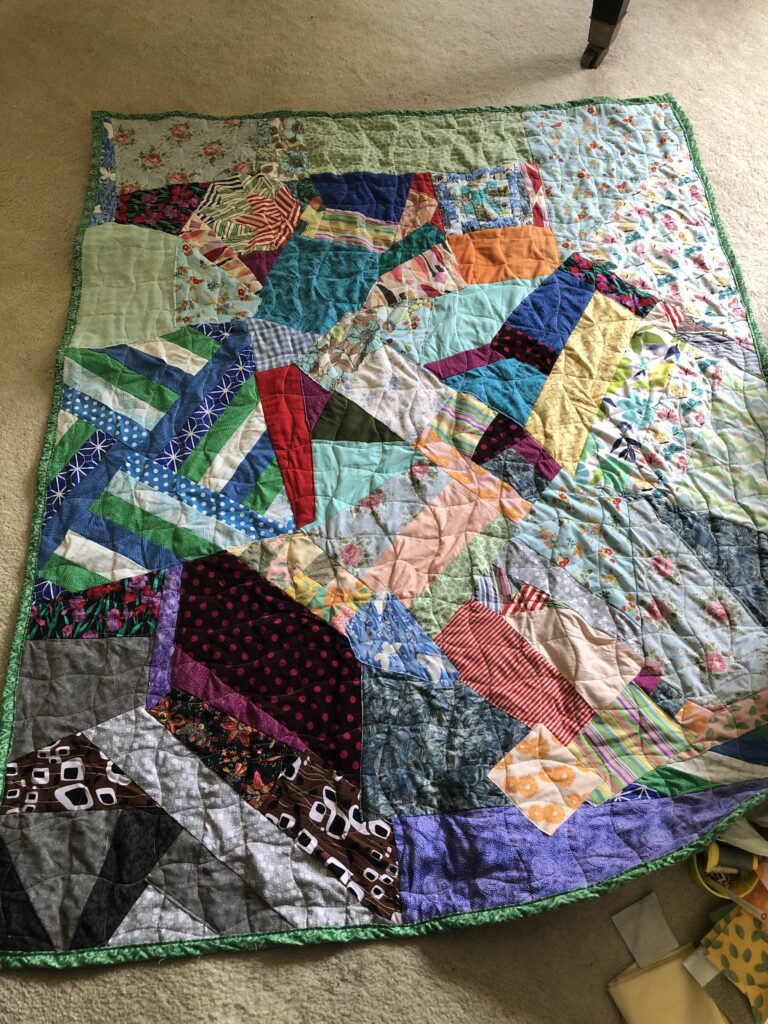
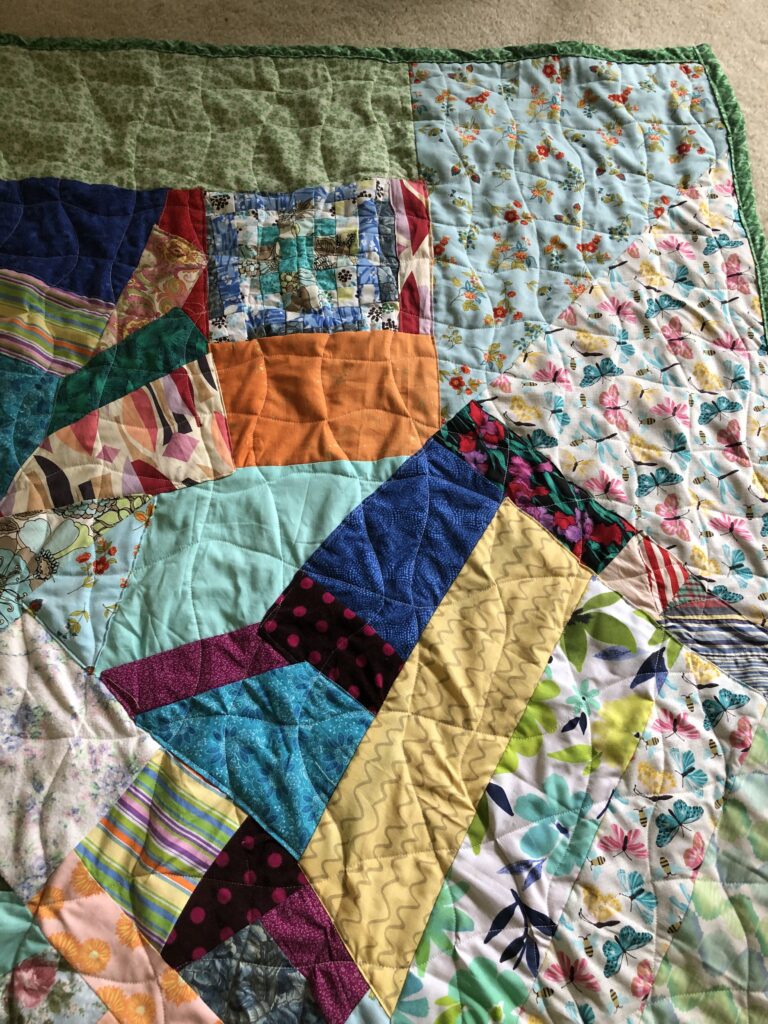
And you’re done! This quilt took me a few days to do, working a few hours at a time.
Since it’s going to be different size fabric swatches, the time that it takes will be different for everyone.
Doing a crazy quilt improv style is a lot of fun, and for people who are perfectionists it could be a good exercise in taking a step back and making things that are wonky on purpose.
Plus, it’s a good way to upcycle and repurpose old sheets, and to use up extra pieces of fabric that you have left over from other projects.